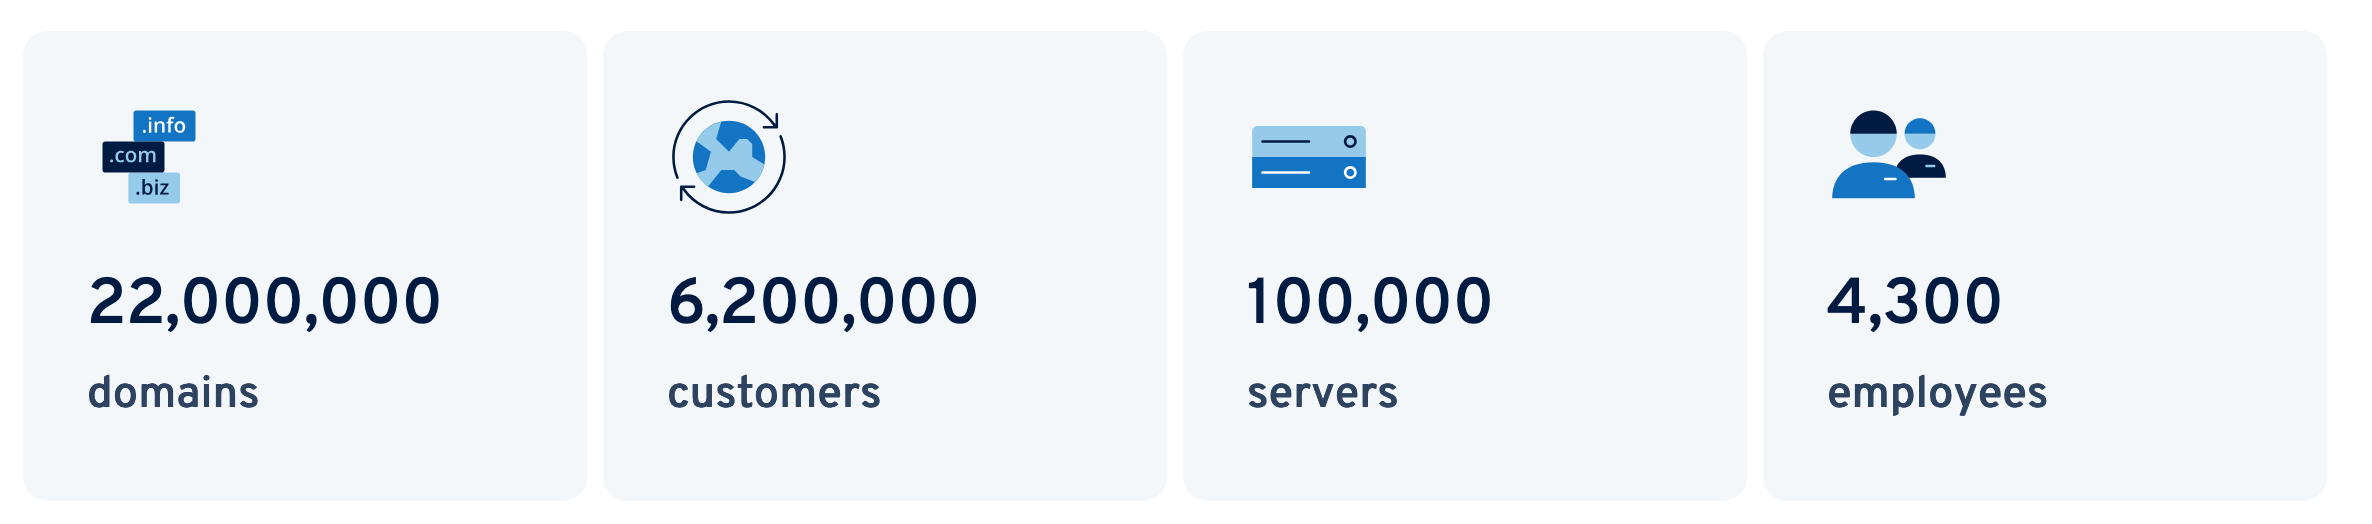
To talk about IONOS, we need to start by considering a few staggering figures. 6.2 million customers. 22 million hosted domain names. 100,000 servers worldwide. Now that’s a serious competitor.

Talking about one of Europe’s leading hosting companies is also an opportunity to discuss its in-house user interface: My IONOS.
The latter has the merit of concentrating multiple options in a single location, whether for managing your administrative tasks (invoices, contracts, etc.), or above all technical ones (hosting, domains, emails, site creation, etc.).
But what is it like in practice? How do you use it in your everyday life? That’s what you’ll know after reading this article, which presents My IONOS from every angle.
Let’s take a closer look at this interface.
This page is sponsored. Some links to IONOS are affiliate links. If you purchase hosting from them, WPMarmite will receive a commission.
Through affiliation, WPMarmite is able to remunerate the research and writing work of the blog writers. Please note that we remain impartial. If a product isn’t worth it, we’ll say so (or we don’t talk about it).
What is My IONOS?
My IONOS, an all-in-one administration interface

My IONOS is the service administration interface offered by hosting provider IONOS. It enables users to manage both their account (invoices, contracts, security, data) and, above all, technical functionalities linked to their website (hosting, domain) and associated solutions (email).
Here are just some of the actions you can take from your My IONOS customer area:
- Creating a showcase site or online store with the help of artificial intelligence (AI)
- Managing your domain name: transfer and renewal, redirections, changing DNS (Domain Name System) settings, reconfiguring other settings, etc.
- Installation of SSL certificates to switch your site to HTTPS
- Protecting your website and visitors against hacker attacks, data theft, and malware
- Creation and management of professional email addresses
- Automatic WordPress installation
- Database creation and management with phpMyAdmin
- Access to your WP site using the SSH and SFTP protocols
- Change the PHP version on your hosting server in just a few clicks
- Manage your site files with integrated FTP software
- Using WP-CLI to simplify site administration (provided you have basic command-line skills)
- Daily backups and restoration
- Website statistics using WebStat data
- Features for developers: .htaccess, domain API, Git, SSI, and IPv6
- Free access to a personal advisor
- Manage your invoices, contracts, information, and personal data
Who is IONOS?
A hosting provider with over 30 years’ experience
As the name suggests, My IONOS is an interface offered by the German hosting company IONOS.
Founded in 1988, the IONOS Group has been listed on the stock exchange since February 2023. It is one of Europe’s web hosting giants. It also offers scalable cloud solutions and personalized support to its customers.
At the time of writing, IONOS could claim, for example:
- 6.2 million customers
- 22 million domain names hosted
- Operation of over 100,000 servers in 31 data centers worldwide
- High-end cloud infrastructure
- An excellent score of 4.6/5 on the Trustpilot verified reviews platform
“The partner of choice for small and medium-sized businesses”
IONOS particularly aims to serve small and medium-sized businesses, which they designate as their “partner of choice,” helping them to “start and grow their business on the Internet” (as you can read on the host’s “About” page).
To make life easier for their customers, for example, IONOS offers a service to create a professional website in just a few clicks (pages, images, and texts included) with AI, via their MyWebsite Now service.
Finally, IONOS is committed to:
- Data security: All your data is protected in geo-redundant ISO 27001-certified data centers.
- The environment: All their data centers in Europe and North America, for example, are powered by renewable energy.
So much for that little introduction to the owner. We now invite you to enter the hosting interface, to see what it has in store for you.
How do I connect to IONOS?
To start using My IONOS, you must first create a customer account by purchasing one of their products or services (domain name, hosting, email addresses, cloud storage and backup, cloud servers, etc.).
When you’re ready, go to the official IONOS website, then click on the “Sign IN” link in the top right-hand corner of the page:

If you prefer, you can also type this URL (https://login.ionos.com/) into the web browser of your choice (Chrome, Firefox, Safari, Brave, etc.).
You will then land on a login page (My IONOS login) where you will be prompted to enter:
- Your customer ID, email address, or domain
- Your password
Once you’ve filled in this information, you’ll find yourself on your My IONOS dashboard. Just below, we explain how this interface is organized and how easy it is to use.
Getting to know the interface
The menus at your disposal
To sum up, there are two main action areas on My IONOS.
In the center of the screen, there are six main menus for accessing basic functions and configuring your services:
- Domains & SSL
- Websites & stores
- Hosting
- Security solutions
- My account
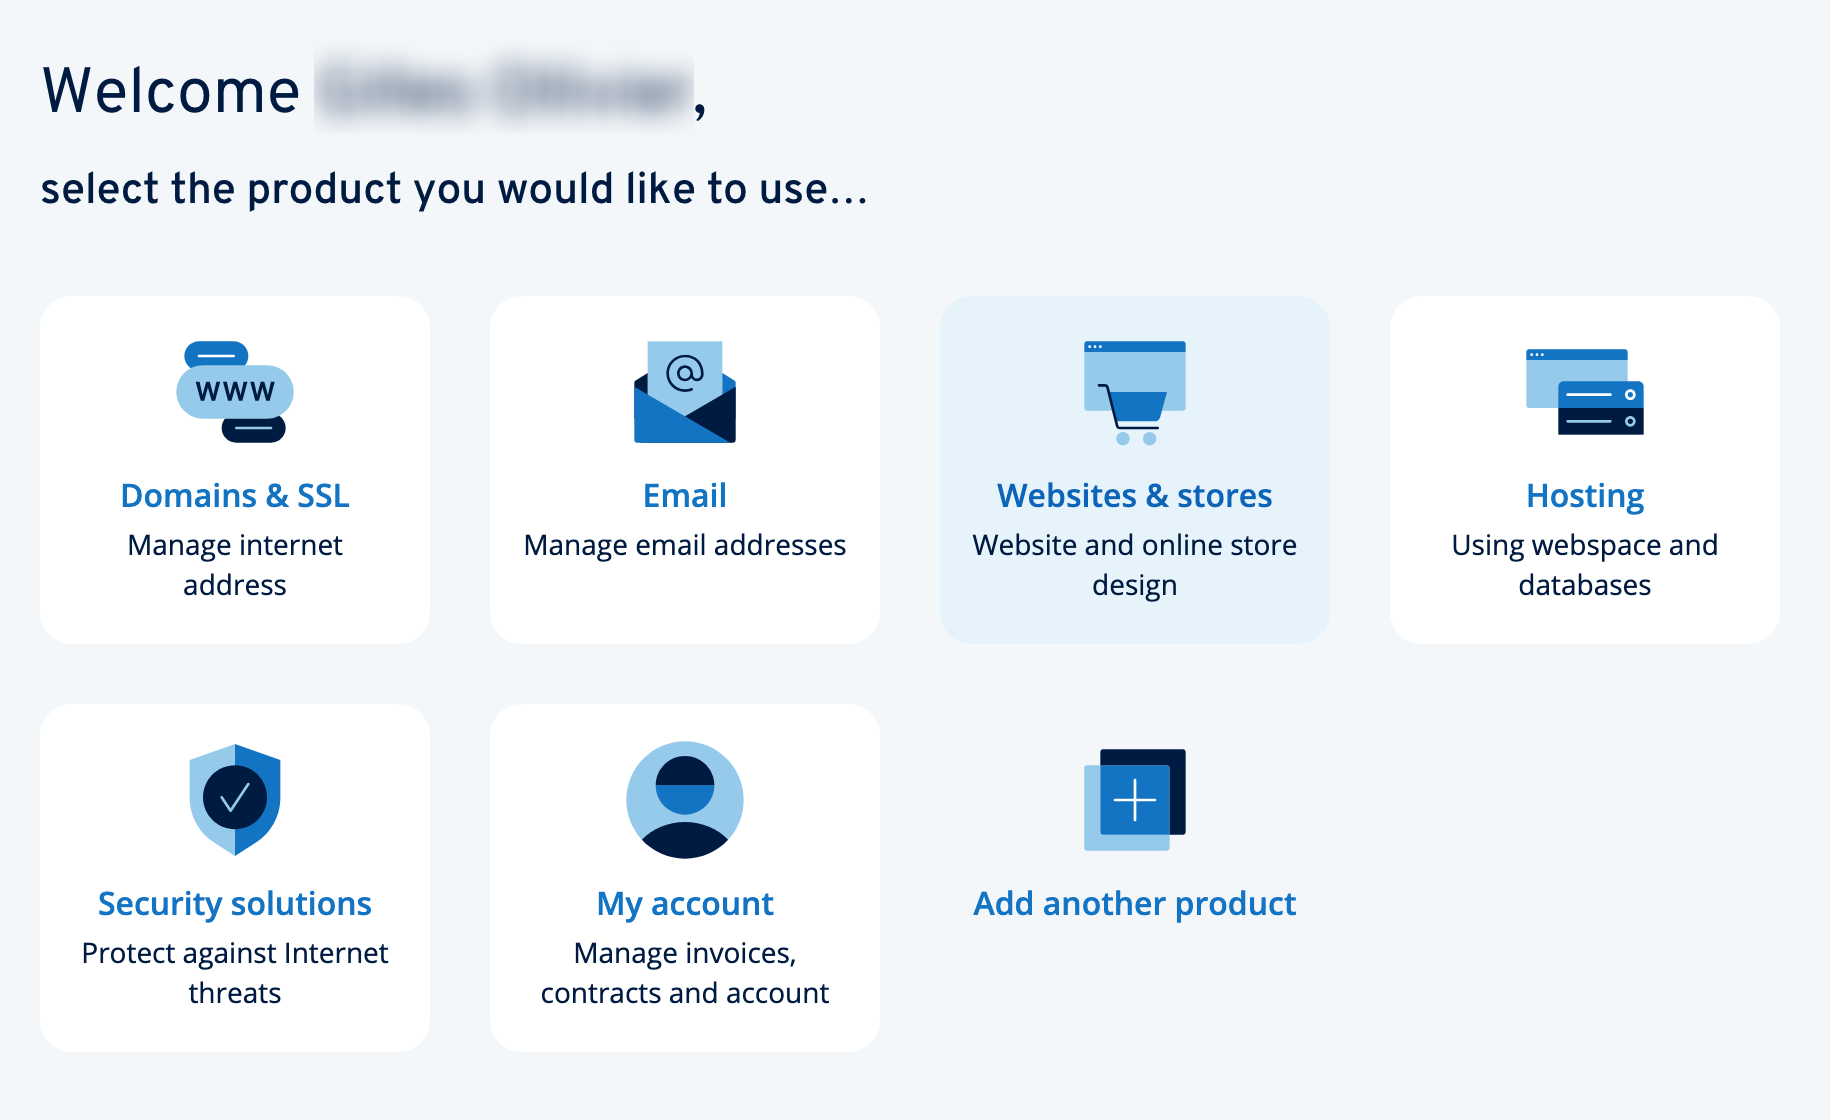
Clicking on the main menu of your choice takes you to more detailed setting submenus, which we’ll come back to in a moment.
At the same time, the top bar concentrates various options. On the left, you have a drop-down menu that presents the menus just mentioned in the center of the screen:

In the middle, a search bar. And finally, on the right, several icons to view:
- Access online help and your personal advisor
- A shopping basket
- Push notifications
- Direct access to your account to manage your contracts and subscriptions, invoices, login, and security, as well as data protection
My IONOS: An easy-to-use interface?
Overall, the interface is clean, easy to understand and use. It’s not too overloaded, with a clear indication of what you’ll find in the various menus.
We also appreciate the presence of a search engine to help us locate specific functions.
Being able to access both your administrative information (invoices, contracts, etc.) and your technical information (domains, hosting, site creation, etc.) within the same interface is also a real plus.
My IONOS suffers from a few limitations, though they are far from insurmountable in our opinion.
These include the fact that not all the settings for your site and hosting server can be found on the same page.
This is not the case with other server administration interfaces, such as the well-known cPanel, which concentrates all its main menus on a single page.
With My IONOS, on the other hand, settings are distributed left and right. If you’re used to working with an interface like cPanel or Plesk, you’ll need to familiarize yourself with a new way of working with My IONOS.
And also, you’ll want to explore the various menus to identify where a particular option is located.
The only hitch is that you’ll have to make a lot of clicks. But once you’ve got the hang of it, everything becomes simpler and more automatic.
Okay, now you know how to find your way around your My IONOS customer area.
In the following section, we’ll show you how to use this interface, with a number of case studies you’re likely to encounter in your day-to-day work as a WordPress webmaster.
How do I use the main functions of the My IONOS interface?
Automatic WordPress installation
When you’ve just bought a hosting package, you’re probably anxious to do one thing: install WordPress as soon as possible.
Like the vast majority of its competitors (Bluehost, Kinsta, SiteGround, Hostinger, etc.), the My IONOS interface features automatic installation of the world’s most popular CMS.
It’s very convenient for you. IONOS takes care of all the technical side of the installation, managing the files and creating the database (no need to bother with FTP software, for example).
To take advantage of this “Click & Build” option, go to the “Websites and stores” menu in your customer area. Then click on “Create a website or store.”

At the bottom of the page, click the “Open-source solutions for your website with Click & Build” link:

Then, in the “WordPress” section, click on the “Install” button. Choose the type of WordPress hosting you want: “Managed” (IONOS takes care of the technical maintenance for you) or “Manage WordPress yourself.”
To conclude, enter the following information:
- Name of your project
- Administrator
- Password
- Domain name associated with your WordPress site

Please allow a few minutes for installation. When the process is complete, you can access your WordPress project in the “Websites & Stores” menu.
You’ll be able to create your site and access its administration interface very easily. For this last point, click on the “Open WordPress” link to be connected and automatically redirected to your WP administration interface (if you’ve chosen a “Managed” hosting package):

Database creation and management
After the automatic installation of WordPress in just a few clicks, let’s move on to another essential action: database creation.
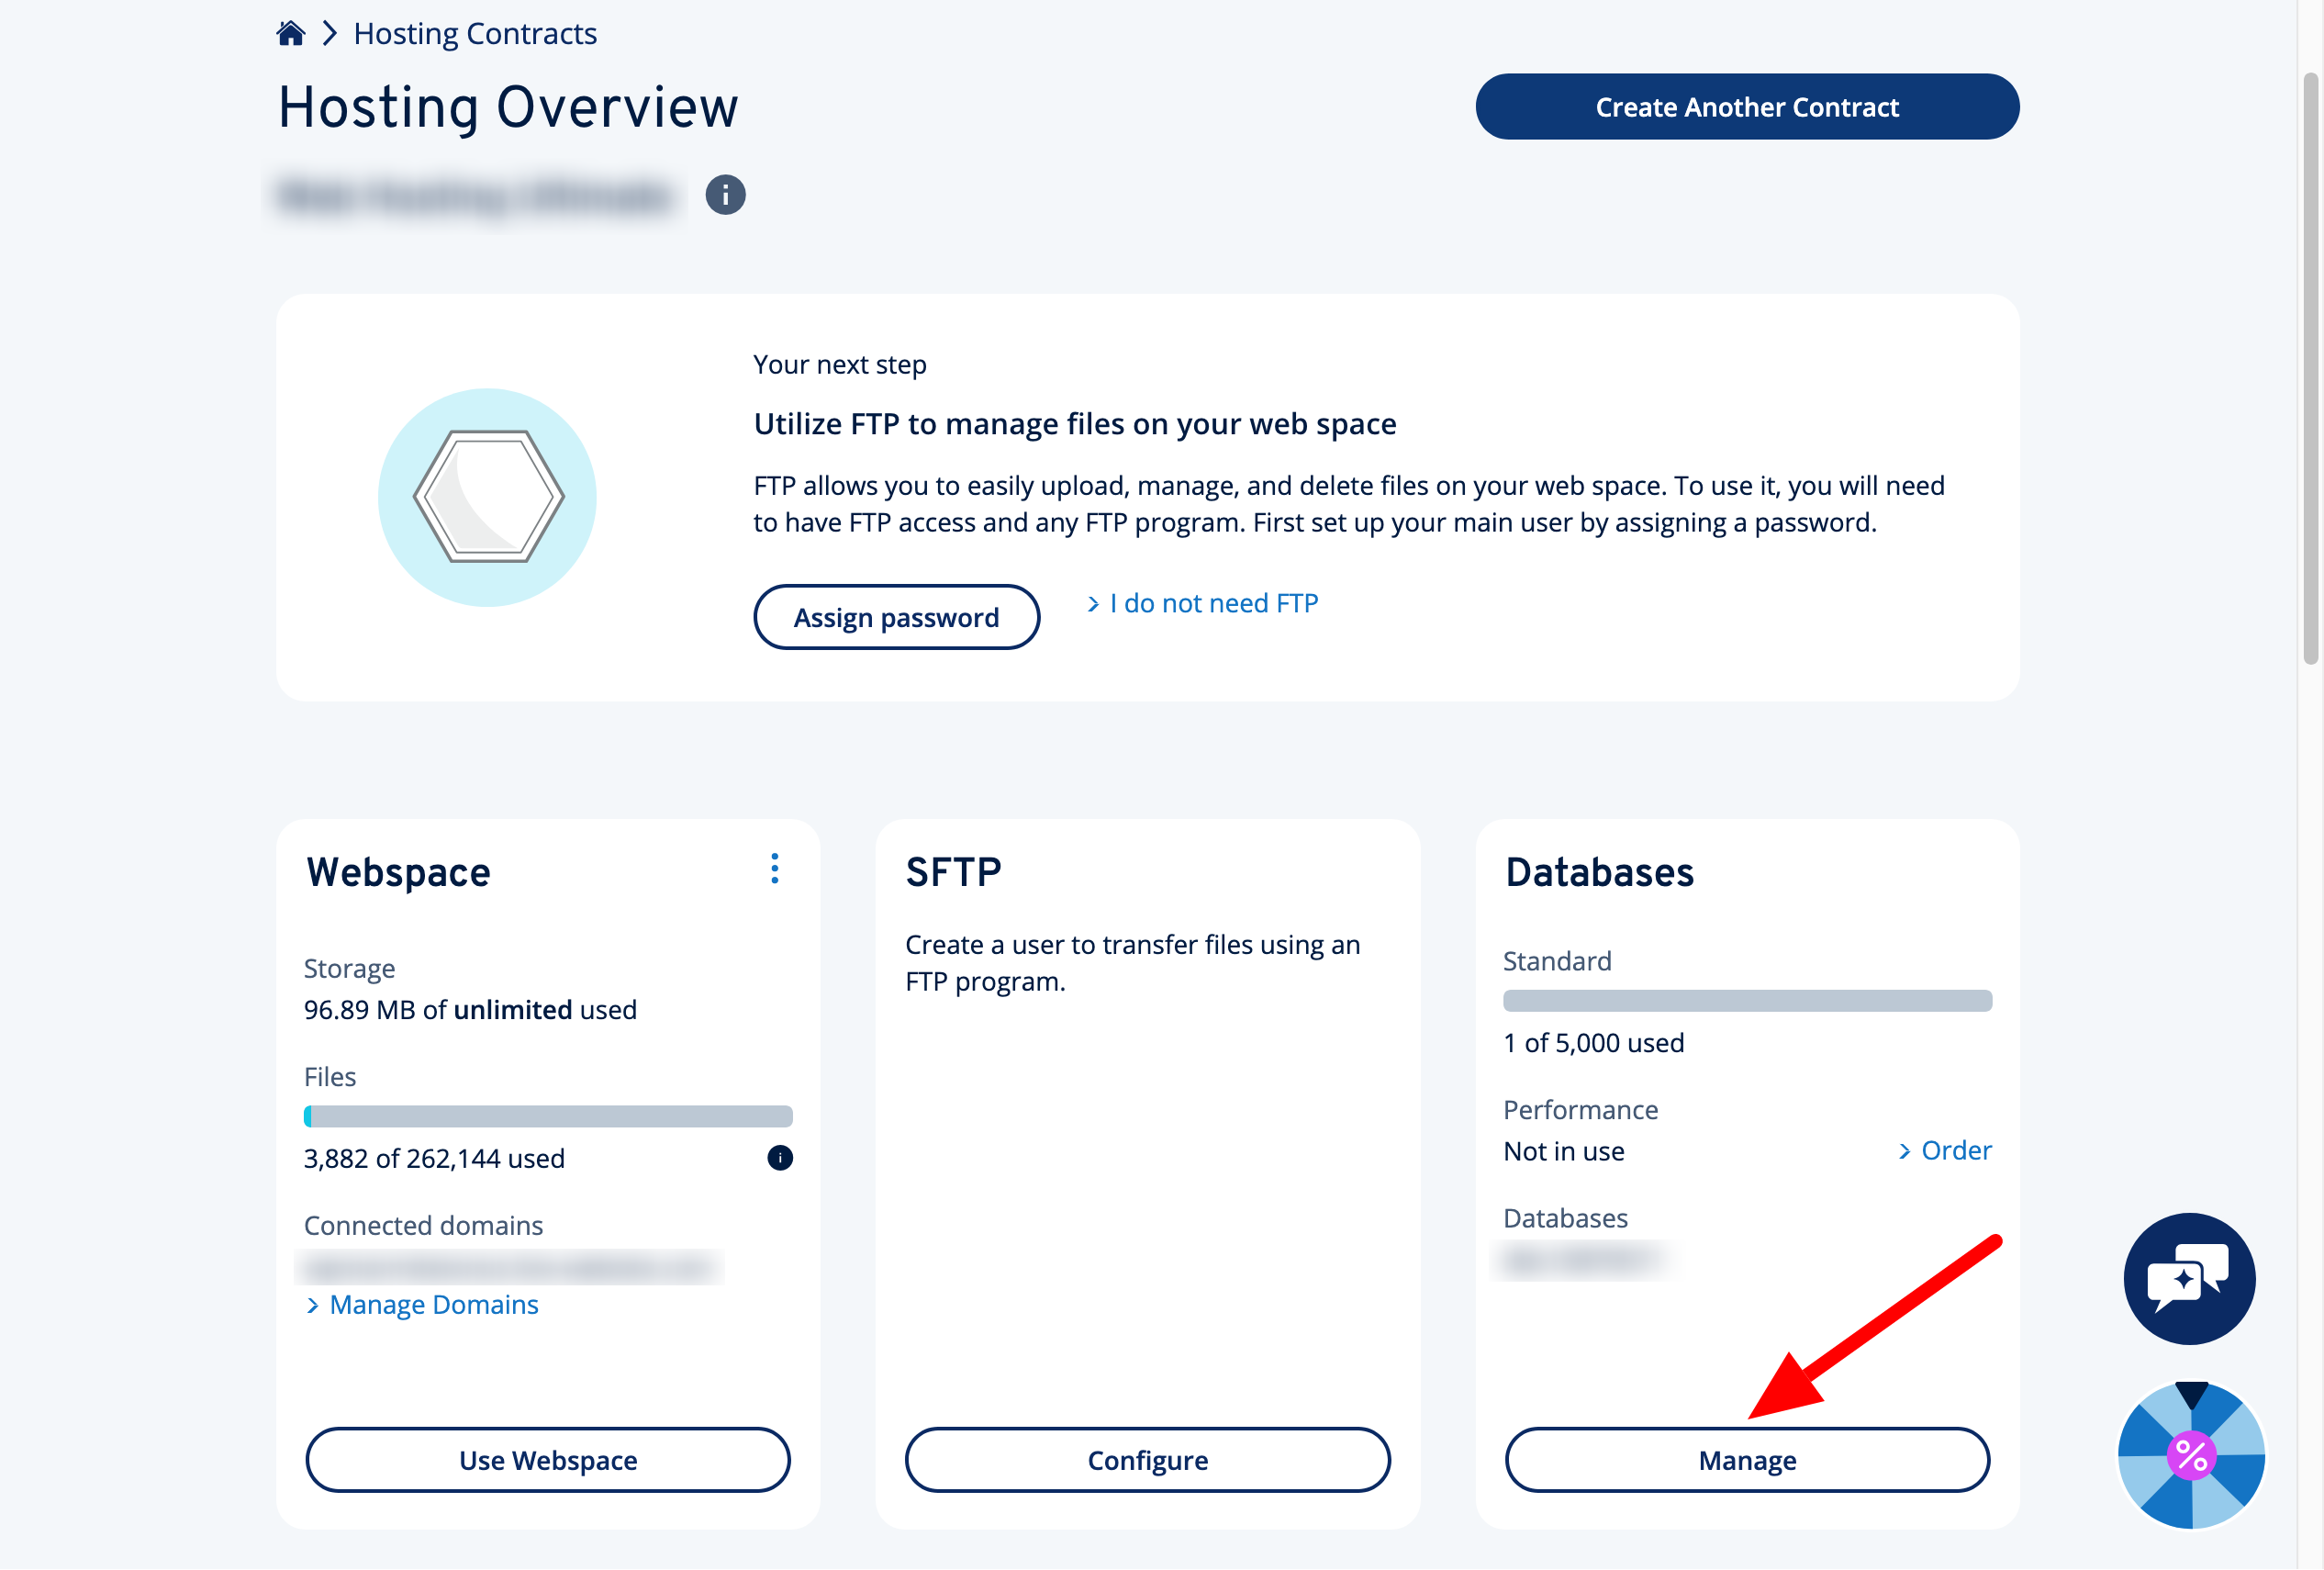
To do this, go to the “Hosting” menu, then click on the “Manage” button on the “Databases” panel:
Then select “Createdatabase,” and choose one of the two options:
- High-performance database: For large-scale CMS and e-commerce projects.
- Standard database: For simpler, less data-intensive projects.
All that’s left to do is choose between MariaDB and MySQL as the database type, and enter a description and password. Let My IONOS do the rest for you.
To manage your database, click on the “Open” link in the database line of your choice:

You’ll land on phpMyAdmin, a web-based database management application. To find out how to use it like a pro, check out our full article on the WordPress database.
Domain names & SSL on My IONOS
Let’s move on to a section dedicated to managing your Internet address (domain name). Click on the “Domains & SSL” menu to take advantage of the following options:
- Configure a domain redirect
- Transfer or renew a domain name
- Modify DNS settings
- Create a sub-domain
- Configure an SSL certificate (by default, you’ll have an unlimited SSL certificate automatically activated on your web space)
Please note that you can easily access your domain name management from the Hosting menu. The “web space” tile features a “Manage domains” link that redirects you to the “Domains & SSL” menu:

Creating an email address
Once your IONOS domain name has been set up correctly, you can associate it with the email address of your choice.
You’ll then be able to receive and send emails under your own domain and use any email program, smartphone, tablet, or webmail.
From the “Email Portfolio” menu, select the contract of your choice, then click on the “Create an email address” button:

IONOS will then propose several offers, some of which are available free of charge with your hosting plan. If your contract does not include a free inbox, an “Order” button will appear.
In our example, we can design a free email box with 2 GB of storage capacity:

Then enter your email address (e.g. alex@wpmarmite.com) and the password of your choice.
Save, then wait while your mailbox is configured.
How do I access my IONOS mailbox?
To access your inbox (My IONOS mail) from anywhere, without having to install or configure any additional software, click on this hyperlink: https://mail.ionos.com.
Then enter your user data (email address and inbox password).
Here’s what you can do with the “Webmail” email program offered by My IONOS:
- Write, translate, summarize, and read emails with the help of an AI-based assistant
- Create and manage folders
- Customize the color and theme of your user interface
- Configure anti-spam protection
- Benefit from a function that allows you to cancel the sending of emails
- Transfer existing attachments to a new email
- Easy access to your calendar and address book
PHP version management
Let’s go back to the “Hosting” menu and take a look at the “PHP” section. This is where you can manage the PHP version of your domains.
As a reminder, PHP is the programming language in which WordPress is written. It runs on your web server.
It’s important to use a recent version of PHP to reinforce the security of your site.
What’s more, a recent version of PHP includes performance enhancements that will help boost the page loading speed of your WordPress site.
So make sure your site is running a recent version of PHP, especially if it’s been online for several months/years (if you’ve opted for a “Managed WordPress” package, you don’t need to worry about this: IONOS will take care of it for you).
To do this, click on “Manage” in the “PHP” box:

If you want to change the PHP version of one of your domains or sub-domains, click on the desired domain or sub-domain.
Before moving on to the next step, and possibly changing your PHP version, there are a number of prerequisites, including backing up your WordPress site. To make sure you don’t forget anything, read our dedicated article on the subject.
If you’re not sure what you’re doing, ask IONOS support for advice. If in doubt, apply the version recommended by My IONOS.

In principle, this will avoid compatibility problems.
FTP and SSH access on My IONOS
In the meantime, let’s backtrack a little. Return to the main screen of the “Hosting” menu.
As you can see, the “SFTP” insert lets you create an account to transfer files securely to your web space via SFTP (a secure protocol that encrypts your data), using an FTP program.
If you’re a developer/technician, you can also use the SSH (Secure Shell) communication protocol, via the console.

My IONOS WordPress-specific options
On your My IONOS customer interface
In addition to the many features we’ve presented so far, IONOS also offers various options specifically for WordPress sites.
Let’s take a look at how it all works. First of all, in the “Websites & stores” menu of your My IONOS customer area, select the WordPress project of your choice.
Depending on the hosting package you choose, you will have access to two tabs:
- “Settings,” where you can enable/disable automatic updates for the WordPress Core, WordPress themes, and plugins

- “Backups.” Here you have access to automatic daily backups for 7 days, with the option of restoring your WP site.
On your WordPress administration interface
After installing WordPress, you’ll notice several things when you visit your dashboard.
First of all, IONOS activates a dozen or so plugins (depending on the hosting plan chosen, mind you), notably to enhance security (vulnerability scanning, XML-RPC, connection protection) and improve performance (caching):

In addition, at the top of your sidebar, you’ll find a menu called “Site Assistant”:
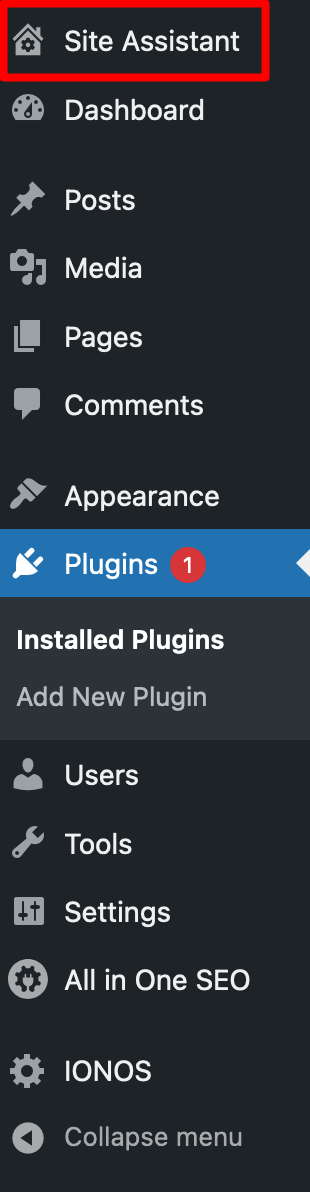
This wizard will help you configure WordPress, allowing you to create pages and site design using artificial intelligence, for example.
It will ask you what type of site you want to create, its structure (one-page or multi-page), your objectives (increase SEO traffic, sell products, get appointments, publish a blog, etc.), the design, and the desired tone:
In just 30 seconds, your site is automatically created, complete with main pages, content, and images!
This will save you a lot of time, even though you’ll have to tweak and refine what’s been designed to suit your expectations and your business.
Let’s agree that it’s a good starting point if you’re starting from scratch, but you’ll need to go much further than that to offer a professional site.
Take a look at the home page of the 100% AI website created by IONOS :
Dedicated personal advisor
To conclude this section on the main features of IONOS, let’s talk about a practical rather than a technical aspect.
It’s impossible not to mention it, given that it is one of the strong points of the IONOS offering and a competitive advantage over most of its rivals.
From your My IONOS interface, you can request assistance from a single personal advisor for all your queries.
This person can be reached Monday to Friday by phone on a direct line, by email, or by chat.
He or she can help you set up your domain names, create your email addresses, or manage your website.
To take advantage of this free service, activate it by going to the “Help & Contact” menu in your customer interface.
In the “Contact” tab, simply click on the “Activate now for free” link to take advantage of personal assistance:

That’s it for this overview of the main features of My IONOS.
Note that this presentation was not intended to be exhaustive. If required, you can find further functions and help with configuring them in the IONOS Help Center.
How much does My IONOS cost?
My IONOS itself does not have a cost. However, you must first subscribe to an IONOS product (hosting, domain name, emails, etc.) before you can use it.
For your information, IONOS offers a wide range of hosting services (shared, virtual) from $1 excl. tax/month (for the first year). You can also check out their cloud and virtual servers.
There are three main offers dedicated to WordPress (from $1/month before tax for 1 year):
- “WordPress Hosting” package, where you take care of the technical administration of the site on your own.
- “Managed WordPress hosting” package. In this case, IONOS takes charge of technical and server administration (security, updates, performance, etc.).
- “WooCommerce Hosting” offer (for online stores with traffic and numerous product references) at the single rate of $16 excl. tax/month for 1 year.
When choosing your WordPress hosting package with IONOS, please bear in mind that you can switch from managed to classic hosting, but not vice versa. All hosting packages come with a 30-day money-back guarantee.
Our final review of My IONOS
Throughout these lines, you’ve learned how My IONOS works and how to use it, with a detailed presentation of its main features.
We enjoy working with this hosting management interface, which gets straight to the point.
While it doesn’t have as many advanced settings as competitors like cPanel or Plesk, My IONOS does have the merit of concentrating the essentials you need to take care of basic operations on your WordPress site in a clear, practical interface.
Easy to handle, it will suit all profiles, from beginner to advanced user.