Are you tired of wasting a substantial budget on impersonal image banks that your competitors are already using extensively on their own sites?
Finally learn how to create images with AI in WordPress to design custom, impactful visuals directly from your dashboard, without any graphic design skills whatsoever.
Here we reveal the essential tools and secret techniques to automate image production and give your brand a unique graphic identity in a matter of seconds.
- Why use an AI tool for your WordPress images?
- The different solutions for generating AI images in WordPress
- How-to guide: Create an image with an AI plugin on WordPress
- The art of the prompt: How to effectively talk to AI to create images in WordPress
- After generation: Don't neglect optimization
- Legal issues and rights of use: What you need to know
- Conclusion on creating AI images in WordPress
- FAQ
Why use an AI tool for your WordPress images?
If you still think that paying small fortunes for banal photos is the norm, think again. Ignoring artificial intelligence today is a bit like throwing money out the window and risking sabotaging your visual identity.
Let’s consider why you should change your method.
Significant time and cost savings
Image banks like iStock can charge you as much as $10 per image, not to mention the hours wasted searching through their catalogs. That’s a hefty price to pay, whereas AI tools radically circumvent both these problems.
Compared with an annual subscription costing several hundred dollars, the cost of AI image generation is often piddling.
What’s most impressive is the speed of production. Where you might have to wait several days for results from a graphic designer, creating images with AI in WordPress literally takes seconds. You type in your request, validate it, and the results are generated immediately.
Unique visuals to set you apart
We’ve all seen that same generic “smiling team meeting” photo on about ten different sites. By generating images with AI, you can avoid this kind of pitfall.
AI generates visuals that are 100% unique and impossible to reproduce identically, so you don’t end up with a site that looks just like all the others.
It’s also a weapon of choice for your branding. With AI-based image generation tools, you can finally impose a consistent visual style on all your pages, something technically unfeasible with disparate image banks.
You also reduce the risk of finding your “hero” image on your direct competitor’s home page.
Total (or almost total) creative control
Via a prompt (a simple text description), you describe the image you want to create, and the tool realizes your creative vision without discussion.
The advantages of creating images with AI in WordPress are numerous:
- Substantial savings: no more costly image bank subscriptions
- Guaranteed uniqueness: visuals that no one else has, for a strong brand identity
- Fast turnaround: images ready in seconds
- Artistic control: the ability to dictate the style, mood, and detail of each image
The different solutions for generating AI images in WordPress
Dedicated plugins: The all-in-one solution
To create images with AI in WordPress, the most direct route is to install dedicated plugins.
These tools graft a brand-new interface onto your back-office, dedicated specifically to image or content generation, without you having to touch the code.
Here’s a selection of reliable WordPress plugins for generating images using artificial intelligence:
- AI Engine: all-in-one solution that connects WordPress to AI models (OpenAI, Claude, etc.) to create content, generate images from text prompts, edit images, and automate tasks directly from your dashboard.
- AIP (formerly AI Power): full-featured AI plugin that includes a text-based image generator, as well as tools for creating chatbots, generating content, forms, automations, and integration with WooCommerce.
- WP Nano Banana: open-source plugin that generates and edits AI images directly from the WordPress media library. It supports several AI templates (OpenAI, Gemini-Nano Banana Pro, Replicate), lets you combine and transform images, and integrates natively with Gutenberg, Elementor, WooCommerce, etc.
The major strength of these plugins lies in their independence: whatever your theme or builder, they’ll work to deliver your visuals.
This is a particularly strategic option if you want to centralize image production without finding yourself handcuffed to a closed ecosystem.
Integration in page builders
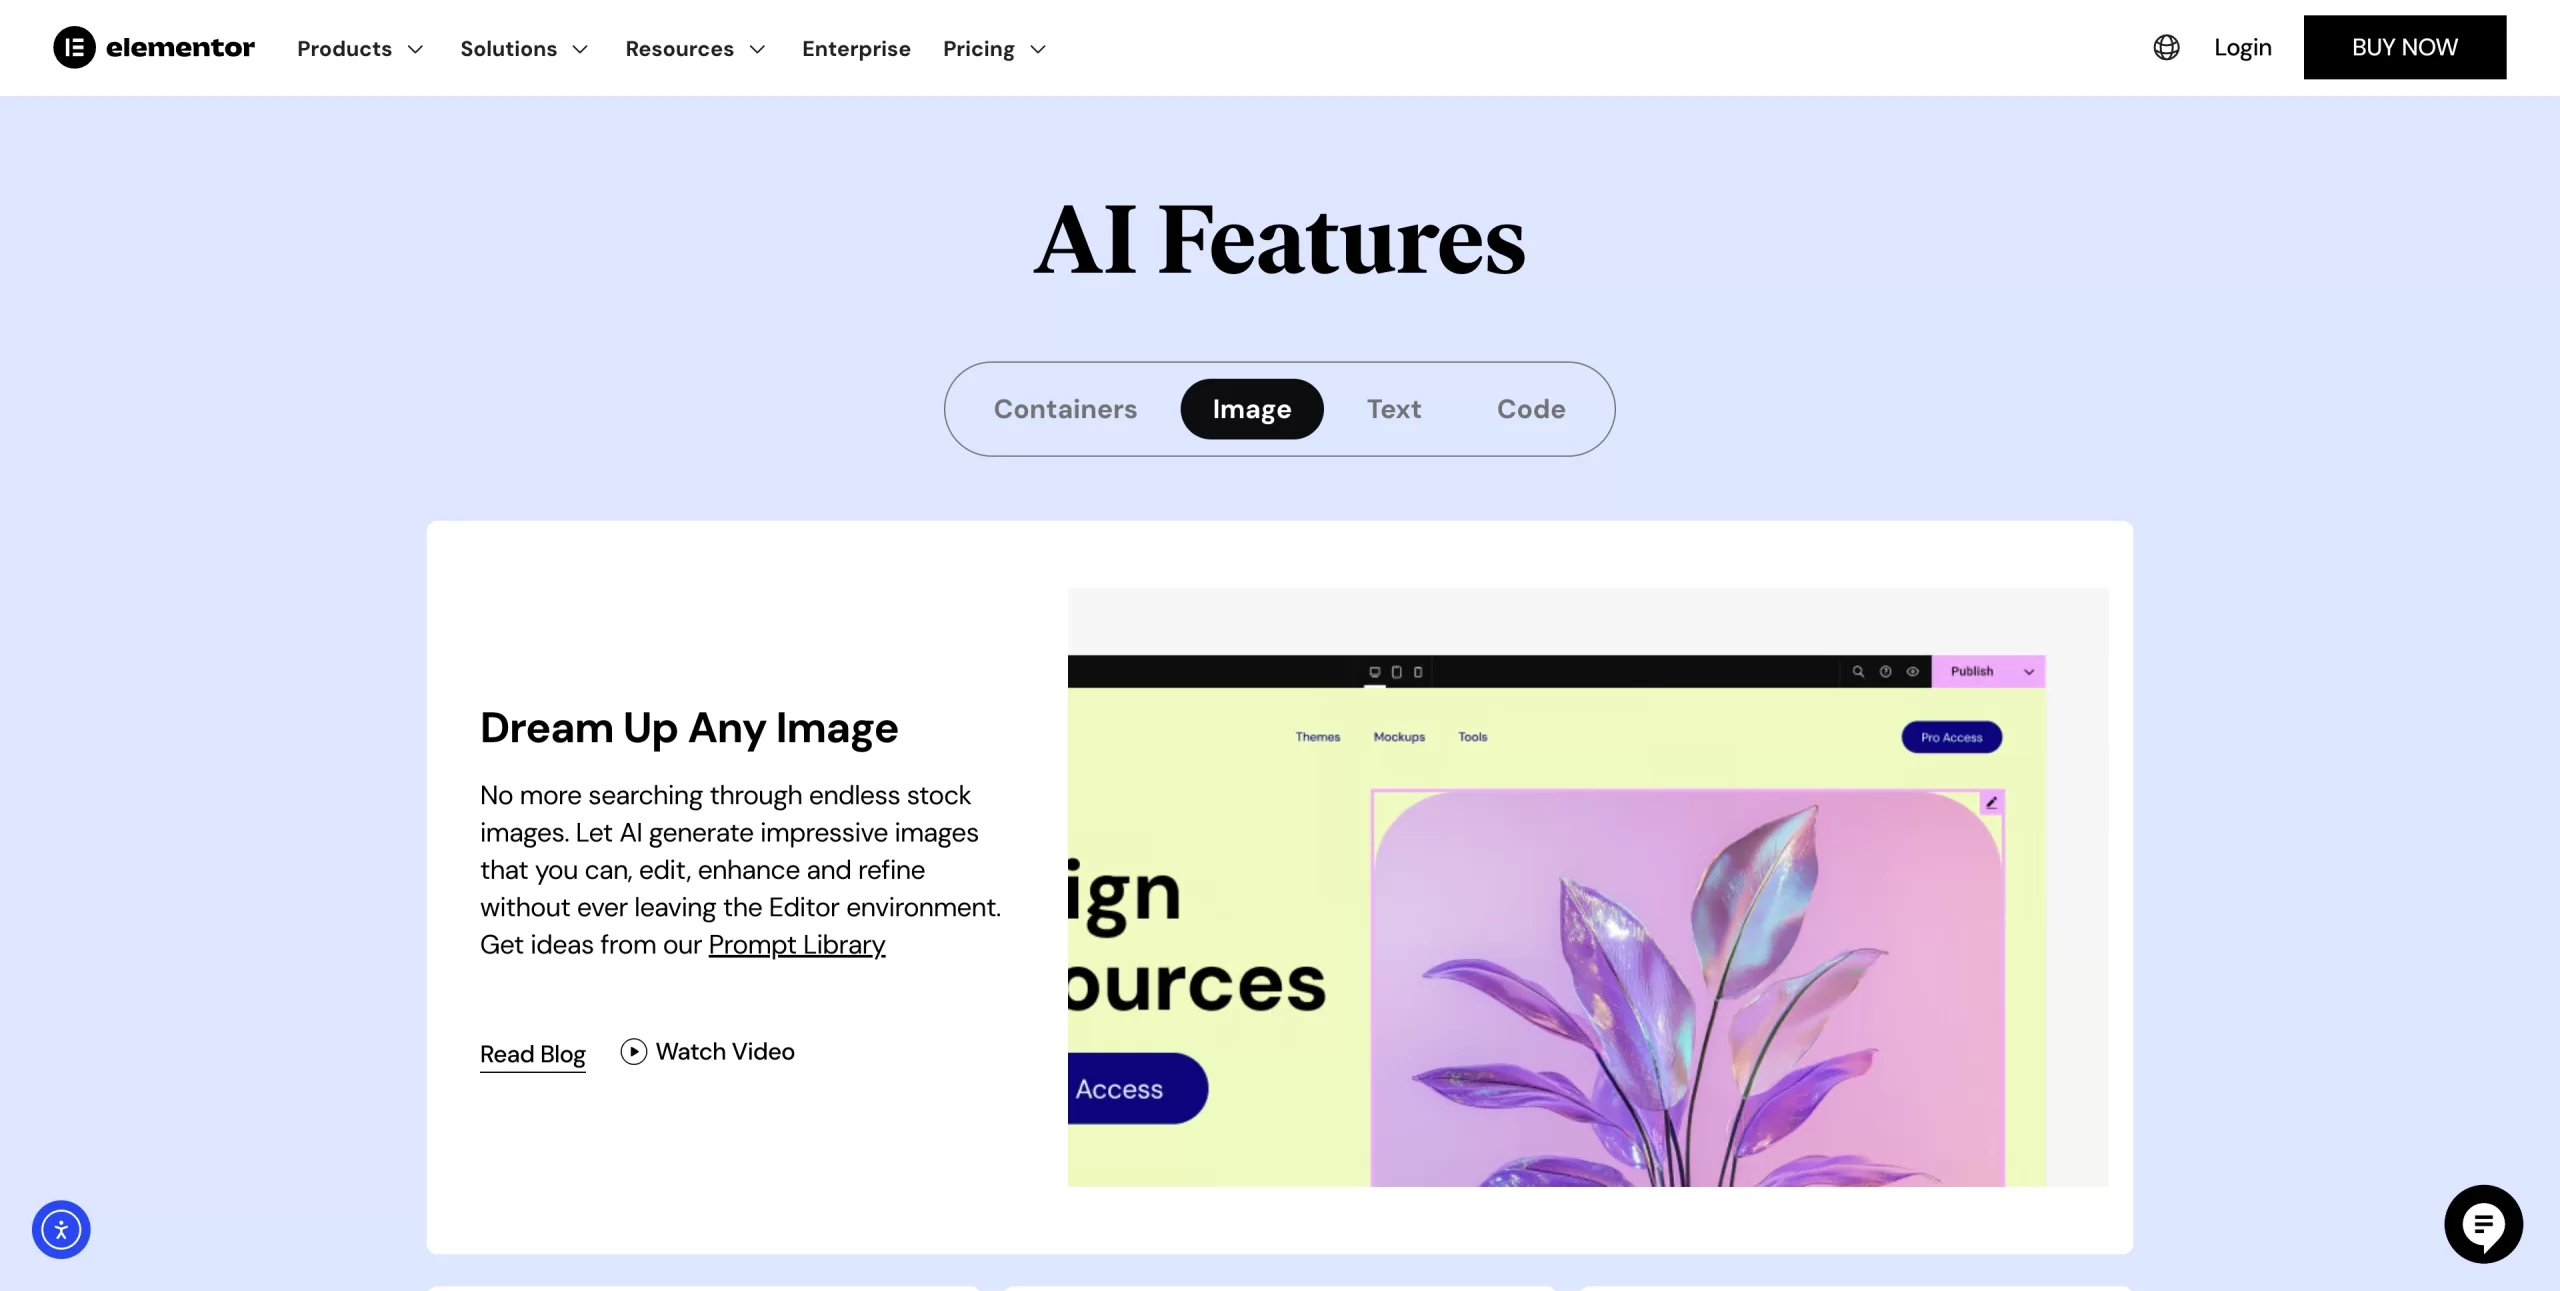
Page builders are now integrating their own artificial intelligence modules. The advantage here is undeniable: seamless integration into your workflow, without ever leaving your visual editor.
The flagship examples are Divi AI for Divi devotees, and the Elementor AI solution for Elementor fanatics. The image is generated directly in the widget where it will be displayed, completely eliminating the intermediate steps of exporting and importing.
The manual method: External tools and uploads
Finally, there’s the “manual” approach: generate your visuals on external tools like Midjourney, then upload the image to the WordPress media library.
While this method offers total control over models, it is technically less integrated and slower. You’re constantly ping-ponging between the external tool and your site, which can undermine your productivity.
Consider this a fallback solution if you decide not to explore the best AI plugins for WordPress.
How-to guide: Create an image with an AI plugin on WordPress
Enough theory, let’s get down to business. Let’s take a step-by-step look at how to generate your first image directly from your WordPress dashboard.
Choosing and installing the right plugin
Let’s take the WP Nano Banana plugin as an example. To download it, go to the plugin page on GitHub, and click on the green “Code” button, then on “Download ZIP.”

To install it on your WordPress site, go to Plugins > Add Plugins, then click on “Upload a Plugin,” and select the plugin’s ZIP folder.
Generate an image with AI in WordPress from a prompt
Once the plugin is installed and activated, go to Settings > WP Nano Banana in the WordPress admin, and enter your API key.
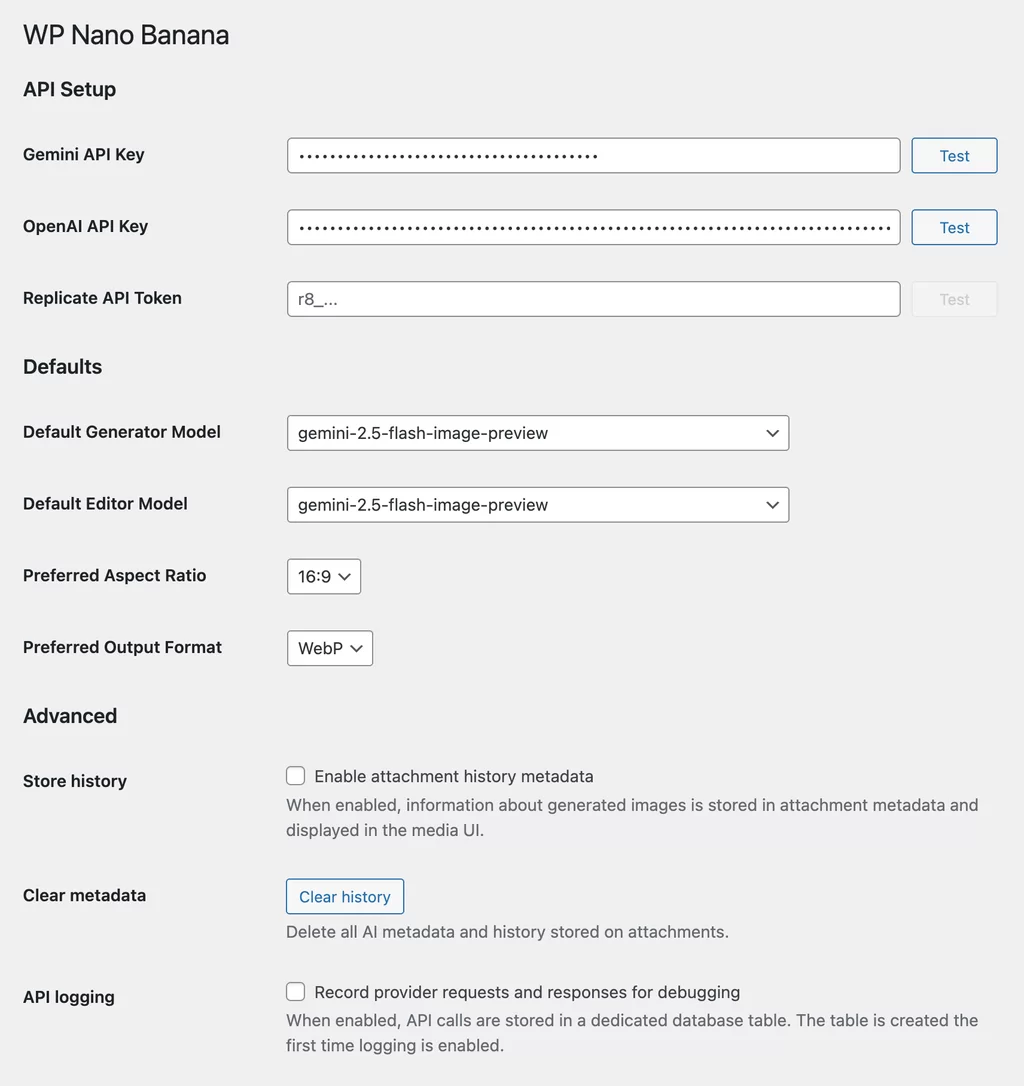
To generate an image with WP Nano Banana, go to your media library and click on “Generate Image.” Enter your prompt in the field provided, choose an AI model, then click on “Generate Image.”
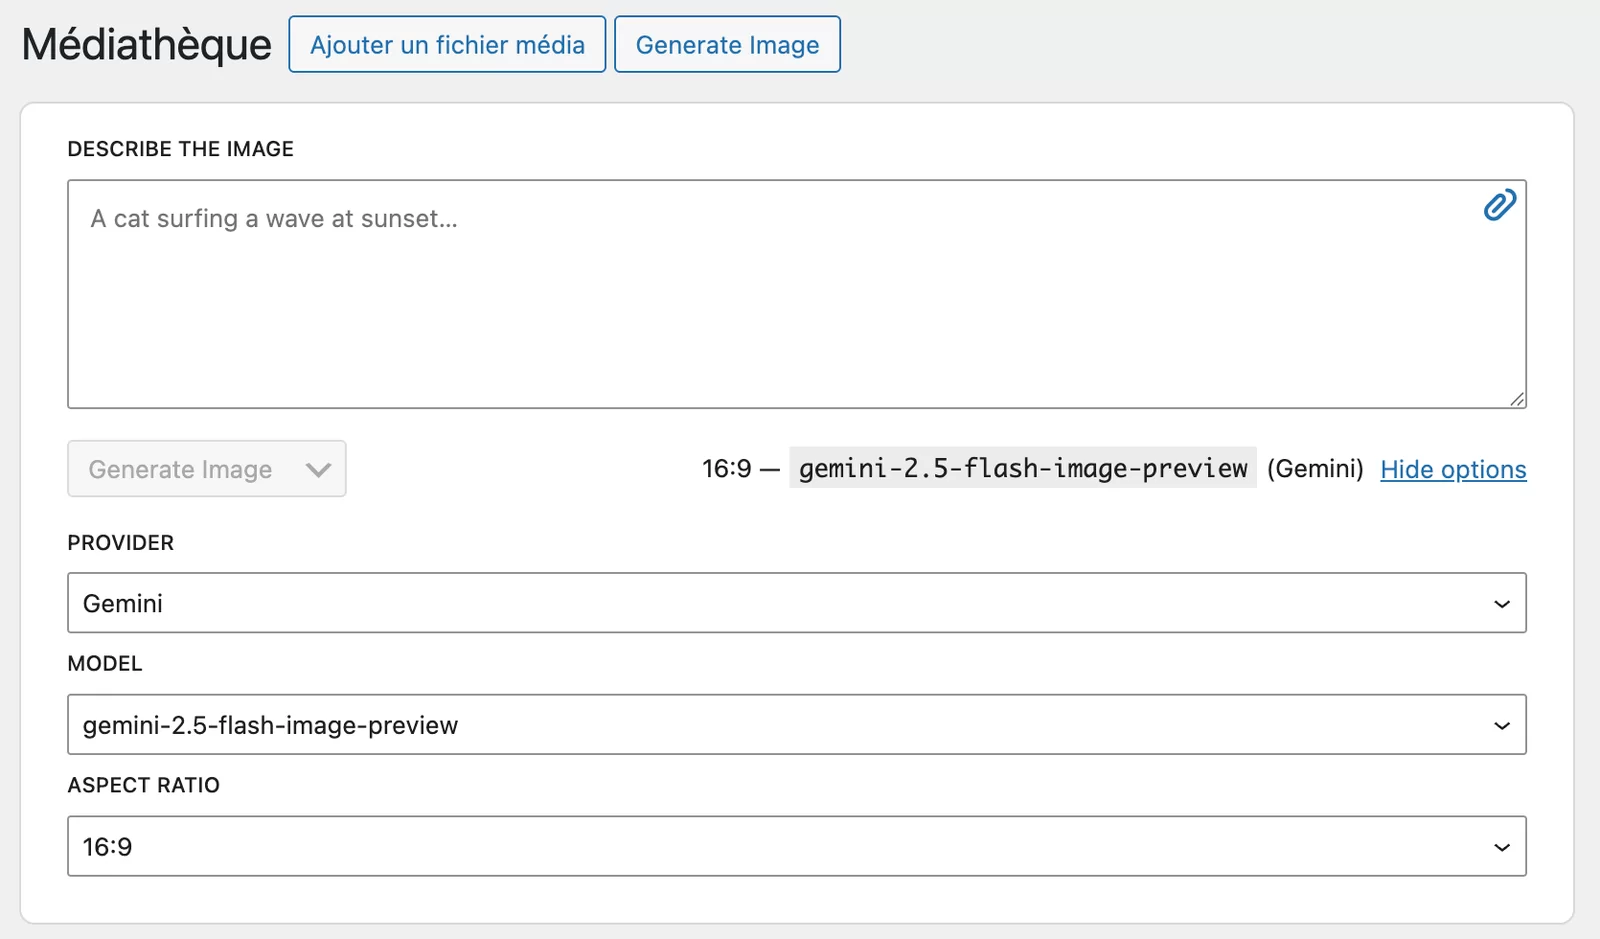
In just a few seconds, your image is created and saved in your media library.
Combine existing images with AI
In your WordPress media library, select the images you wish to combine, and click on the “Combine with AI” button.
Type in your prompt, choose the AI model you want, and click on “Generate Image”.
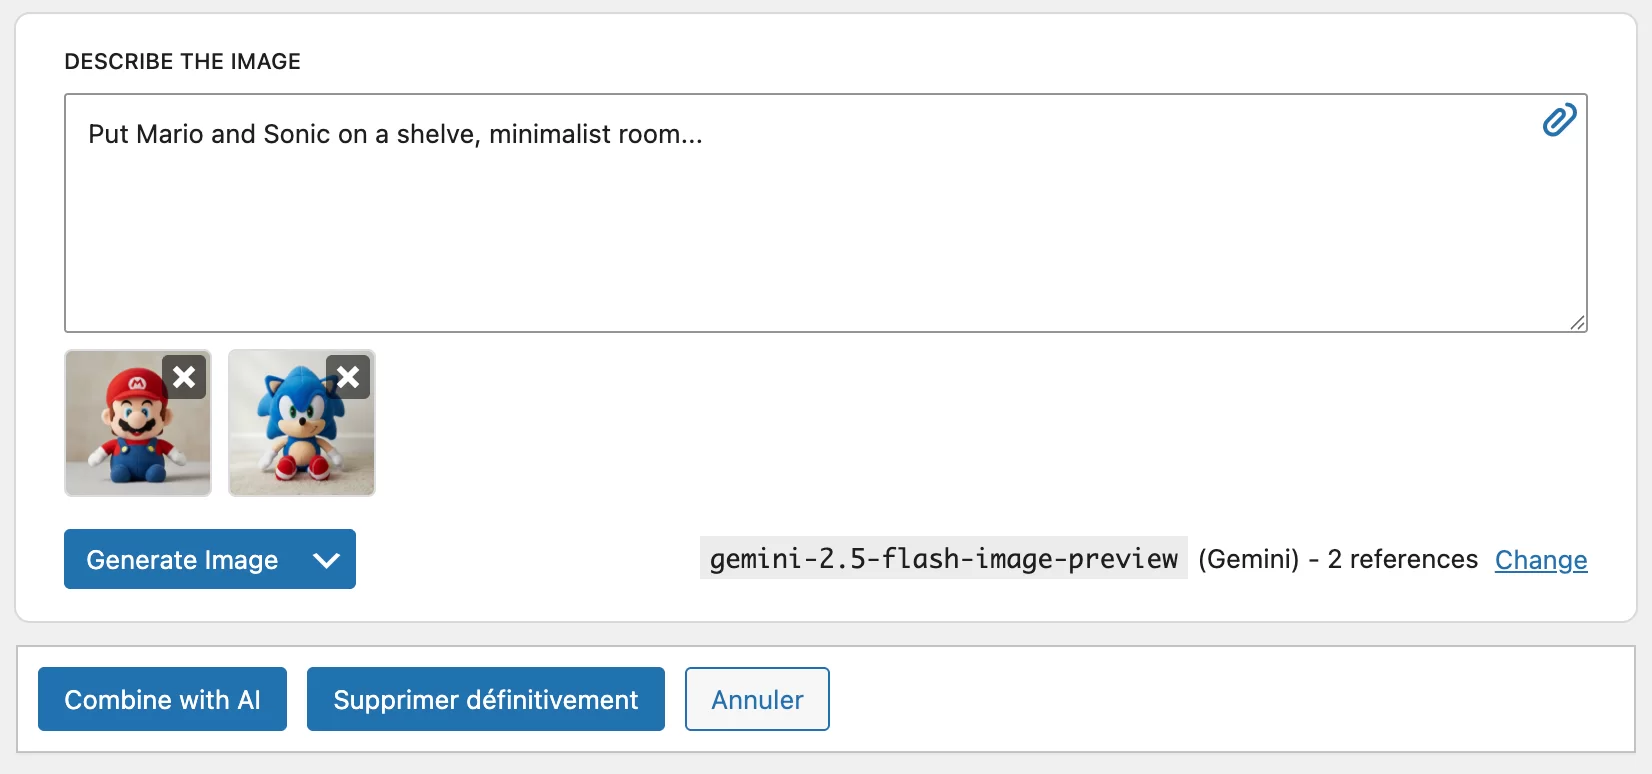
After a few seconds, here’s the result!

You can then insert your freshly generated images into your articles or pages, or set them up as image highlights for your content.
The workflow is complete, without you having to leave WordPress: a real time-saver!
The art of the prompt: How to effectively talk to AI to create images in WordPress
You’ve got the tool, but you’re disappointed with the results? Maybe the problem isn’t the AI, but what you ask it to do. Learning to “prompt” is the key to saving maximum time when working with artificial intelligence.
Be specific, very specific
Artificial intelligence has no imagination; it just carries out orders. If you just type “a car,” you’ll get a generic visual. To create quality AI images in WordPress, you need to detail the color, environment, and action, for example.
Let’s see the difference. A bad prompt is limited to “a dog.” A better prompt would look more like: “a golden retriever puppy with a ball sitting in the green grass, lit by the sun, looking at the camera.”
Set the style and mood
The subject of your image isn’t everything. You need to guide the AI on the artistic rendering to avoid the “image bank” effect. In a way, this is what gives soul to your visual.
Here are some technical modifiers to add to your descriptions:
- Style : specify “realistic photography,” “oil painting,” “watercolor,” or “pixel art,” for example.
- Artist: ask for a “Van Gogh-style” or “Ghibli-inspired” rendering.
- Ambience: impose a “dark cinematic atmosphere,” “dreamlike lighting,” or “vivid colors.”
- Shot: demand a “top view,” a “close-up,” or a “wide angle.”
Use negative prompts
The concept of negative prompting is still relatively unknown, but can be very effective. Here, it’s not just a question of saying what you want, but of telling the AI what NOT to include. Most generators offer a field dedicated to this filtering.
It’s a powerful lever for cleaning up your visuals. For a portrait, banish the flaws known to AI tools: “misshapen hands, text, blur, etc.” For a landscape, for example, exclude intrusions such as “people, cars, modern buildings.”
After generation: Don’t neglect optimization
Compress and resize: A question of speed
You’ve just created some quality AI images in WordPress, but watch out for the dreaded technical trap: these raw files often weigh a lot. The result? Your site crawls, your visitors flee, and Google risks penalizing you.
The solution is not to delete the image, but to compress it in order to optimize your site’s performance.
To do this, you can use a plugin like Imagify. It drastically reduces the size of your file without reducing its visual quality.

Finally, never publish a 3000-pixel image on an 800-pixel screen. Resize to the exact display size.
Think WebP and AVIF formats
Forget the classic JPEG. WebP and AVIF formats offer far superior compression than PNG for the same quality. Google loves them, and your PageSpeed scores will instantly thank you for this technical upgrade.
No need to manually convert your files one by one. Most of the compression tools mentioned above, such as Imagify, automatically convert your visuals to WebP or AVIF and serve the correct version to the visitor’s browser.
Fill in the alternative text
Google is blind. It doesn’t “see” your pixels, it reads the alternative text (alt tag) to understand the context. This is a direct referencing factor for Google Images that many sites still neglect today.
Some AI plugins pre-fill this field via the prompt, but don’t trust them blindly. Always check and refine. The alternative text must describe the image in concrete terms.
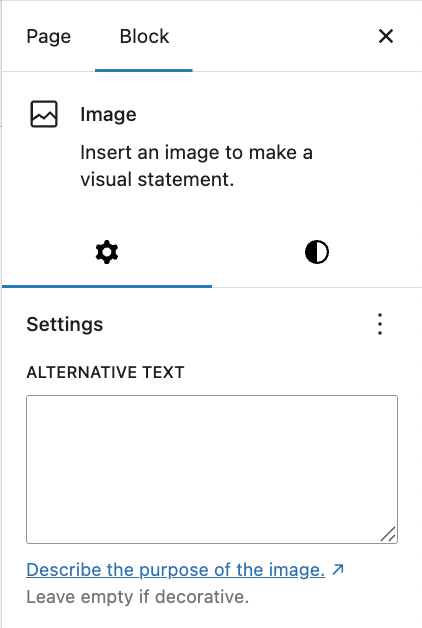
It’s also a question of accessibility: screen readers use this tag for the visually impaired.

Legal issues and rights of use: What you need to know
It’s all very well generating visuals on the fly, but who really owns them? Before basing your entire strategy on creating images with AI, a quick legal note is in order to avoid unpleasant surprises.
Who owns AI-generated images?
The legal situation remains unclear, or even non-existent in some cases. In most jurisdictions today, a work generated without substantial human intervention simply cannot be protected by conventional copyright.
In practical terms, this means that you don’t necessarily own the image, but neither does anyone else. It could technically fall into the public domain, accessible to your direct competitors.
The message is simple: be absolutely careful. Never treat these raw visuals as protectable intellectual property.
Can they be used for commercial purposes?
It all depends on the terms of use of the AI tool you choose to use. Some giants, such as DALL-E, explicitly authorize the commercial use of your creations, while other platforms remain much more restrictive on this precise point.
It is imperative that you consult the tool’s terms of use before integrating an image generated for a logo or a major advertisement. This is the only source of truth that will effectively protect you in the event of a dispute.
How to secure the originality of your creations
To make an image more “personal” and potentially protectable, you need to add significant human intervention. AI should only be the basis of the work, not the end result.
I suggest retouching the image in an editor or combining it with text. This reinforces your “authorship” of the final visual and limits the risks.
Conclusion on creating AI images in WordPress
Whether you opt for a dedicated plugin or a page builder, creating images with AI in WordPress gives you considerable time savings and creative freedom.
Whatever method you use (with a dedicated plugin, a page builder, or manually), don’t forget to optimize your files for performance and SEO, and to remain vigilant about image usage rights.
Now it’s your turn to get creative. 😉
FAQ
Do I need to install a plugin to generate AI images on WordPress?
No, technically you can generate your visuals on an external tool like Midjourney or DALL-E, download them, then import them manually into your media library.
However, using a dedicated plugin or one integrated into your page builder (such as Elementor AI or Divi AI) eliminates this tedious back and forth.
You save precious time by creating, editing, and inserting images directly from your administration interface, without ever leaving your workflow.
Is it possible to create images for free using AI in WordPress?
Yes, but with important nuances. Some plugins offer limited free versions or a set number of credits offered on registration to test image generation.
Nevertheless, for regular, high-quality production, you’ll often need to connect an API key (such as OpenAI’s) that charges a few cents per image, or take out a premium subscription. However, this is still much less expensive than a monthly subscription to a traditional image bank.
Do AI-generated images actually belong to me?
This is the current gray area, and we need to be careful. As a general rule, images created entirely by AI are not protected by copyright in the classical sense, as they are not considered a direct human creation.
In practical terms, this means you can use them freely for your site (commercial use is often authorized), but it’s difficult to legally prevent a third party from using them. Always check the specific terms of use of the tool you’re using.
Will adding AI images slow down my WordPress site?
Yes, if you integrate them raw, without any processing. Generators often supply heavy files (PNG or high-resolution JPG) that are not optimized for the web.
To avoid penalizing your performance and SEO, it’s imperative to compress these images and convert them to a WebP or AVIF format. Ideally, pair your AI generator with an image optimization plugin like Imagify to automate this process.
Why does the result generated not match my description at all?
The problem often comes from a prompt (text command) that is too vague or poorly structured. AI doesn’t have an imagination, it executes orders. If you’re not precise enough in your prompt, the result will be random.
Be surgical in your requests: specify the subject, action, environment, lighting, and above all the artistic style (e.g. “photorealistic,” “pixel art,” “oil painting,” etc.). Also use negative prompts to specifically exclude undesirable elements.

Receive the next posts for free and access exclusive resources. More than 20,000 people have done it, why not you?

Continue reading
Articles posted in WordPress TutorialsHow to create a WordPress site with Elementor’s AI tools: A step-by-step method
I’m sure you experience it every day. Creating a WordPress site often means juggling a thousand tasks: structuring your pages, finding the right words, refining the design, handling technical details, and so on. Result: you move forward… but not always…
How to remove unused shortcodes on WordPress
Are your visitors seeing unsightly tags displayed in your content, forcing you to look for a solution to effectively remove unused shortcodes from your WordPress site? Stick around: this practical guide shows you how to identify residual uninstalled plugins and…
Complete guide to resolving the “There has been a critical error on this website” error
“There has been a critical error on this website.” That’s the kind of chilling message you don’t like to see on your screen. When it’s displayed there, concern mounts. Your site is no longer accessible, not only to your visitors,…