It’s a simple operation that can turn into a nightmare. At the beginning, you simply want to facilitate the life of a new collaborator who will be writing and editing articles on your site.
You give him your administrator credentials to make things easier. You trust the person. You move forward with your eyes closed.
In the end, he undermines the integrity of your site by publishing erroneous information without your approval…

This fictitious situation may seem crazy, but it happens more often than we really think. That’s why you need to manage your users carefully on your WordPress site.
You can host as many users as you want — it’s great for collaborative work — as long as you make sure your site is working properly, as well as securely.
The first step is to restrict user rights based on their involvement. Want to know more? Follow the guide for detailed instructions.
What are the different roles on WordPress?
In order to understand what happens next, let’s first briefly define what a role is.
According to the WordPress documentation, “a role defines a set of tasks that a person who has been assigned the role is allowed to perform.”
The person who has a role is a “user.” The tasks they can perform are called “permissions,” in WordPress jargon.
To manage the scope of user permissions, you need to assign them a specific role.
You already know about the administrator, but there are also:
- Editors
- Authors
- Contributors
- Subscribers
WordPress also offers another predefined role, called Super Admin, which is only present on a multisite network. In this case, this user is the only one who can configure and manage the network (add/remove sites, themes, plugins, etc.).
Each of these roles gives more or fewer permissions to the accounts to which they are assigned.
Let’s look at them in detail, starting with the most restricted one, the subscriber.
What is the Subscriber role?
Unlike non-registered visitors, subscribers can access certain parts of the site.
If you need to set up a site with members, like a sports club might have, the users must be subscribers.
They will not be able to add or modify content, access settings, or anything else:
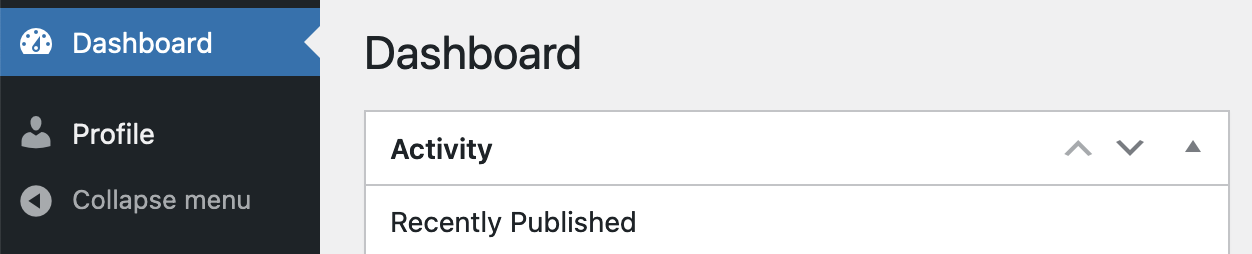
As you can see, subscribers’ capabilities are quite limited in terms of administration. They will only be able to access the dashboard and their profile to update their information.
If you want to give more possibilities, you will have to choose a higher role.
Recommendation: Assign the role “subscriber” for all new users. This will save you a lot of trouble.
What is the Contributor role?
The point of the contributor role is that they can participate in a site by writing articles. This is already more useful.
However, they do not control the publication.
Indeed, once an article is written, the contributor will have to submit it for review so that a user with more rights can decide (or not) to put it online.
You can assign this role to people who come to publish occasionally, as in the case of a guest post. This will allow you to keep control over your content.
The only drawback is that this role doesn’t have the rights to upload images (we’ll see how to fix that later on in the article).

On the other hand, the contributor has the option of adding categories and tags directly via the article editing interface, which can be problematic.
Remember: Having too many tags is bad for SEO.
Keep an eye on the categories and tags added by contributors before you hit the “Publish” button.
Once online, the publication cannot be modified by the contributor. They will not be able to delete it.
At the end of the day, these really are contributions. Once they’re published, it’s not possible to go back.
Only users with the appropriate permissions will be able to make changes.
As for comments, contributors can only view them. Contributors do not have the ability to moderate comments (even for their own articles).
Recommendation: Assign the role of “contributor” to guest editors.
Now let’s look at a more important role…
What is the Author role?
Authors are users who can publish and manage articles as they see fit. Unlike contributors, they do not need approval to post articles.
By default, authors can also upload files. They can enrich their content with images without any problem.
If ever a correction is necessary, they have the ability to modify their publications after they have been put online.
We might say that their articles really belong to them because they can delete them if they wish.
On the other hand, authors cannot edit the publications of other users (because they are not the authors).
Concerning the comments, they can moderate those written on their articles.
Recommendation: Assign the “author” role to regular and trusted writers (otherwise, default to the “contributor” role).
What is the Editor role?
The editor role has control over all editorial matters. He can publish posts and pages, as well as modify and delete them as he pleases (even if the contents were created by other users).
With this role, we go one step further in terms of freedom of action.

The editor can manage categories and tags, which allows him to add, modify, and delete them as needed.
Users with this role can fully manage comments. That is, they can validate, moderate, and delete them on any article.
Recommendation: Assign the “editor” role to people who need to have control over all content (your editors).
What is the Administrator role?
An administrator can do absolutely anything on a WordPress site. That’s why hackers always try to take control of it.
With this role, the user has access to all the editorial content, just like an editor, but he can also manage all the options of the site.
An administrator can change the WordPress theme, customize it, add plugins, configure them, and edit the menus and widgets, as well as access the settings.

As mentioned in the introduction, this role was assigned to you during the installation. That’s why you have access to the whole site.
Be sure to keep your login information safe. It should not fall into the wrong hands. 😉
Recommendation: Assign the “administrator” role only to your webmaster, or any other trusted person who needs access to the entire site.
Not only could another administrator harm you, but they could also have their credentials stolen. This would put you at additional risk.
Other roles in WordPress
We’ve just looked at the five default roles. However, in some projects, this is not always enough.
For example, the fact that a contributor can’t insert images in his posts can be annoying. Or a custom role where the user could only moderate the comments (a moderator) might be useful.
In the rest of this article, we will see how to create new roles in WordPress.
But before we do that, let’s first look at…
How to add users
Fill out a form
After studying the theoretical side, let’s see concretely how to integrate new people on your site.
To add a new user, just go to Users > Add New:

The form for creating a new user will appear. Some fields are optional (Such as “First name” and “Last name”), but I recommend filling them all in. Let’s see what they correspond to.
The “Username” field will be used to log in to the site. To avoid nefarious people guessing it, choose something that’s somewhat complex.
For example, if the user’s name is Allen Ducasse, you can mix the last name, first name, and some numbers. This could be “ducala61947.”
This ID will always be more complicated to guess than “alainducasse” or “alain.ducasse.”
Once you have added it, it will not be possible to change it. So you have to choose carefully.
The other fields and the password
Then come the fields for the email address, the first name, and the last name.
The “Website” field will host the user’s website (if they have one).
For the password, WordPress will generate a complex one automatically (for example LuDJ5cgU!uH*kXqXTgG6Nh00).
Please don’t replace this password with something simple. I know it’s easier to remember, but it also makes your site a prime target.
If there are problems, you can’t say that WordPress is a security sieve. Protect your site by using complex logins and passwords.
As a reminder, a strong password should include at least 15 upper and lower case characters, numbers, and symbols.
If you are afraid of forgetting your passwords, you can use a software like Dashlane to save them safely.

And by going through the WPMarmite affiliate link, you’ll get 6 months of free access to Dashlane’s premium version!
Let’s go back to the form fields.
The “Send User Notification” checkbox allows you to send an email with your login information, inviting you to specify a new password. Another complex password will be suggested but the person will be free to specify a different one.
I’m counting on you to tell your users about the importance of security, especially if it’s an author or a more important role!
Choose a user role
Let’s talk about the role. You have to specify it using the drop-down menu at the end of the form. We have examined the subtleties of the five available roles already, so the choice should be relatively easy.
Remember that you expose your site to risks if you grant too many permissions to someone who doesn’t need them.
Once you have that figured out, all that’s left to do is to click on “Add New User” to complete the addition process.

Congratulations, you have just added a user to your site! Without transition, let’s move on to the next step: user management on WordPress.
How to manage users on WordPress
Once you have added another account, you will be automatically redirected to the page listing all the users of your site:

For each of them, you can see the user’s:
- Username
- Name
- Role
- Number of published posts
If the number of users is large, you will be able to sort, search, and perform group actions. By default, these actions are deletion, password change, and role change.
Just like posts and pages, you can modify users individually. For example, you can change the user’s email address or assign another role.
An author who has abused his rights could be demoted to contributor, or vice versa if he needs to be more involved on your site.
To make these changes, hover your mouse over the user to be updated. You will see that several links appear:
- Edit
- Delete
- View
- Send password reset

If you hover over your “admin” account, you will see that the “Delete” link does not appear. Indeed, your site could not do without you!
The “View” link will open a page showing the articles you have published.
Finally, if you click on “Edit,” a page similar to the editing of your profile will be displayed (for the user concerned of course).
Let’s find out more about that in the next part.

How to edit a user profile
Instead of putting a giant screenshot of this page, I will proceed step by step. This will avoid you getting lost.
Are you ready? Then let’s start with…
Personal options
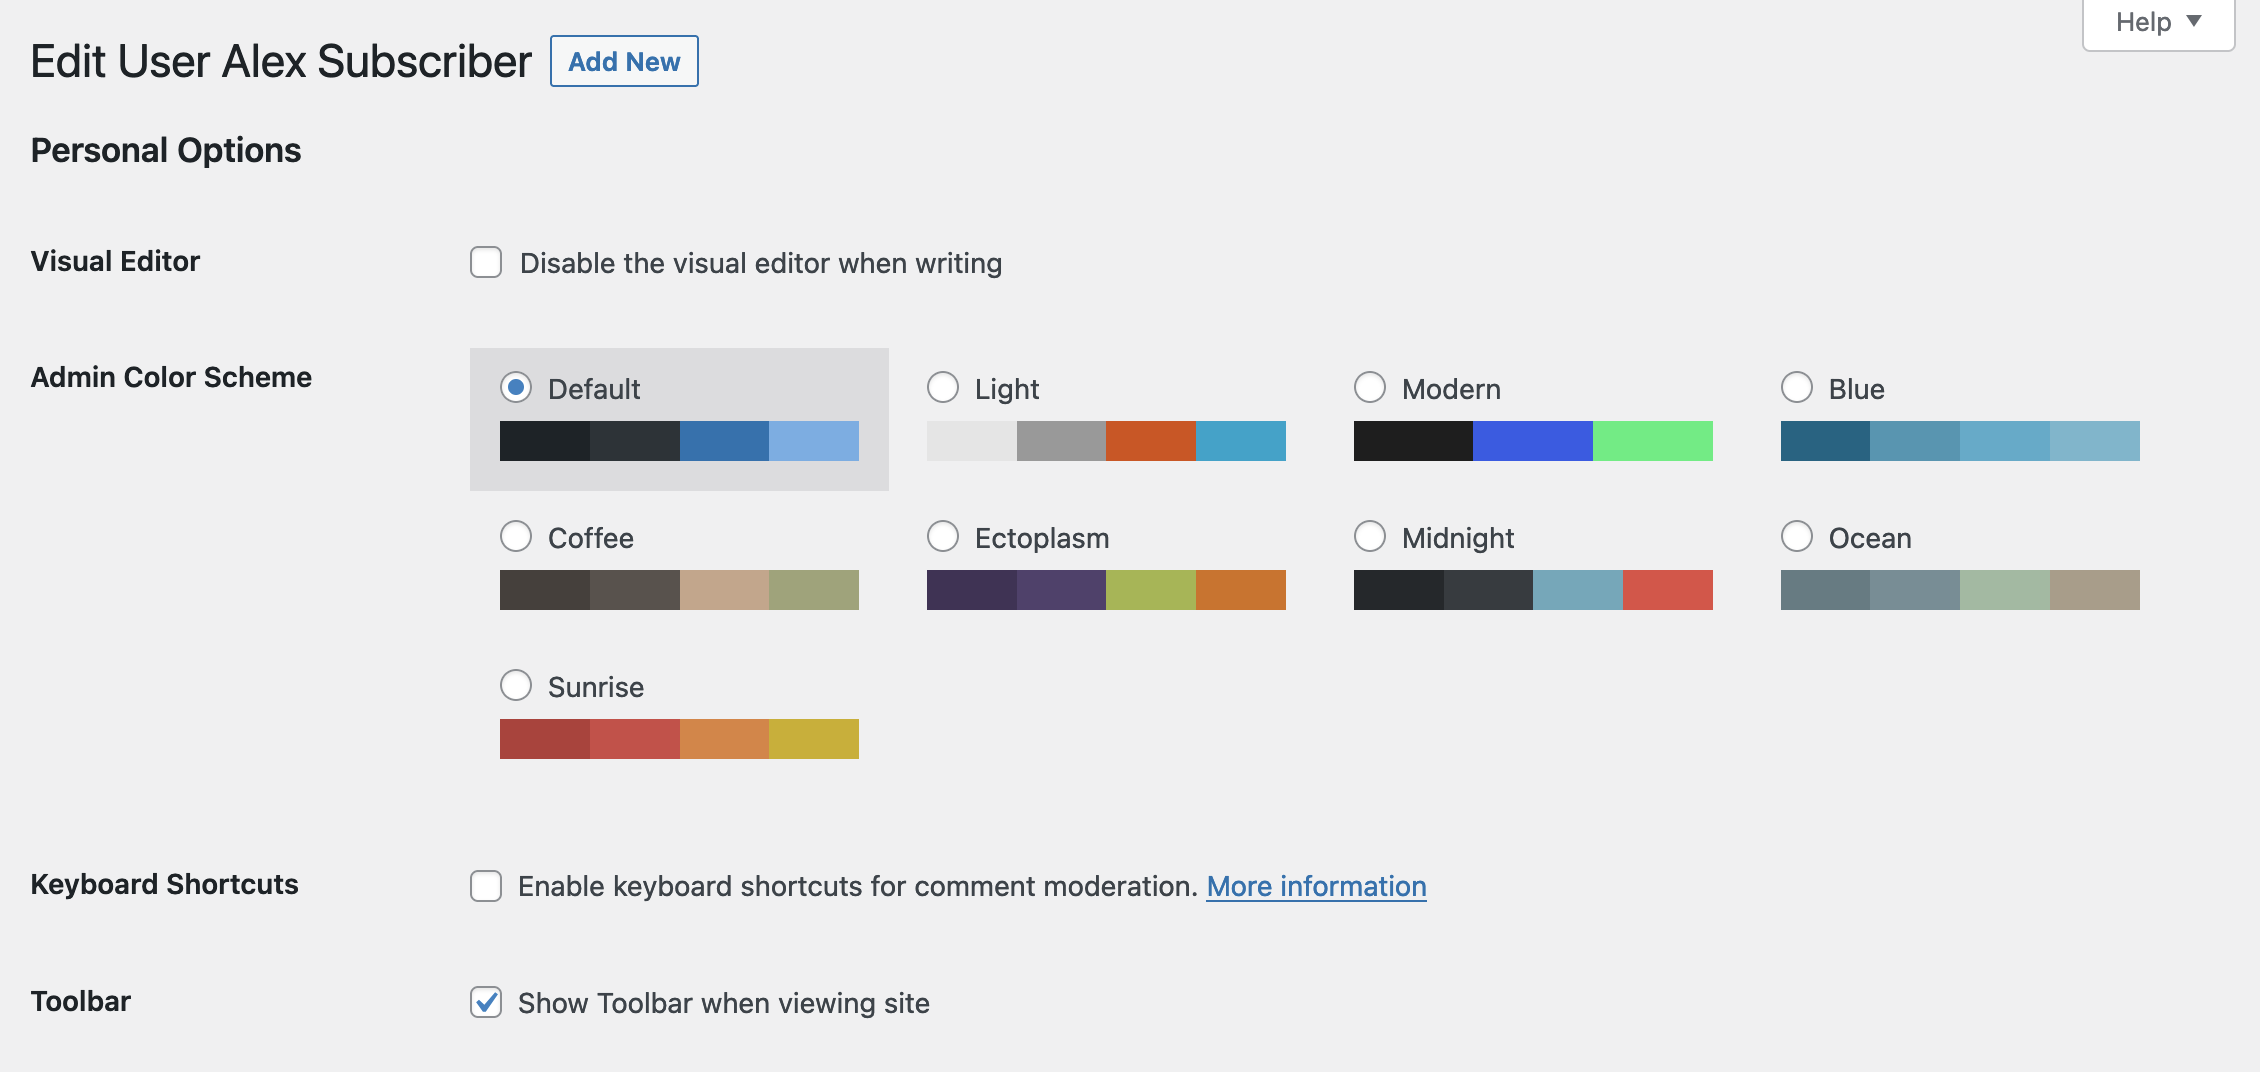
The first option allows you to disable the visual editor (Gutenberg). I don’t recommend checking this box, because you will not be able to access the blocks of the WordPress content editor to write your publications.
You will only be able to write plain text, or add HTML code, which is not very practical.
The next option is purely aesthetic. It will allow you to define the appearance of the administration. Just choose the colors that suit you best. 😉
Next, you have the possibility to activate keyboard shortcuts for comment moderation. If you are a beginner, I suggest learning how to moderate comments in the classic way before activating the shortcuts.
To be honest with you, I don’t even know them and I’m doing fine!
The last of the personal options allows you to display the toolbar when you are on the site. This is very useful to switch from the site to the administration in the blink of an eye. It’s better to keep it.
Change name and role
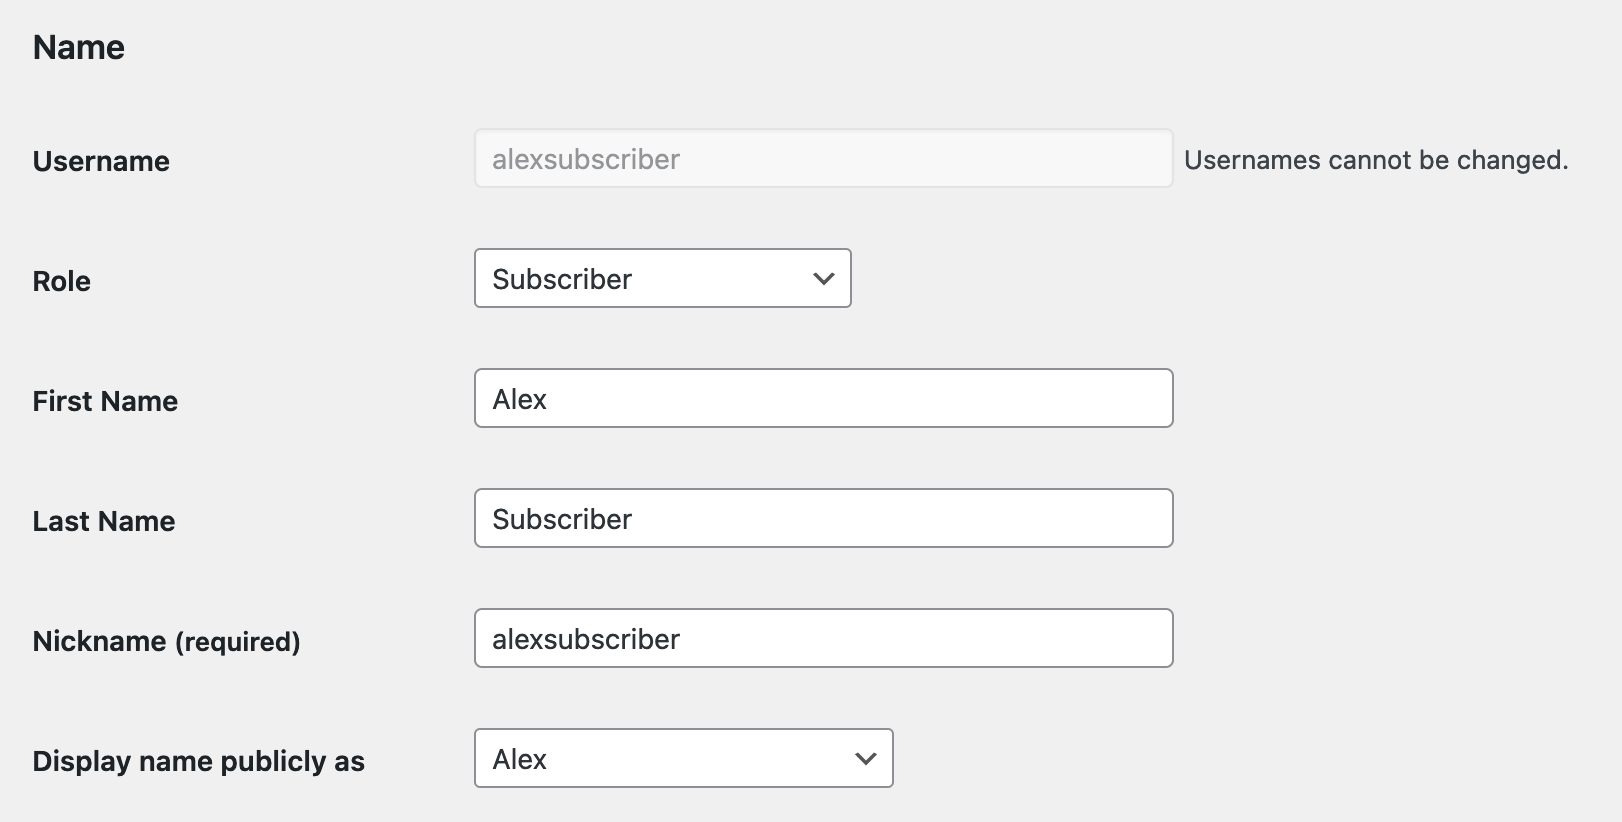
Next comes the user’s personal information.
We find the username with which you created the site. As you can see, it cannot be modified (if you absolutely want to modify it, you will have to go and hack into the database with PHPMyAdmin).
Underneath, you can modify the role, the first name, the last name, and choose a nickname (note that if you modify your profile, you will not be able to change your role).
The drop-down menu “Display name publicly as” is used to choose the name with which you want to be identified on the site.
Several choices will be offered to you depending on what you have entered in the previous fields but, for security reasons, please make sure that the name displayed publicly is different from the username.
It would be a shame to give it away to potential hackers, wouldn’t it?
Let’s keep scrolling with…
Contact information

There is nothing tricky here. You will be able to modify your email address and add the URLs of your website, the accounts you have on social networks, and even your Wikipedia page, if you have one.
You will only see social network profiles if the Yoast SEO plugin is installed. I decided to discuss this option anyway since there is a good chance that you have Yoast SEO installed on your site.
Other plugins can add additional fields to user profiles. Fill them in as best you can, if you have them.
About the account

Sometimes themes use the biography. For example, it can be found under each article of WPMarmite. Fill it in if this is the case on your site.
For the profile image, your email address must be linked to a Gravatar account. If you haven’t already done this, I explain everything in detail in this article.
Account management

In this section, there is nothing too complicated. You can simply:
- Set a new secure password
- Reset your password
You can also generate application passwords “via non-interactive systems such as XML-RPC or REST API, without providing your real password,” says WordPress. These passwords cannot be used for a traditional login to your site. This is a use reserved for certain scenarios and technical profiles. In principle, you have no reason to use them.
Yoast SEO settings
Let’s finish with the last options on the edit page of a user. Of course, these will only appear if the Yoast SEO plugin is installed.
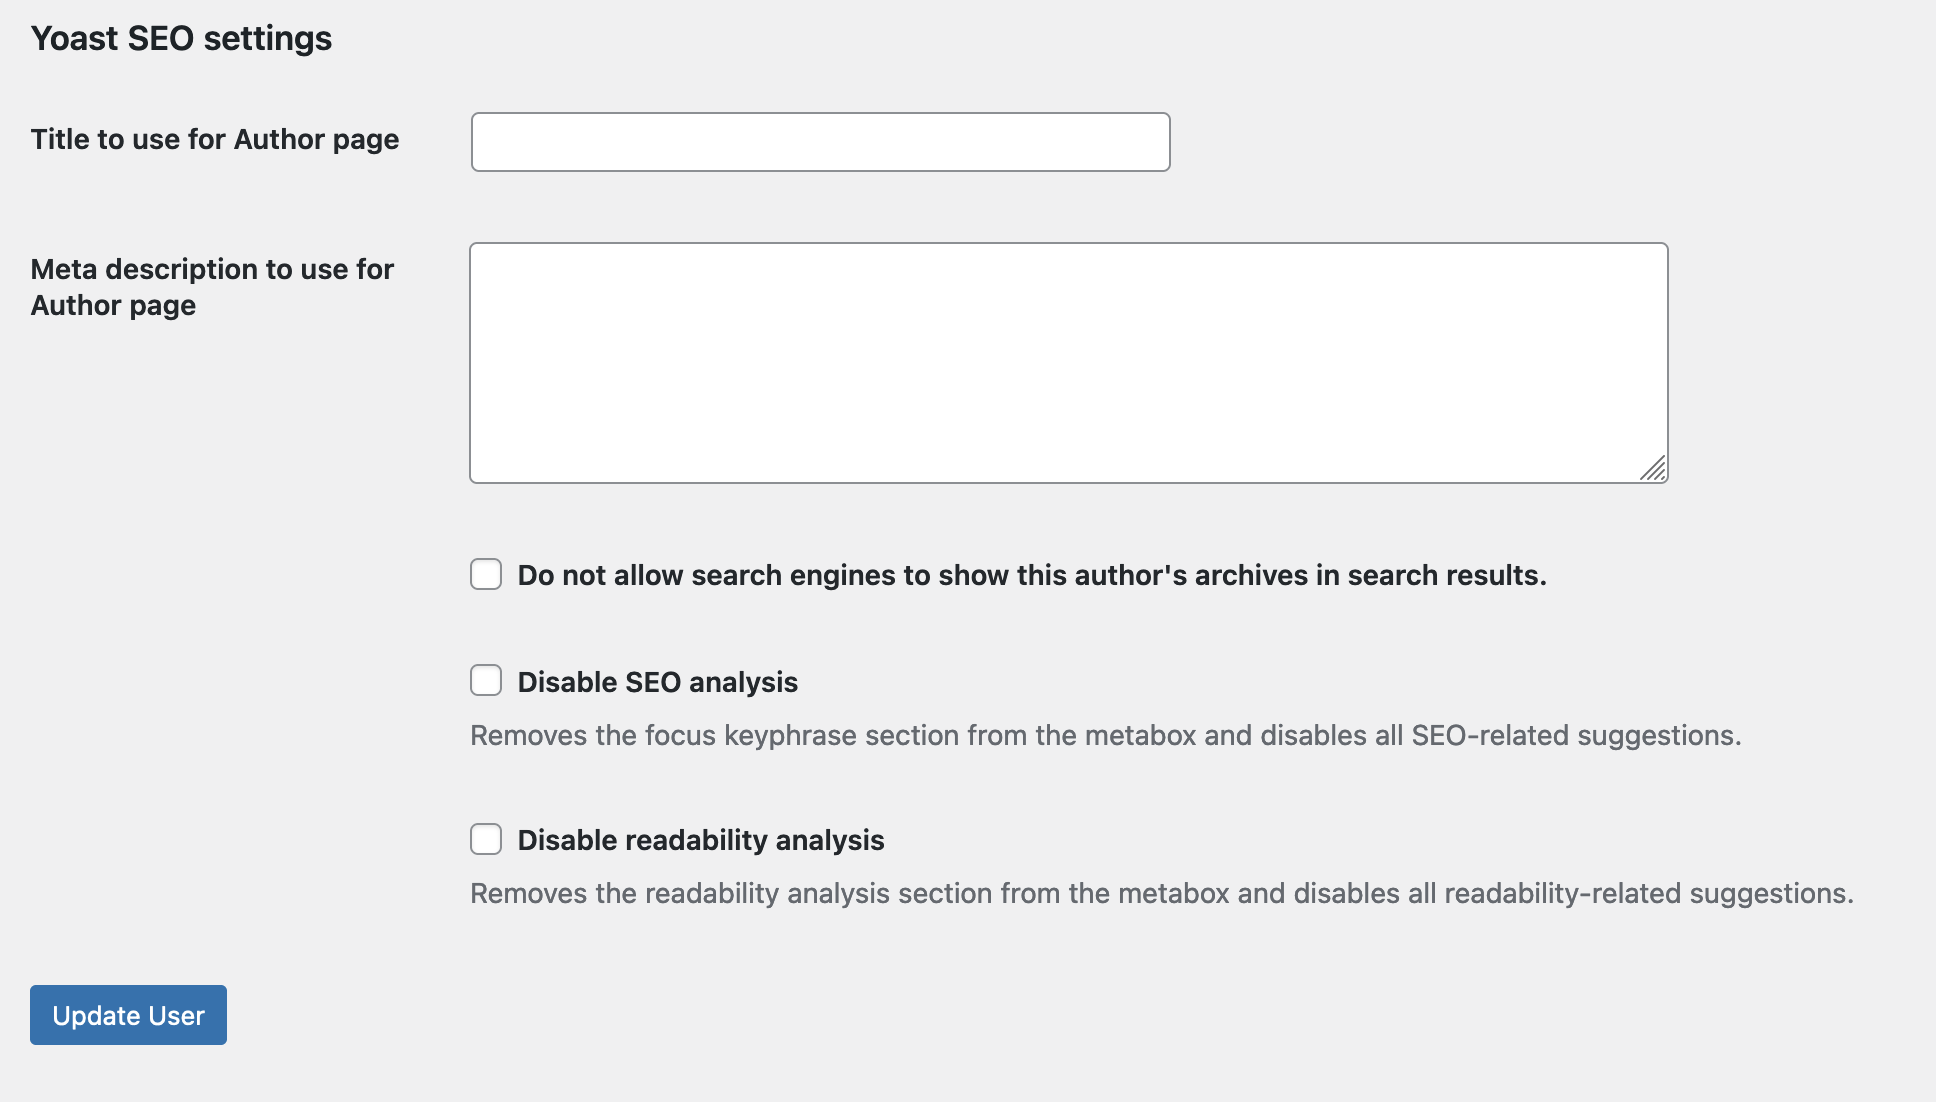
These settings allow you to:
- Specify a title and meta description for the author page associated with that person. If you are not taking advantage of author pages, leave the associated boxes blank.
- Prevent search engines from displaying this author’s archive in search results
- Disable SEO analysis and readability analysis: if you check these options, you won’t have access to them in the Yoast SEO insert when you write/edit an article or page.
Once you’ve made your changes, click “Update Account” to save everything.
Well that’s it, you now know how to edit a user in WordPress!
That wasn’t so hard, was it?
Before I leave you, I have to go back to a promise I made at the beginning of this article.
Indeed, I must show you…
How to modify a role in WordPress
Earlier, I told you that we were going to see how to customize the permissions of a role.
I used the example of the contributor who couldn’t upload images to his posts.
As you may have guessed, there is a plugin for that.
At first I was going to suggest using User Role Editor, but I decided to recommend the Members plugin, which I find easier to use.
With more than 300K+ active installations, this plugin is very well rated ( stars).
Without further ado, let’s find out how to fix your contributor problem.
Before we start, let me say that I won’t detail how this plugin works in its entirety. We’ll just see how to customize a role.
After activating the plugin, the first thing to do is to go to Members > Roles to see their list. We find the five roles that we studied:

Click on “Edit” when hovering over “Contributor” to display the following page:

It may seem complex, but it all fits together.
In WordPress, the ability to perform an action is called a permission. Permission or user right are synonyms.
A contributor has a certain number of permissions (we’ve discussed them above), while an administrator has all of them (the big guy).
Since we want to allow contributors to upload images, we need to click on the “Media” tab on the left to see the list of media permissions (Members uses the term “capability,” by the way).
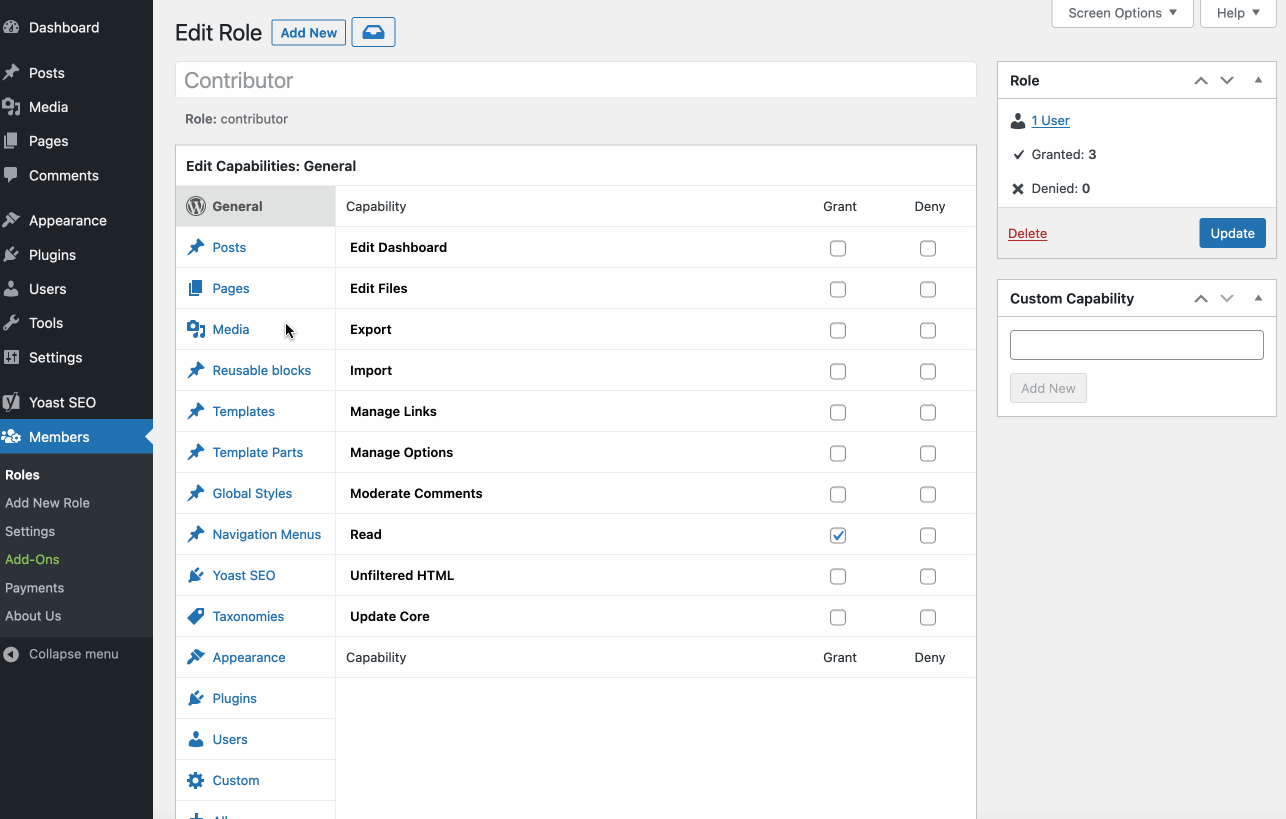
Next, check the “Grant” box for the “Upload Files” capability and click the “Update” button to save everything.
Bingo! Contributors can now upload images to their articles.
Want to make sure it worked?
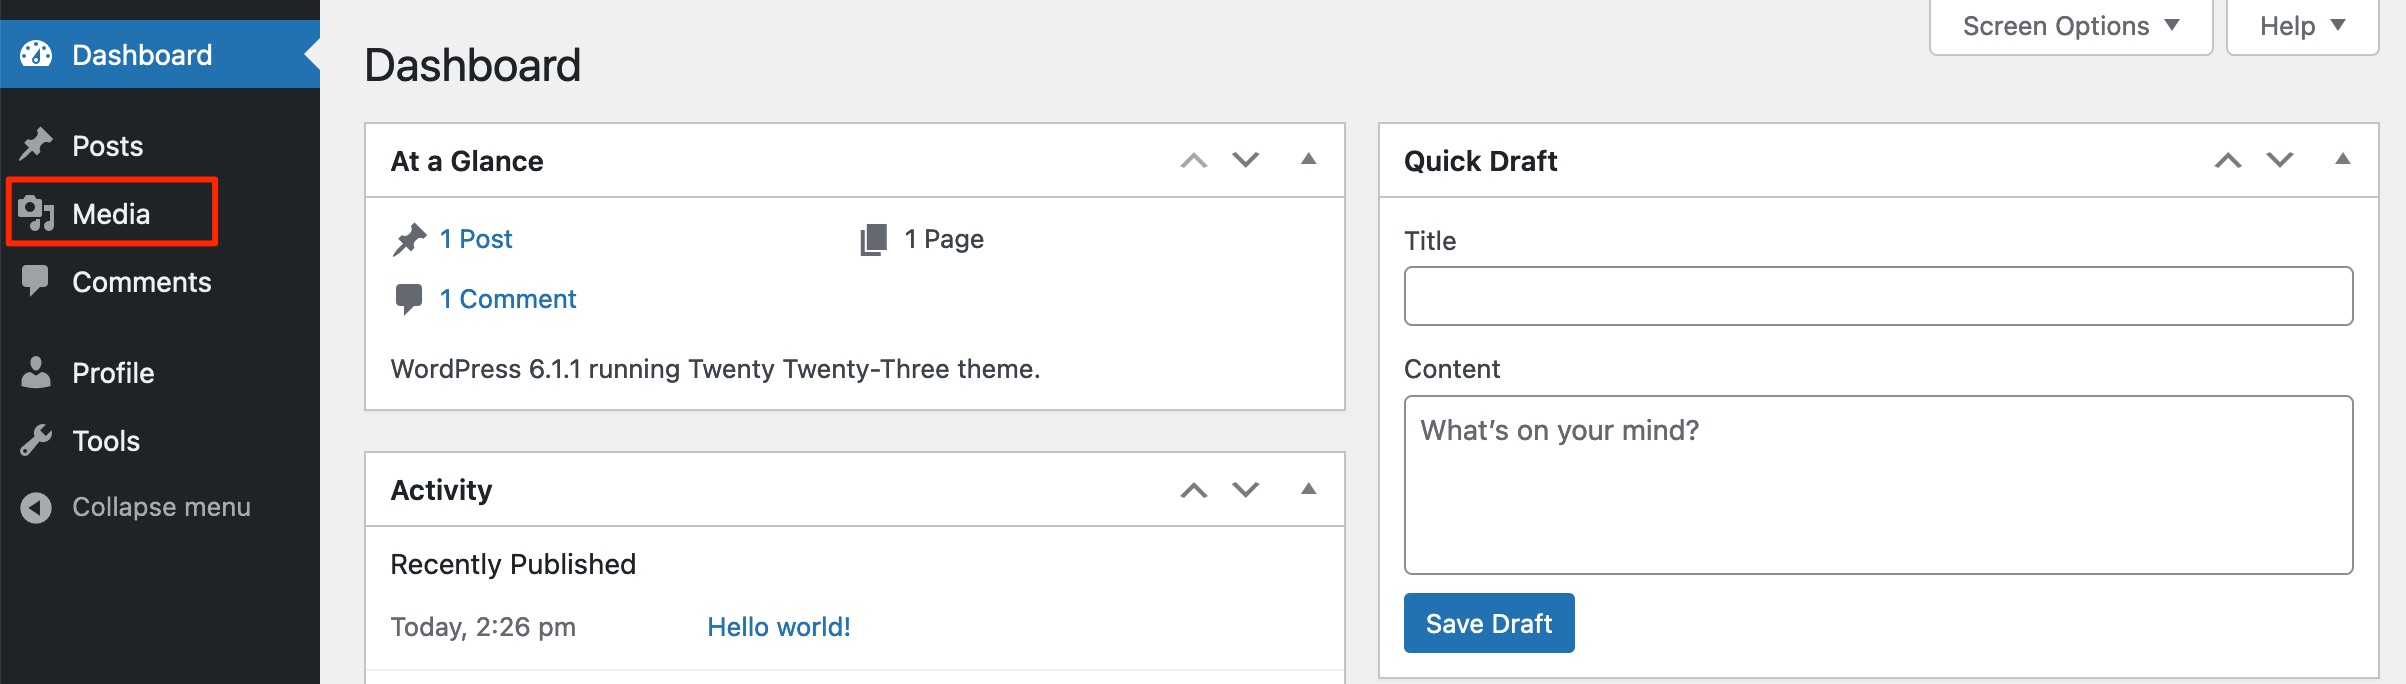
Install the User Switching plugin to connect to it and see for yourself. Check it out:
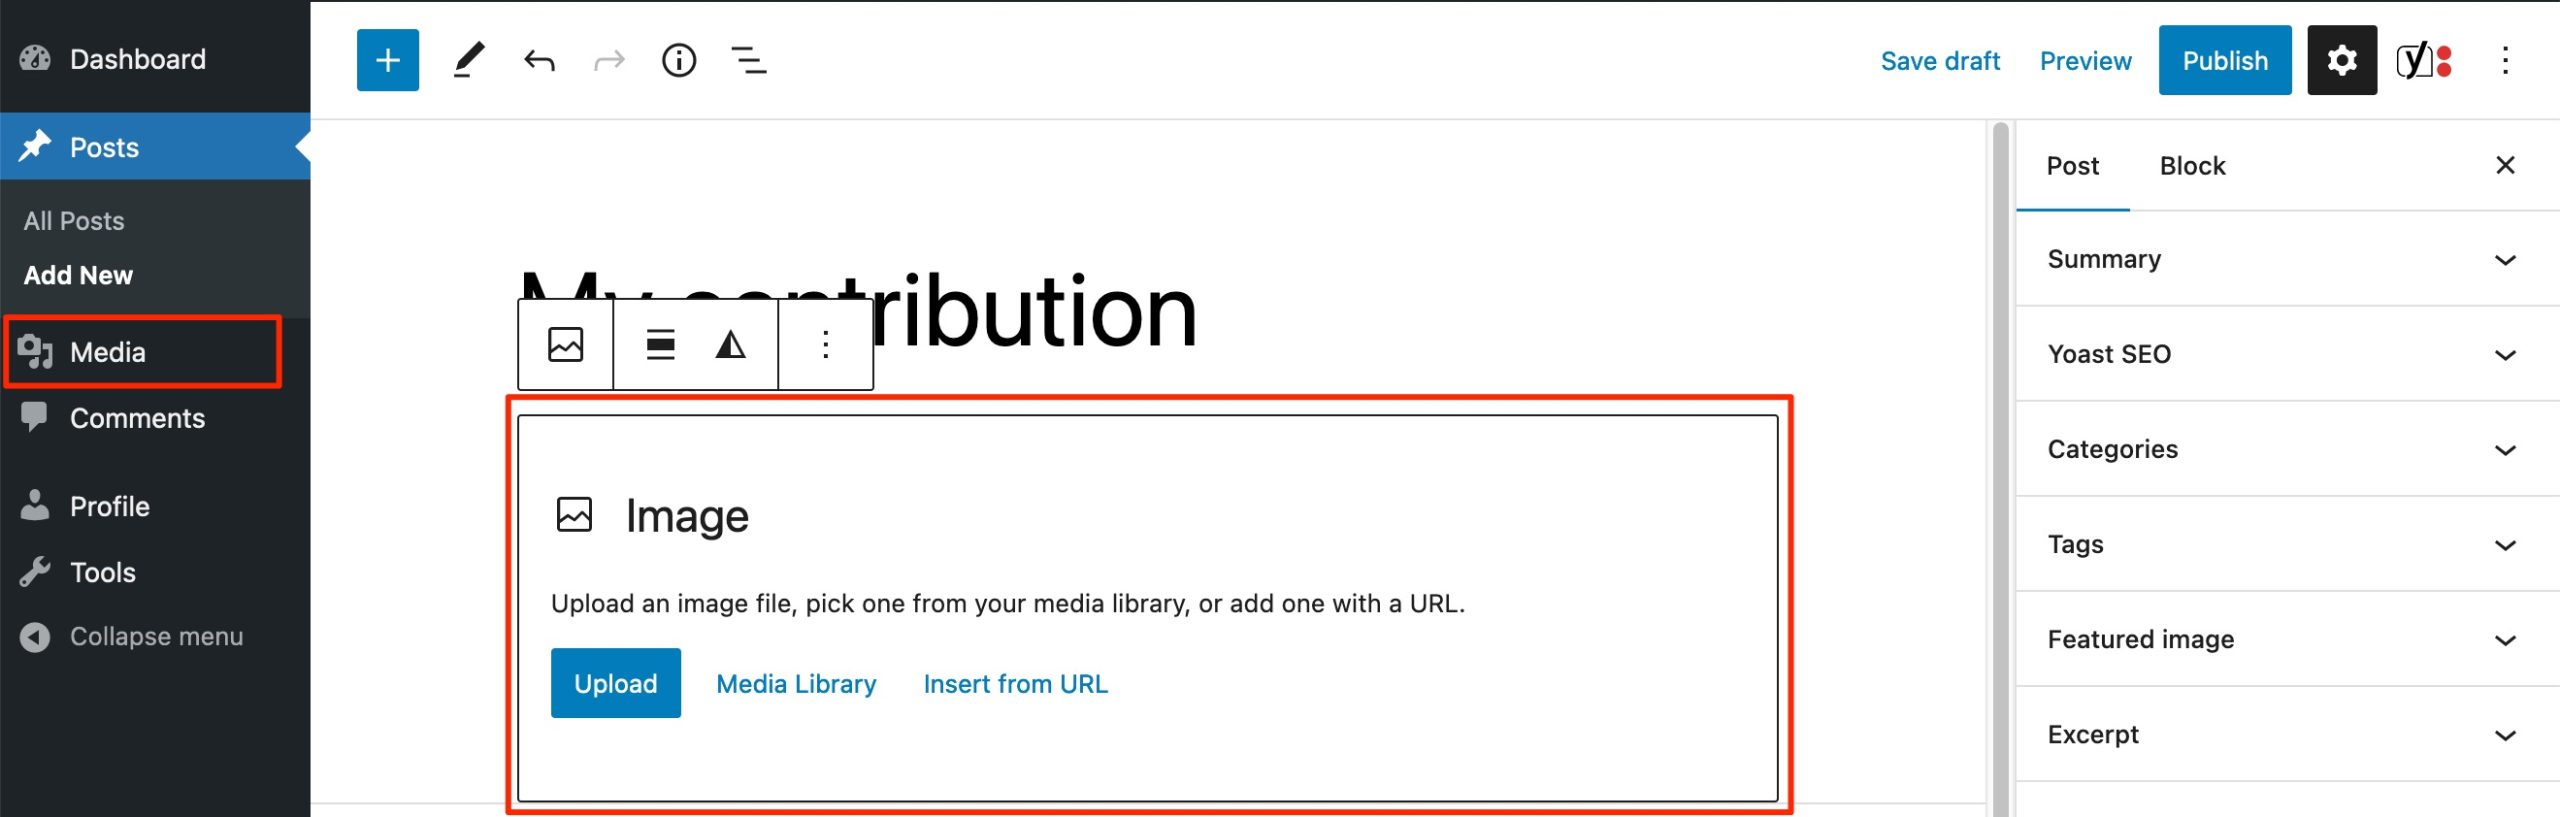
The “Media” menu is also present on the left.
However, all kinds of files can be uploaded to your site. Be careful not to create a contributor account for just anyone. 😉
Of course, this is only an example. You can assign or deny capabilities to other roles. You can even create new ones by going to Members > Add New Role.
Be careful not to manipulate this kind of plugin on a site in production. If you do something stupid, you might regret it.
Perform your experiments on a test site and replicate it on your main site when it is functional.
To set up a test environment, I have to recommend the excellent tool called Local (formerly called Local by Flywheel).
Conclusion
WordPress is not limited to a single user. On the contrary, you can create accounts for your collaborators, members, or clients.
The main thing is to assign roles that correspond to the people you add. Indeed, an editor should not be able to add or remove plugins at will.
There must be a hierarchy, otherwise it will quickly become a mess!
Users have several attributes that can be modified (the administrator can do this, as well as each person for his own profile).
Finally, if the default roles are not enough, you can customize them and create new ones with the Members plugin.
For you: how do you deal with your user roles? Tell me about it by posting a comment.

Receive the next posts for free and access exclusive resources. More than 20,000 people have done it, why not you?

Continue reading
Articles posted in WordPress TutorialsHow to update the PHP version of your WordPress site
What comes to mind when you think of WordPress speed and security? Your favorite plugins, perhaps? You should also think about… PHP! If you’re looking for a site that loads fast, while offering a solid shield against hacker attacks, there’s a…
How to create an effective HubSpot conversion funnel on WordPress (complete guide)
In the drawers of a kitchen, there are often two very useful utensils lying around. The first is the colander. And to illustrate, some WordPress sites unfortunately resemble it. Why? Well, because visitors arrive on the site in question… then…
How to fix the ERR_CONNECTION_REFUSED error: A complete guide
Does your browser display the ERR_CONNECTION_REFUSED message when you try to access a website? This error means that the target server – or your own configuration – is actively rejecting the connection request, leaving you at a dead end. But…