
What comes to mind when you think of WordPress speed and security? Your favorite plugins, perhaps? You should also think about… PHP! If you’re looking for a site that loads fast, while offering a solid shield against hacker attacks, there’s a…
Special thanks to Julien Guiard, WordPress and Divi expert, for writing this post for us.
There you go! You’ve just hung up from your last call with your client where you told him that it would be no problem to make his Divi site multilingual.
And yet, you have no idea how to go about it…
You’ve never been confronted with this new challenge before!
You jump on your favorite search engine and with trembling fingers (what, am I exaggerating?) you desperately try to find a tutorial on how to do it…
And here you are, ready to learn how to translate your Divi site with Polylang.
But don’t worry, I’ll explain step by step how to add this feature to your site.
Overview
If you’re looking for further details about the Polylang plugin and about how to turn your WordPress into a multilingual site, check out this post dedicated to it.
Download and install Polylang on your Divi site
To start, I suggest you download the free Polylang plugin from the WordPress plugin directory.
Install it like any other plugin, then activate it.
Divi and Polylang configuration
Let’s start the configuration of our plugin.
For that I will guide you step by step.
To begin…
Go to the “Languages” page
You will find the “Languages” page in your WordPress administration menu bar. This page allows you to add all the languages you want to use on your site.
When you add your first language, you will see the following message appear at the top of your page: “There are posts, pages, categories or tags without a language set. You can set them to the default language“.
Finish by adding all the languages you want and set the default language by clicking on the little star.
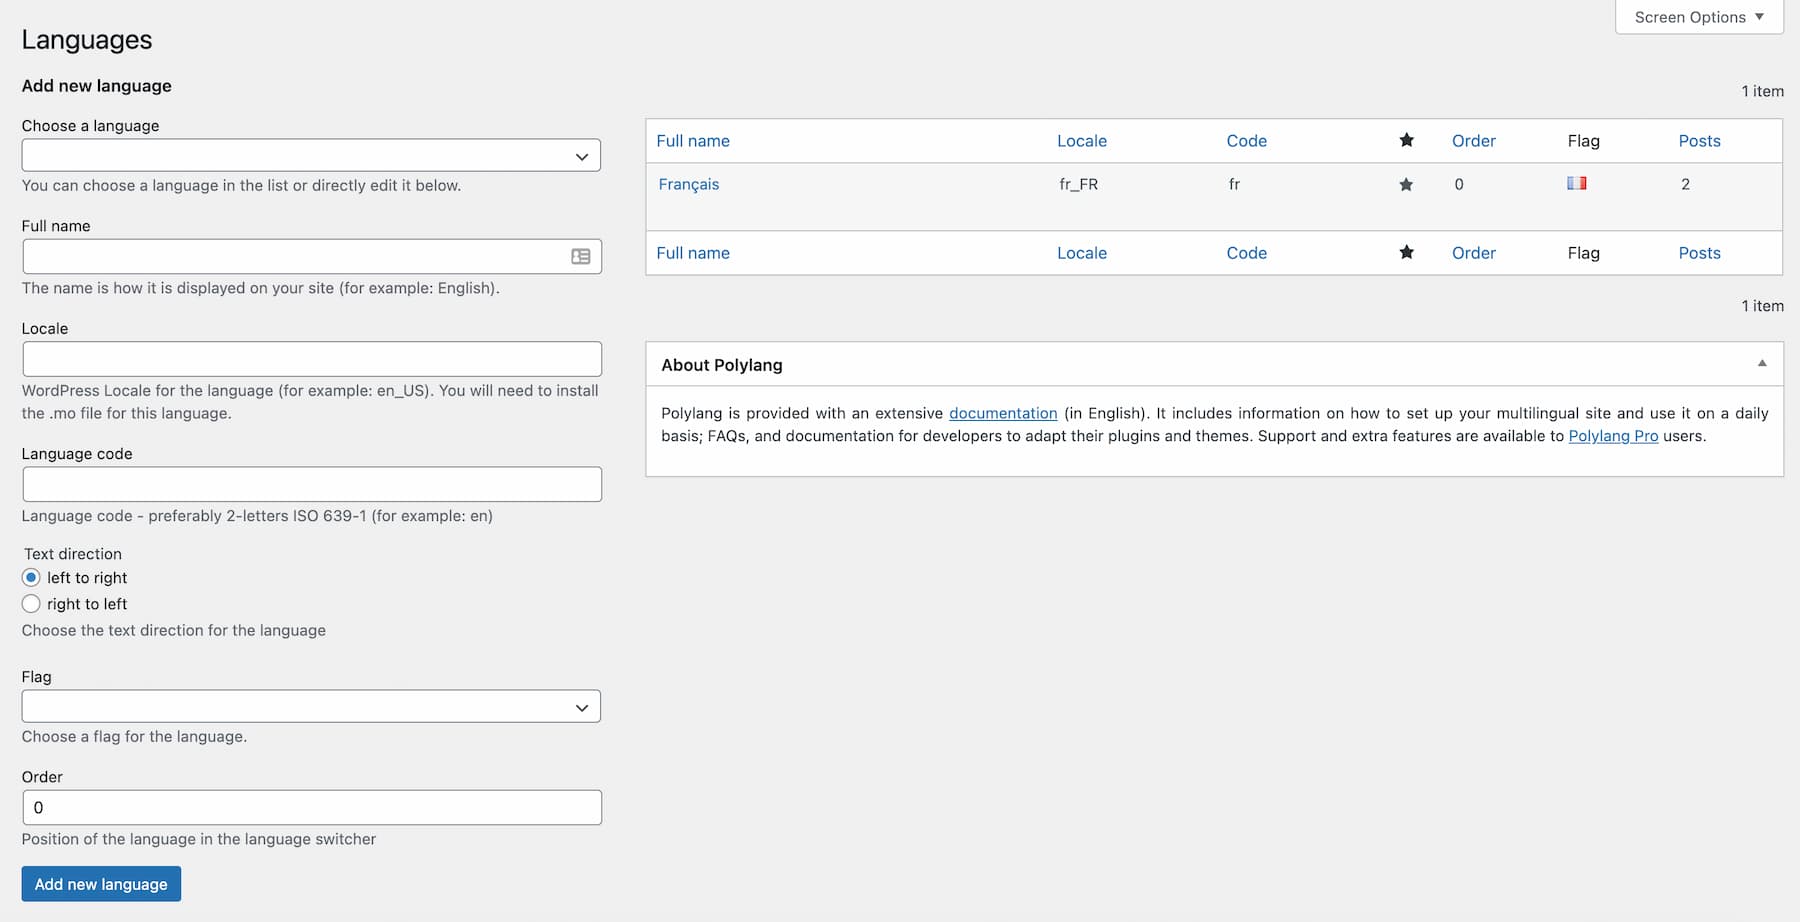
Once you have done this, click on the link in the warning message to make sure that all the elements that already exist on your site (articles, tags, categories, pages, etc.) are assigned to the default language (usually English).
Go to the “Settings” page
URL modifications
Check or adjust the settings for this option. These are self-explanatory enough that you can easily make your choice.
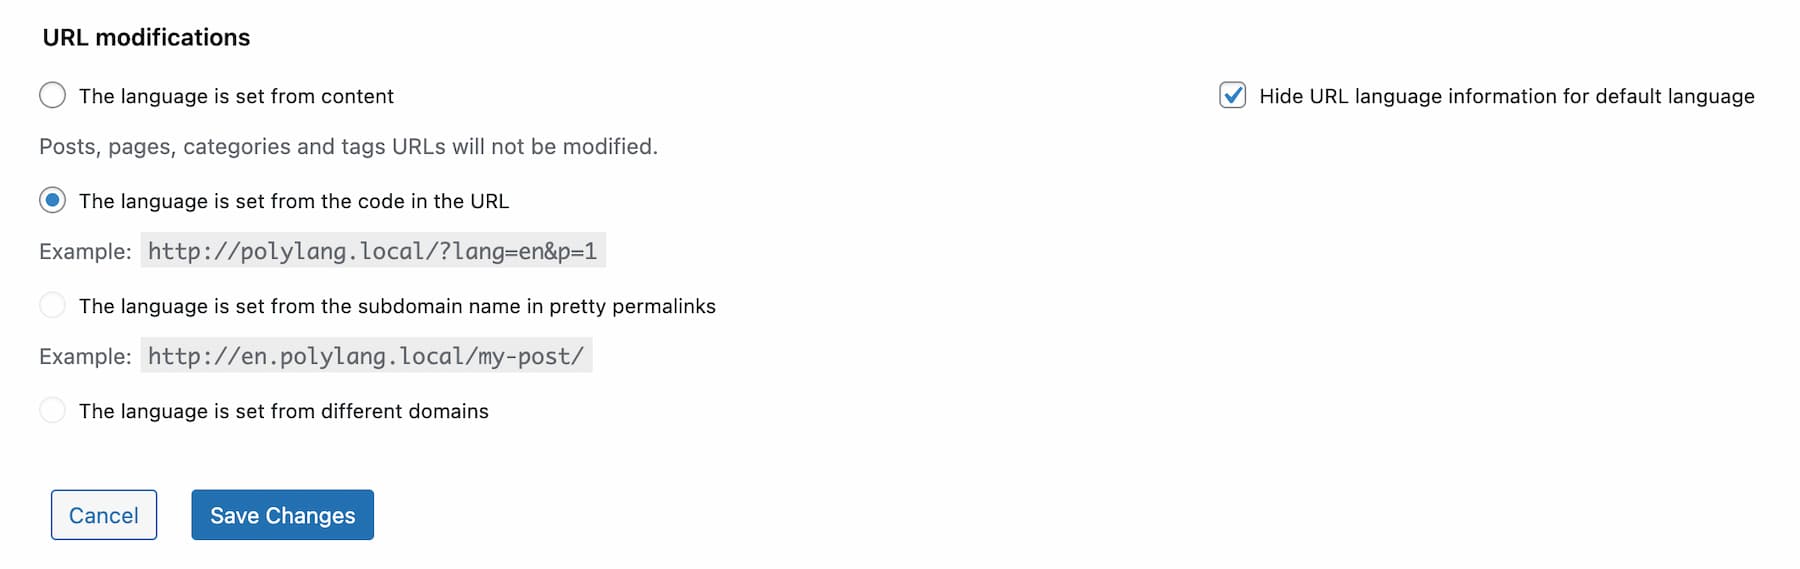
I suggest you check the option “Home page URL contains language code instead of page name or ID” so that the different home pages of your site contain only the language name.
For example, to reach the French homepage, the URL will look like this https://www.mysite.com/fr/
Detect browser language
Leave this option checked if you want the plugin to automatically direct your users based on their browser language (which is very convenient).
Media
This option is useful if you want to customize the images on your posts and pages based on the language.
Imagine that you want to translate your website. You would then need to modify the screenshots of all your posts so that they are easily understandable in the visitor’s language.
However, if you don’t need it because you don’t have any visible text on your images, don’t enable it because it forces you to send its equivalent in the language to be translated for each image.
Custom content types and taxonomies
As for the media, Polylang allows you to define all the types of content you wish to translate on your Divi site (affiliate link).
Synchronization

The synchronization option allows you to keep the same values of certain fields or options, for pages or articles, from one language to another. You will not need to intervene on them.
I suggest you check all the boxes here, except maybe “Custom fields” if you use them because the information they may contain may need to be translated and the featured image if it contains text.
Other fields like date, template, etc. will be identical between all languages.
WPML Compatibility
This one is not modifiable, so we move on to the next option.
Share slugs
This option allows, when you have acquired the premium version of the plugin, to share the slugs of your pages between different languages.
A concrete example would be the “Contact” page.
The first page you create with this name will have a permalink of the form: https://www.mysite.com/contact/
But if you create other contact pages, they will look like this:
- https://www.mysite.com/fr/contact-2/
- https://www.mysite.com/de/contact-3/
We agree, it doesn’t look very professional.
Apart from the Premium version which allows you to manage this, you should know that there is a small free plugin called Polylang Slug which does the job very well.
To use it, you just have to install it and activate it. The plugin has no settings.
Slug translation
It allows, when you have the Premium version, to translate the slugs of custom content and taxonomies.
For example, in the English version, your category label will be “category”, in French “categorie”, etc.
This option also allows you to translate the taxonomies of your Custom Post Types.
License Keys
This option allows, as its name suggests to enter your key, when you have the premium version of the plugin or an addon.
That’s it, the configuration part is over!
Now let’s start using our new interface!

Using the Polylang interface with Divi
Get ready for the translation
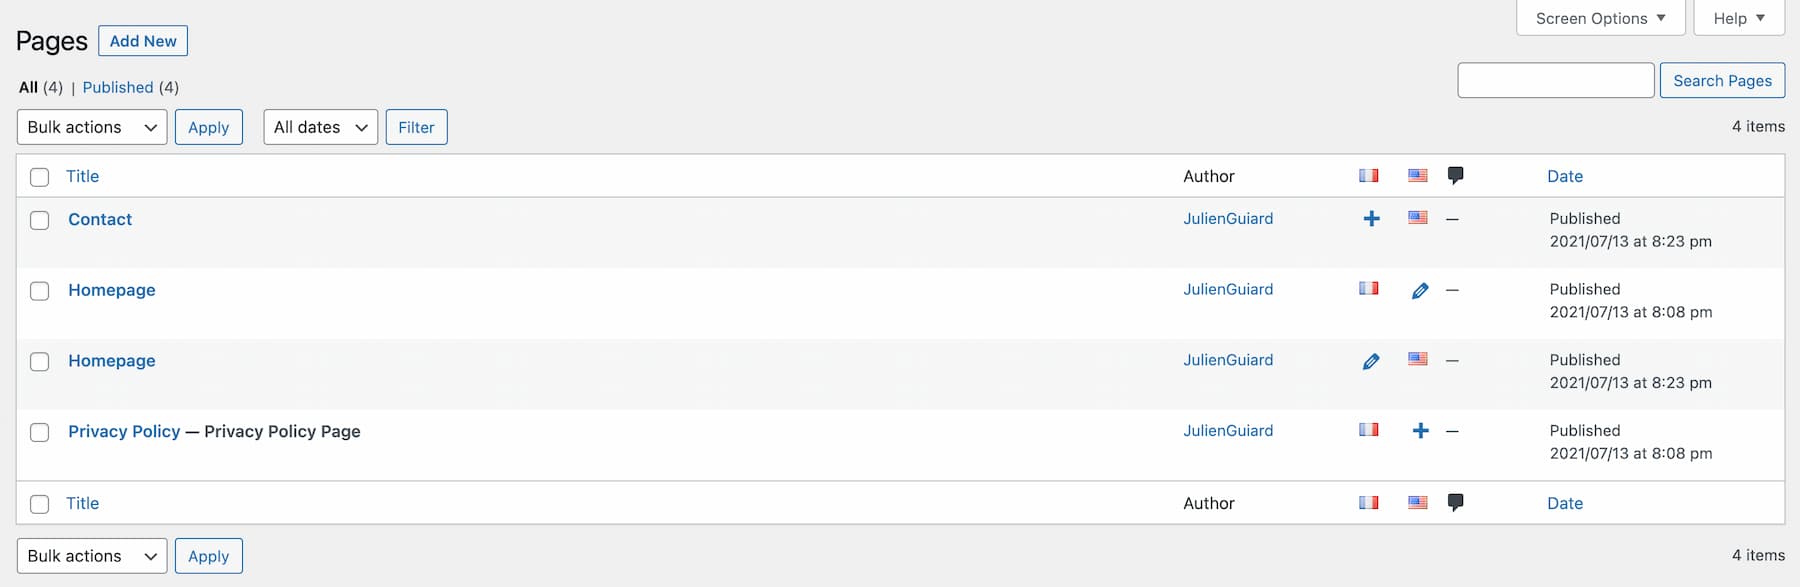
If you go to the “Posts” and “Pages” sections, you will now notice the presence of little flags symbolizing the languages you have installed on your site.
I have here for example two languages:
- English
- French
We also see different icons displayed under the flags. Here is their meaning:
- Validation icon: the translation for this page exists.
- Pencil icon: edit the page in the current language.
- + icon: the translation does not exist yet in the language. You can create it by clicking on the icon.
For example, on the screenshot above, the first contact page is the English version and the translation exists (you can see it just below).
Before starting, I advise you to start by translating all the tags and categories you have created, to really save time for future translations.
To do this, go to your back office in Posts > Categories and then in Posts > Tags.
Start translating
We will start by translating one of our articles.
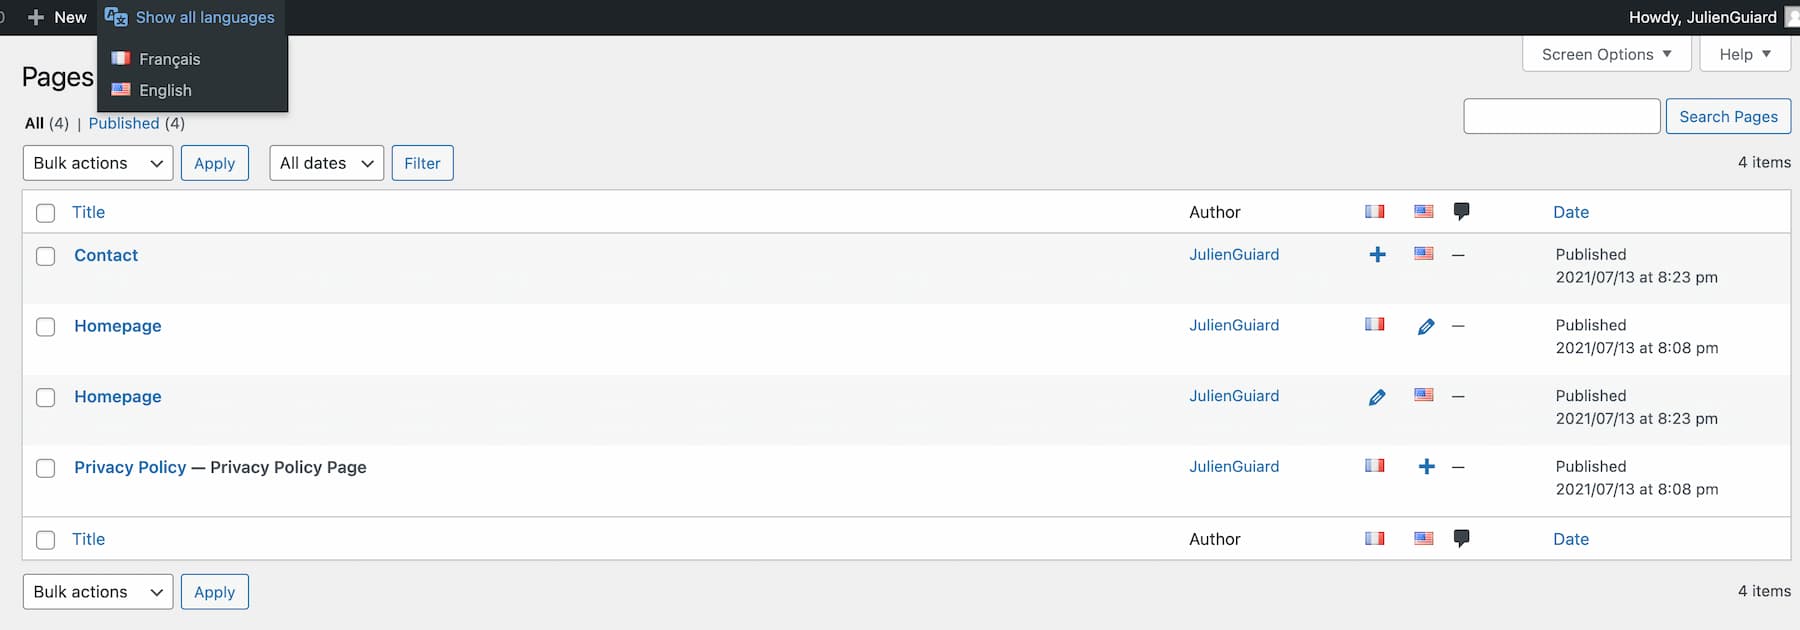
You should know that Polylang allows you to filter the content of the administration according to the language of your choice. This makes it easier to find your way around when the number of articles or pages becomes large.
To do this, go to the administration bar in the tab “Show all languages”:
- “Show all languages” which will display all pages and articles in all languages (a bit heavy).
- Or select only the desired language. Thus only the existing contents in this language will be displayed.
In the list of your articles or pages, you just have to click on the “+” icon to add the translation of your content in the language you have chosen.
You will notice, when you enter the editing mode of your article, that in the sidebar, the metabox “Languages” indicates the language you are currently editing in.
You also have the possibility to create a translation in another language just below by clicking on the “+” icon and defining a title.
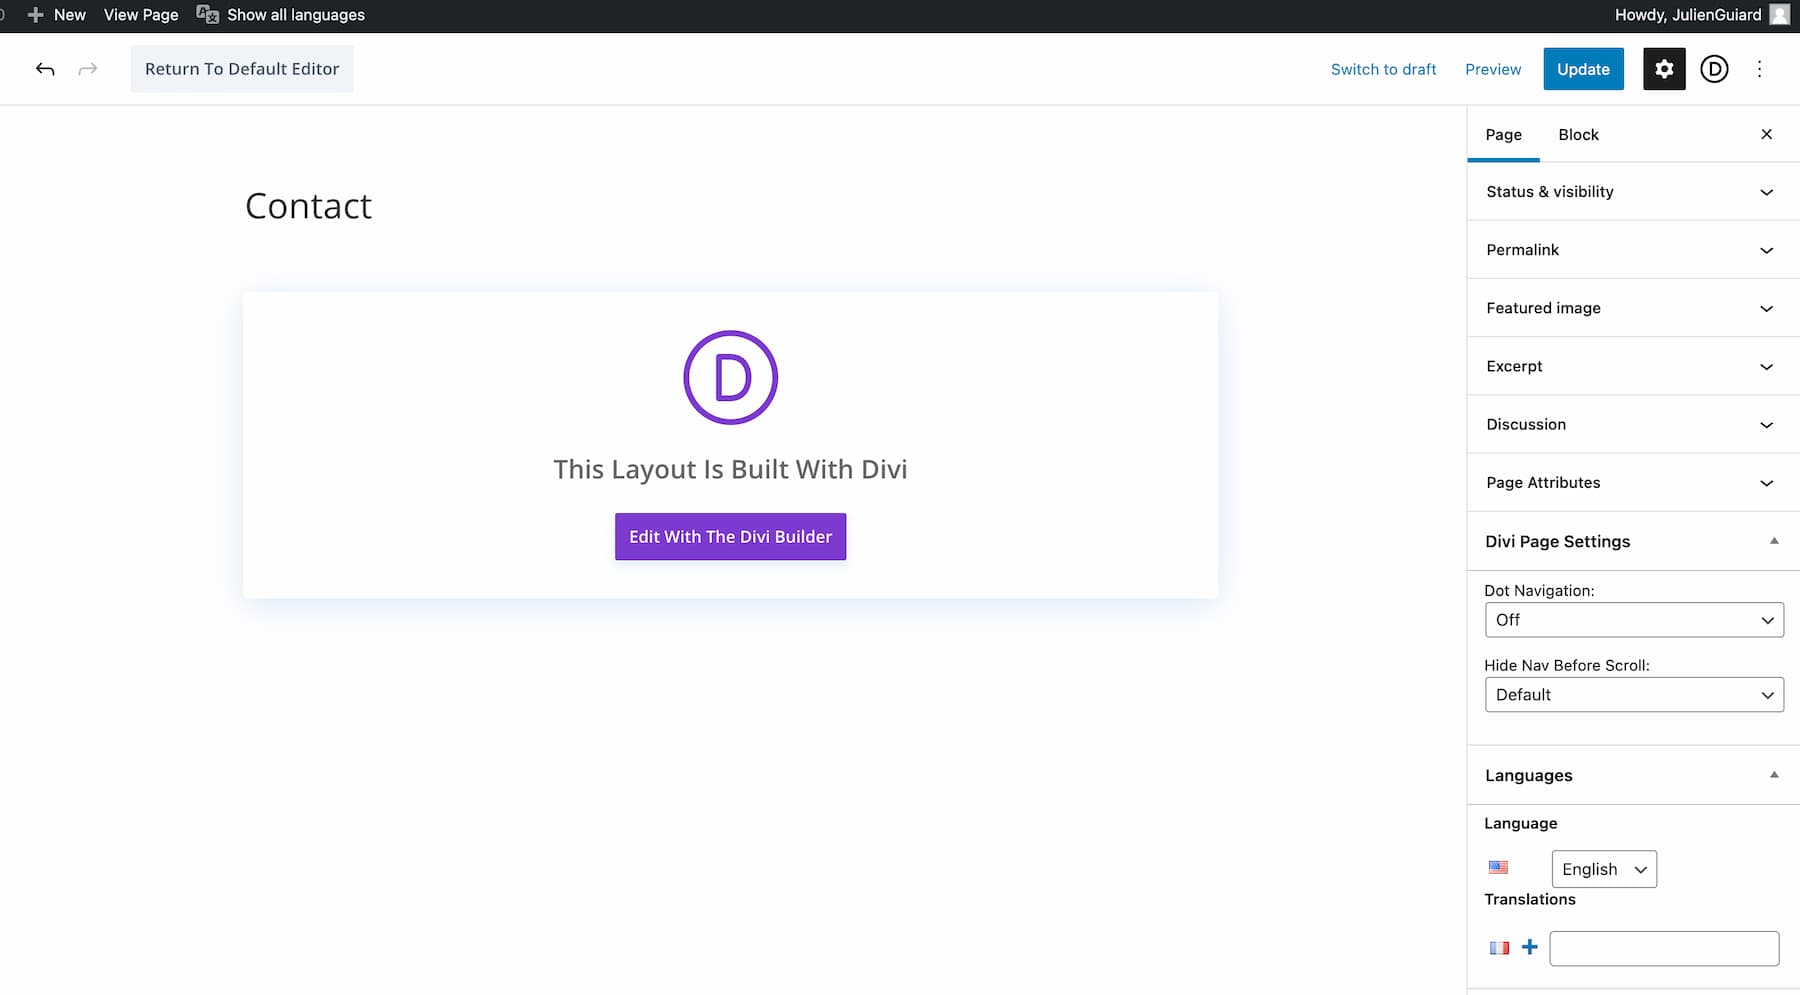
Reminder: When a page is already translated, the “+” is replaced by a small tick.
Tip to save time
By default, when you translate an existing page with the Polylang plugin, you start from a blank page, but that’s without counting the excellent tip from Fabrice Esquirol which allows you to copy all the existing content from the original language to the new element.
To do so, you just have to copy/paste the lines of code below in the functions.php file of your child theme (don’t copy line 1, it’s just for us to get the right syntax highlighting to display code in the article).
HTML
You will then notice with joy that the equivalents of “Categories”, “Tags” and “Featured Image” will already be filled in.
Modify your menu
You will now have to modify your menus in all languages so that everything is perfectly translated.
To do this go to Appearance > Menus.
To add the drop-down list of flags allowing the selection of the language in your menu, you will have to activate the option “List of languages”.
To do this, click on “Screen Options” at the top and check the “Language List” box on the right.

You will then discover a new “Language List” metabox on the left in the menu options bar.

Add it to your menu and your flags will be automatically added.
The different options are :
- “Show in dropdown list”
- “Show language names”
- “Show flags”
- “Force link to home page”
- “Hide the current language
- “Hide languages without translation”
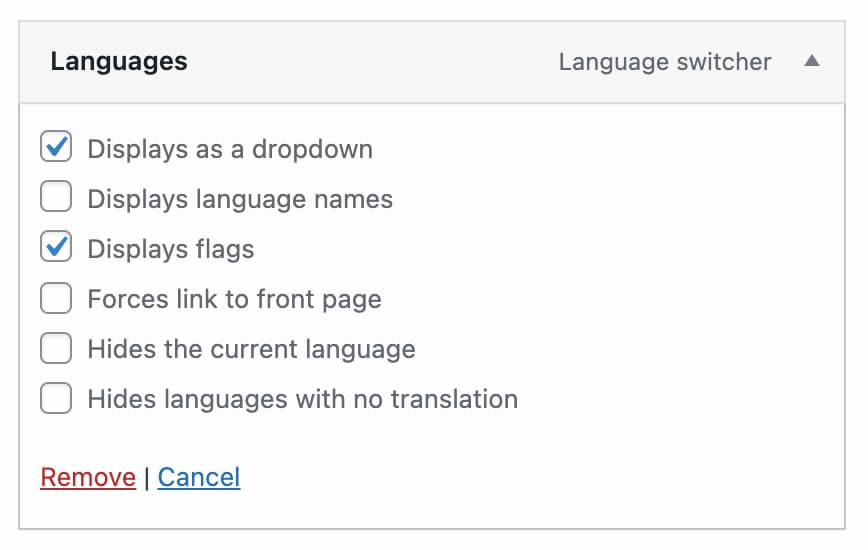
You can check more than one and try the different displays to see what works best for you.
You will then notice the presence in the footer of a “Main Menu”, “Secondary Menu” and “Footer Menu” available in each of the configured languages.
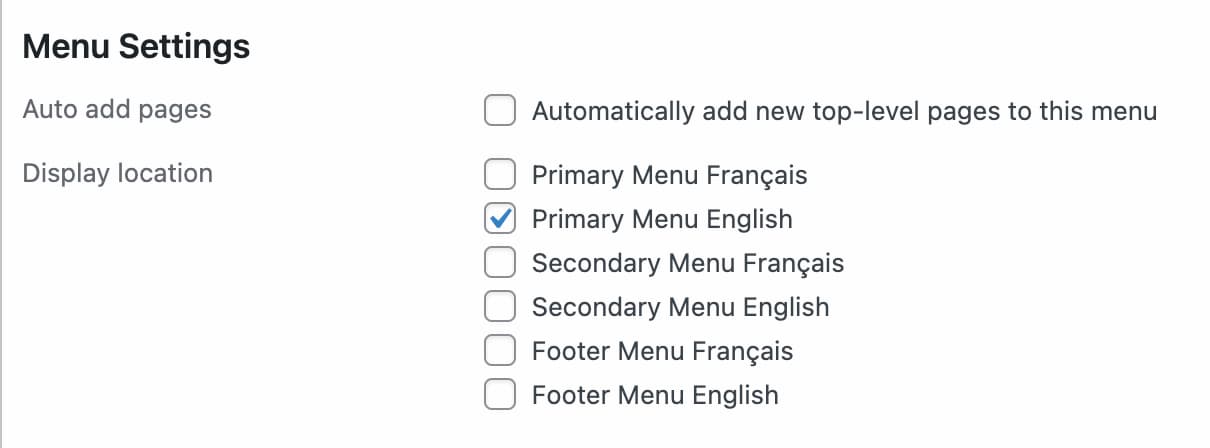
Select the location and the language assigned to your menu and save.
Now you can easily translate all your content and menus into any language.
Miscellaneous tips
Menu
If you have several pages with the same title (e.g. Contact), remember to select a language in the administration bar to display the contents only in that language.
This way you will be sure to add to the menu only the items in the right language.
Do the same for each language configured on the site.
Custom Post Types
If during your development you add CPTs, don’t forget to add them in the Polylang settings so that you can translate them too.
They will appear in “Custom Content Types and Taxonomies”.
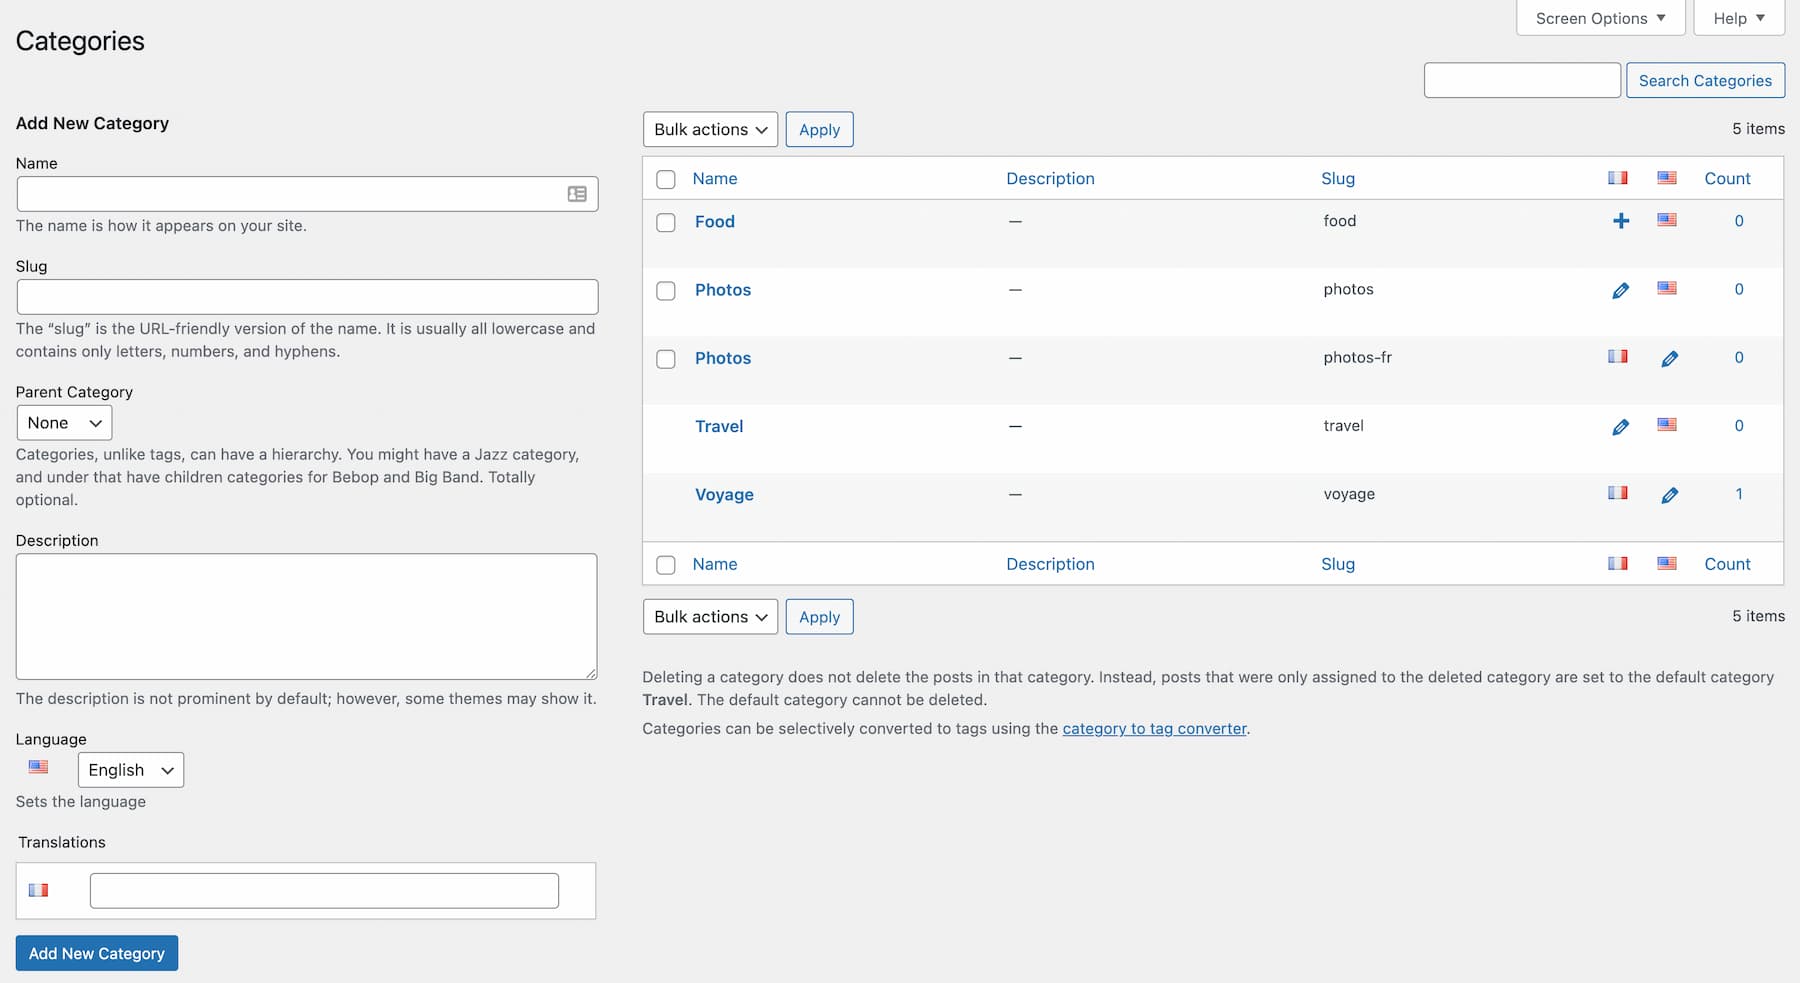
A category with the same name in all languages
By default, Polylang will not let you define a category with the same name from one language to another.
So I suggest a little trick to get around this constraint.
Let’s imagine that you need to create an “Interviews” category.
We will start by creating it in English.
- Go to Posts > Categories.
- Fill in the Name field with the word “Interviews”.
- Click on the button “Add a new category” to create it in English.
- Now click on the black horizontal bar and choose the French language.
By adding the same word, you will realize that WordPress has added it, but the slug to reach this category has become “interviews-fr”… Not good!
To fix this, just click on the “Quick Edit” link under the relevant category and rename “interviews-fr” to “interviews”.
And that’s it!
To conclude
You now have the necessary knowledge to use the Polylang plugin with Divi.
There is a premium version for €99 that allows you to translate slugs, share permalinks, translate ACFs or automatically duplicate posts or pages when translating so that you don’t start from a blank template.
Also, if you have a WooCommerce store, the Polylang for WooCommerce addon will be necessary to translate your products and sales pages.
And you, what do you use to translate your website?

Receive the next posts for free and access exclusive resources. More than 20,000 people have done it, why not you?
Register

Hello.. Good work but Polylang doesn’t work properly with Divi Library, and this issue it’s bad, because if you have 50 pages with the same form, you will use 1 form that it will be the same for all the pages with the library.. The problem it start that if you translate the form (that you get from the library), it changes the translation for all the language.. How it will be possible to fix this issue? Thanks Dave
Hello, try to contact Polylang 😉
Hello thanks,
I need to duplicate all the pages I want to translate before setting Polylang ?
thank you
Hello, no you have to duplicate them after installing Polylang.
Hi. Thank you so much for this useful article. But I have a problem with the translation. I need my website to be mainly in French and Chinese as secondary language. When I want to edit the Chinese page all the Divi settings are in Chinese. But I don’t read Chinese, I just need to copy paste the translation I have been given. Is there any way to force Divi to stay in English when translating on Polylang ?
Hello, the admin setting language doesn’t change with Polylang, i don’t understand ?
Yeah I don’t understand either… but really, I get some of the Divi menus in Chinese, most of the right click menus as well.
I can’t add a print screen her but imagine you want to add a section, click on the + menu then all the choice are in Chinese…because I am working on the Chinese page. If I am on the French page, the menu is in English (my admin language)… So I guess I need to turn to Polylang for that… but I don’t have the pro version….so… 🙂
Hi, thanks for this tips. I try to tran
slate the divi supreme breadcrumb. I duplicate in two langages to translate the Home (it was not necessary) but i noticed that the url of the homepage is always that of the main language. How can I do this?
Hello, you need maybe Polylang Pro ?