
Once. Twice. Ten times. Fifty times. Creating the same content on dozens and dozens of different publications can quickly become tedious. And above all, it’s time-consuming. Very time-consuming.
You can avoid this waste of time and energy in just a few clicks, thanks to a handy feature: WordPress block patterns.

Want to create a little text insert to integrate into all your blog posts? This feature can make your life a lot easier. Ditto if you want to add a call-to-action or a custom table to all your pages.
Are you excited? By the end of this article, you’ll know how to create, customize and manage a block pattern like a pro. Ready to get started? Follow the guide.
Overview

What is a block pattern in WordPress?
A block pattern is a set of blocks (e.g. a Title block + an Image block + a Button block) created using WordPress content editor (Gutenberg).
Once you’ve saved the content and formatting under the “Create pattern” option, you can choose to synchronize this set of blocks for reuse on your site’s various publications: posts, pages and other custom post types, via a simple switch.
If you choose to synchronize it, then when you modify it, the content of this pattern will be automatically updated wherever it is integrated on your site.
A Gutenberg block is a container offered by the WordPress content editor (Gutenberg). It can be used to display text, media, widgets, and embedded content. It can also be used to create structures and customize the style of your publications.
Reusable blocks, available before the release of WordPress version 6.3 in August 2023, have been renamed “synced patterns”. You can find them in the block inserter, in the “Synced patterns” tab, or in the Site Editor, in the “Patterns” menu.
Template parts have also become patterns since WordPress 6.3, and can be found in the Site Editor (Appearance > Editor), in the “Patterns” menu.
A focus on synced patterns
Before going into the details of creating a block pattern on WordPress, let’s take a look at some of the specifics of synced patterns:
- The “synced patterns” feature has been natively present in the WordPress content editor since the release of version 6.3 in August 2023, when it replaced the old “reusable blocks” feature.
- A synced pattern means you don’t have to recreate identical content for your entire site every time.
- Synced patterns are most often used to modify blocks located in the main content area of your publications.
- The content of a synced pattern is synchronized across your entire WordPress site. If you modify a synced pattern in one place on your site (e.g. on a blog post), the modification will be reflected in all other publications containing your synced pattern.
- A synced pattern can be created and saved in just a few clicks, directly from the WordPress content editor or Site Editor interface (we’ll come back to this later).
Did you know? You can copy and paste block patterns onto your site from the official WordPress directory.
What can a synced pattern be used for?
WordPress’ synced pattern feature (initially called reusable block) will be of interest to you if you’re used to using the same content on several pages or posts on your site.
Thanks to this feature, you won’t need to recreate a block every time you add a new type of content.
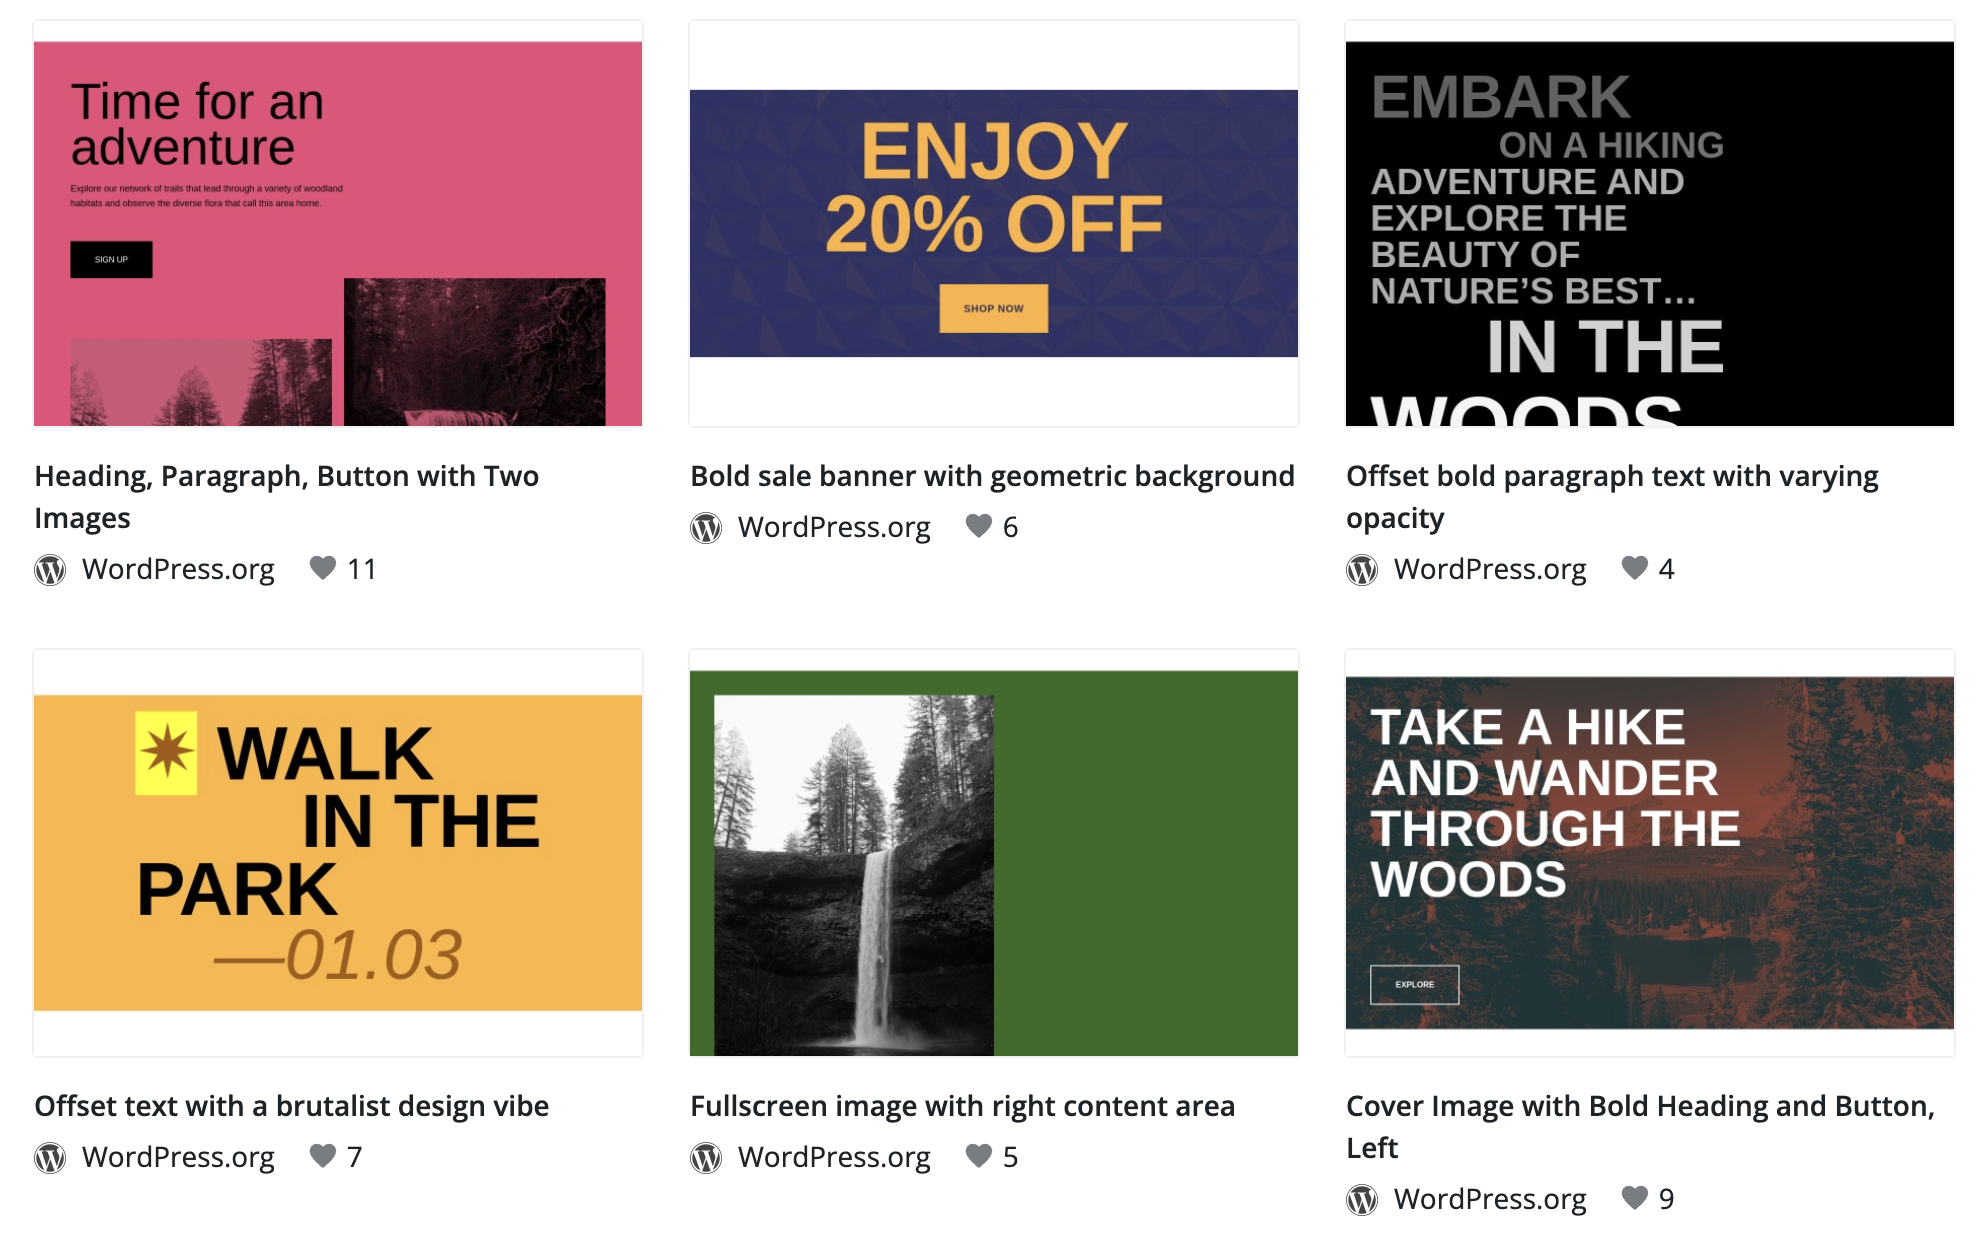
To help you see things more clearly, here are a number of situations where the use of a synced pattern makes sense. Think of it if you need to add:
- An “Author” insert at the end of all your blog posts, with a small photo of yourself and a brief introductory text
- Links to your social networks at the end of your blog posts, to encourage your readers to follow you on these platforms
- Calls to Action (CTA) to encourage your visitors to perform a specific action, such as subscribing to your newsletter or downloading a white paper
- A contact form in various strategic locations, in addition to your Contact page. This could be integrated into a Services and/or About page, for example.
- A reservation form or opening hours for your business on your publications
- Inserts containing affiliate links to promote products and services you recommend to your readers
Is that good for you? Then let’s get on with the main course!
If you use Elementor, you should know that this page builder offers a plugin similar to the “synced pattern” feature offered by WordPress. Called Elementor Blocks for Gutenberg, this plugin lets you add a set of widgets assembled with Elementor directly to a page or article.
At WPMarmite, we use it for our various calls to action, like this one to promote Elementor, precisely. Check it out 👇👇👇:
How to create a block pattern on WordPress
Here’s the step-by-step method for creating a block pattern in just a few clicks, very simply.
For the purposes of this tutorial, we’ll use a practical example: the creation of a call-to-action insert.
Step 1: Create or modify a content
To begin, add a new post by going to Posts > Add New (you can also modify the post or page of your choice).
Give your publication a title, then add the text of your choice.
Step 2: Create a WordPress block pattern
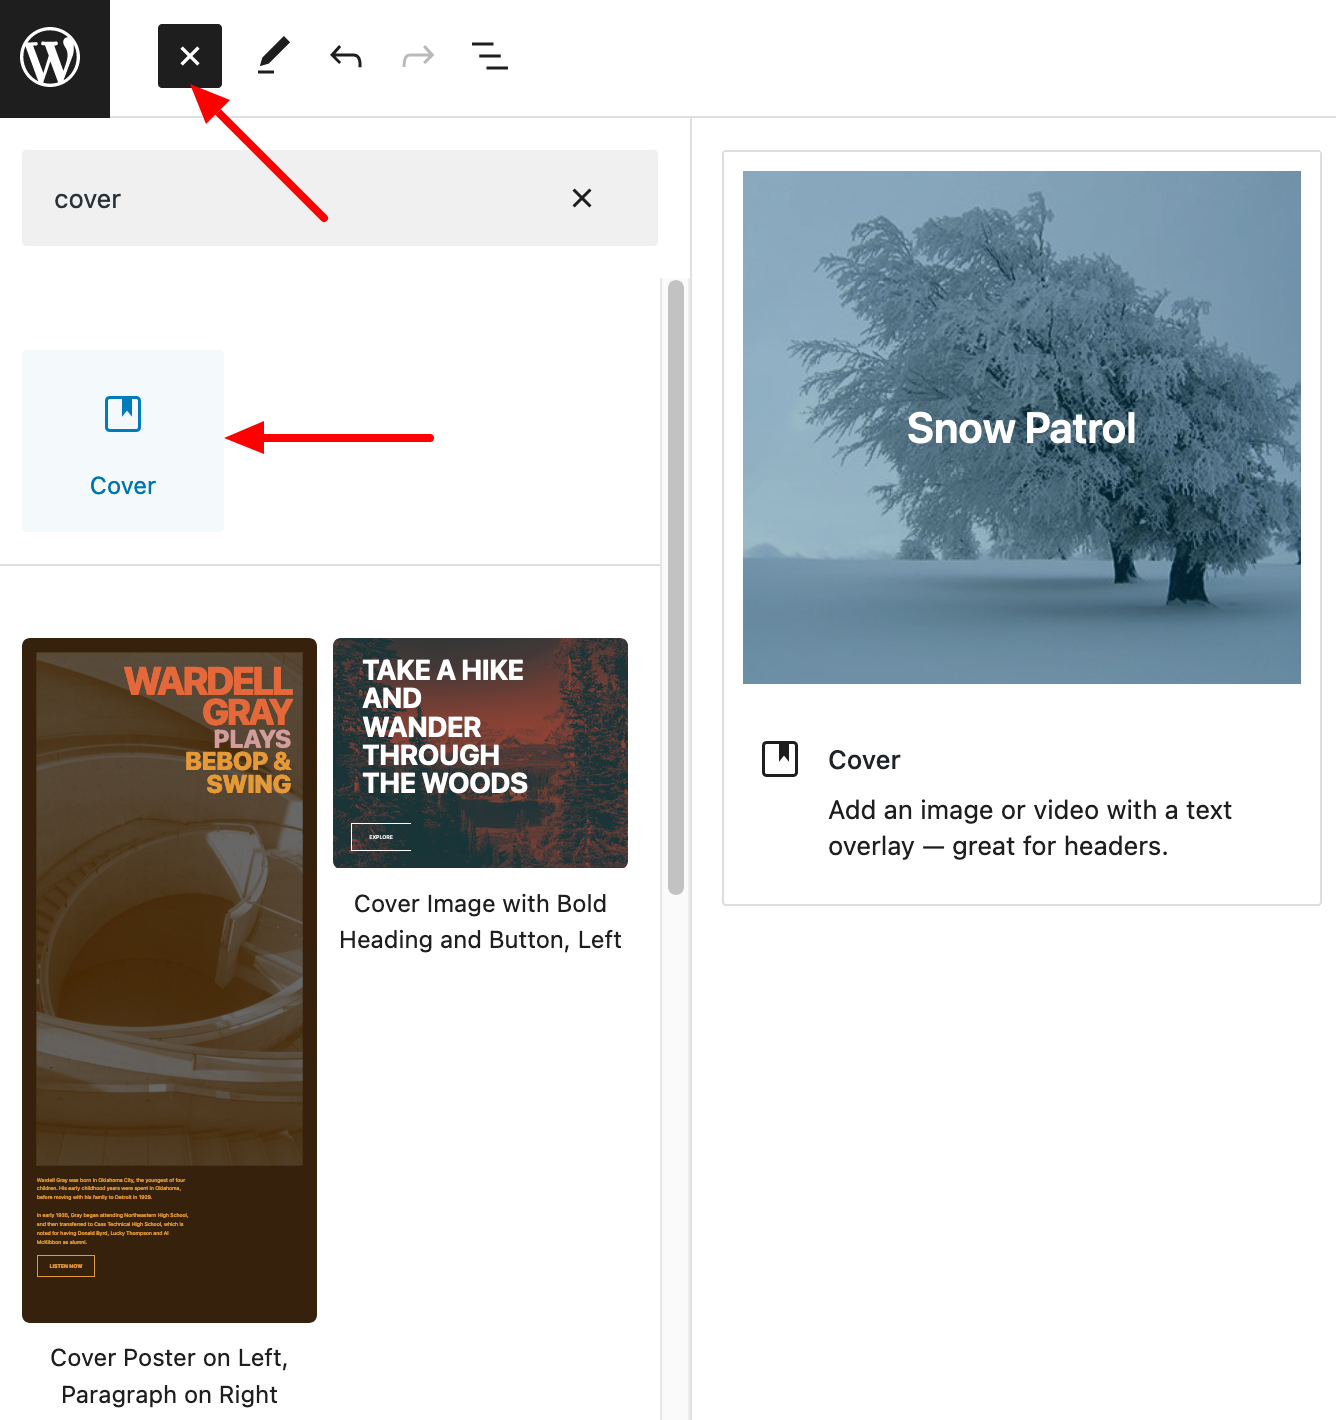
To create our call-to-action insert, we need to merge several blocks in one. To do so, we will use the “Cover” block, which allows you to easily add a background image.
However, you can also opt for the “Group” block, which will allow you to group several blocks in the same container.
Add the “Cover” block using the block inserter, at the top left of your page:
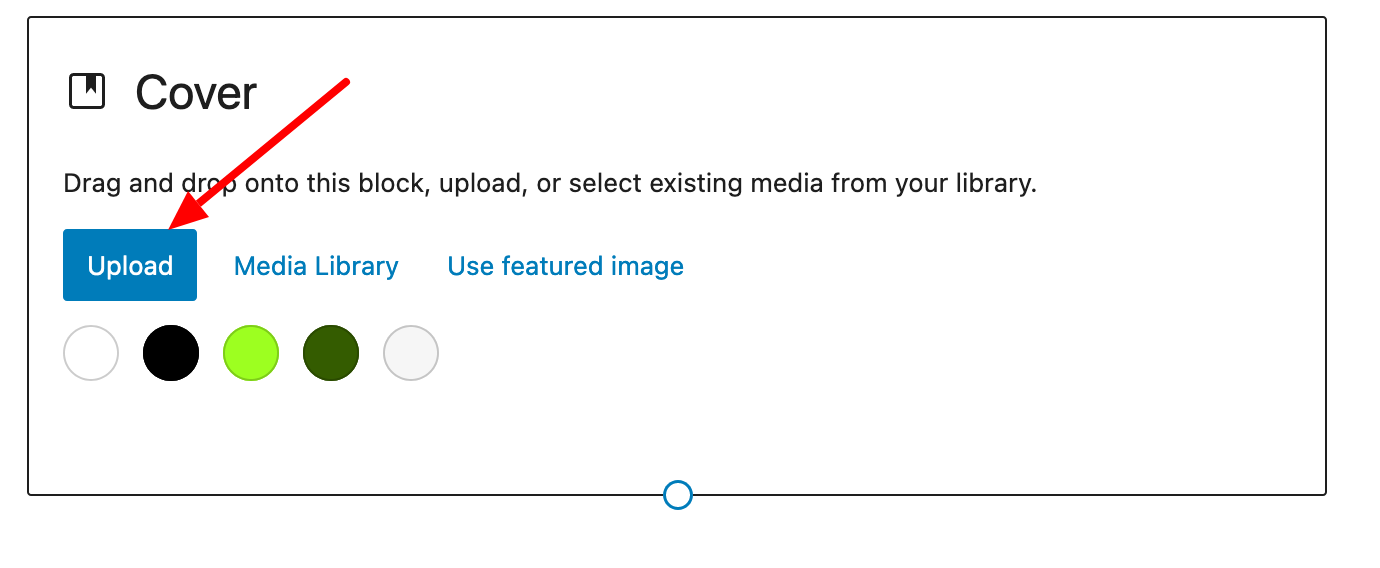
Click on the “Upload” button to add the image of your choice to the background. For example, I found an image on Unsplash, a bank of royalty-free images.
Continue by adding the title of your choice, then customize it by going to the settings of the block:
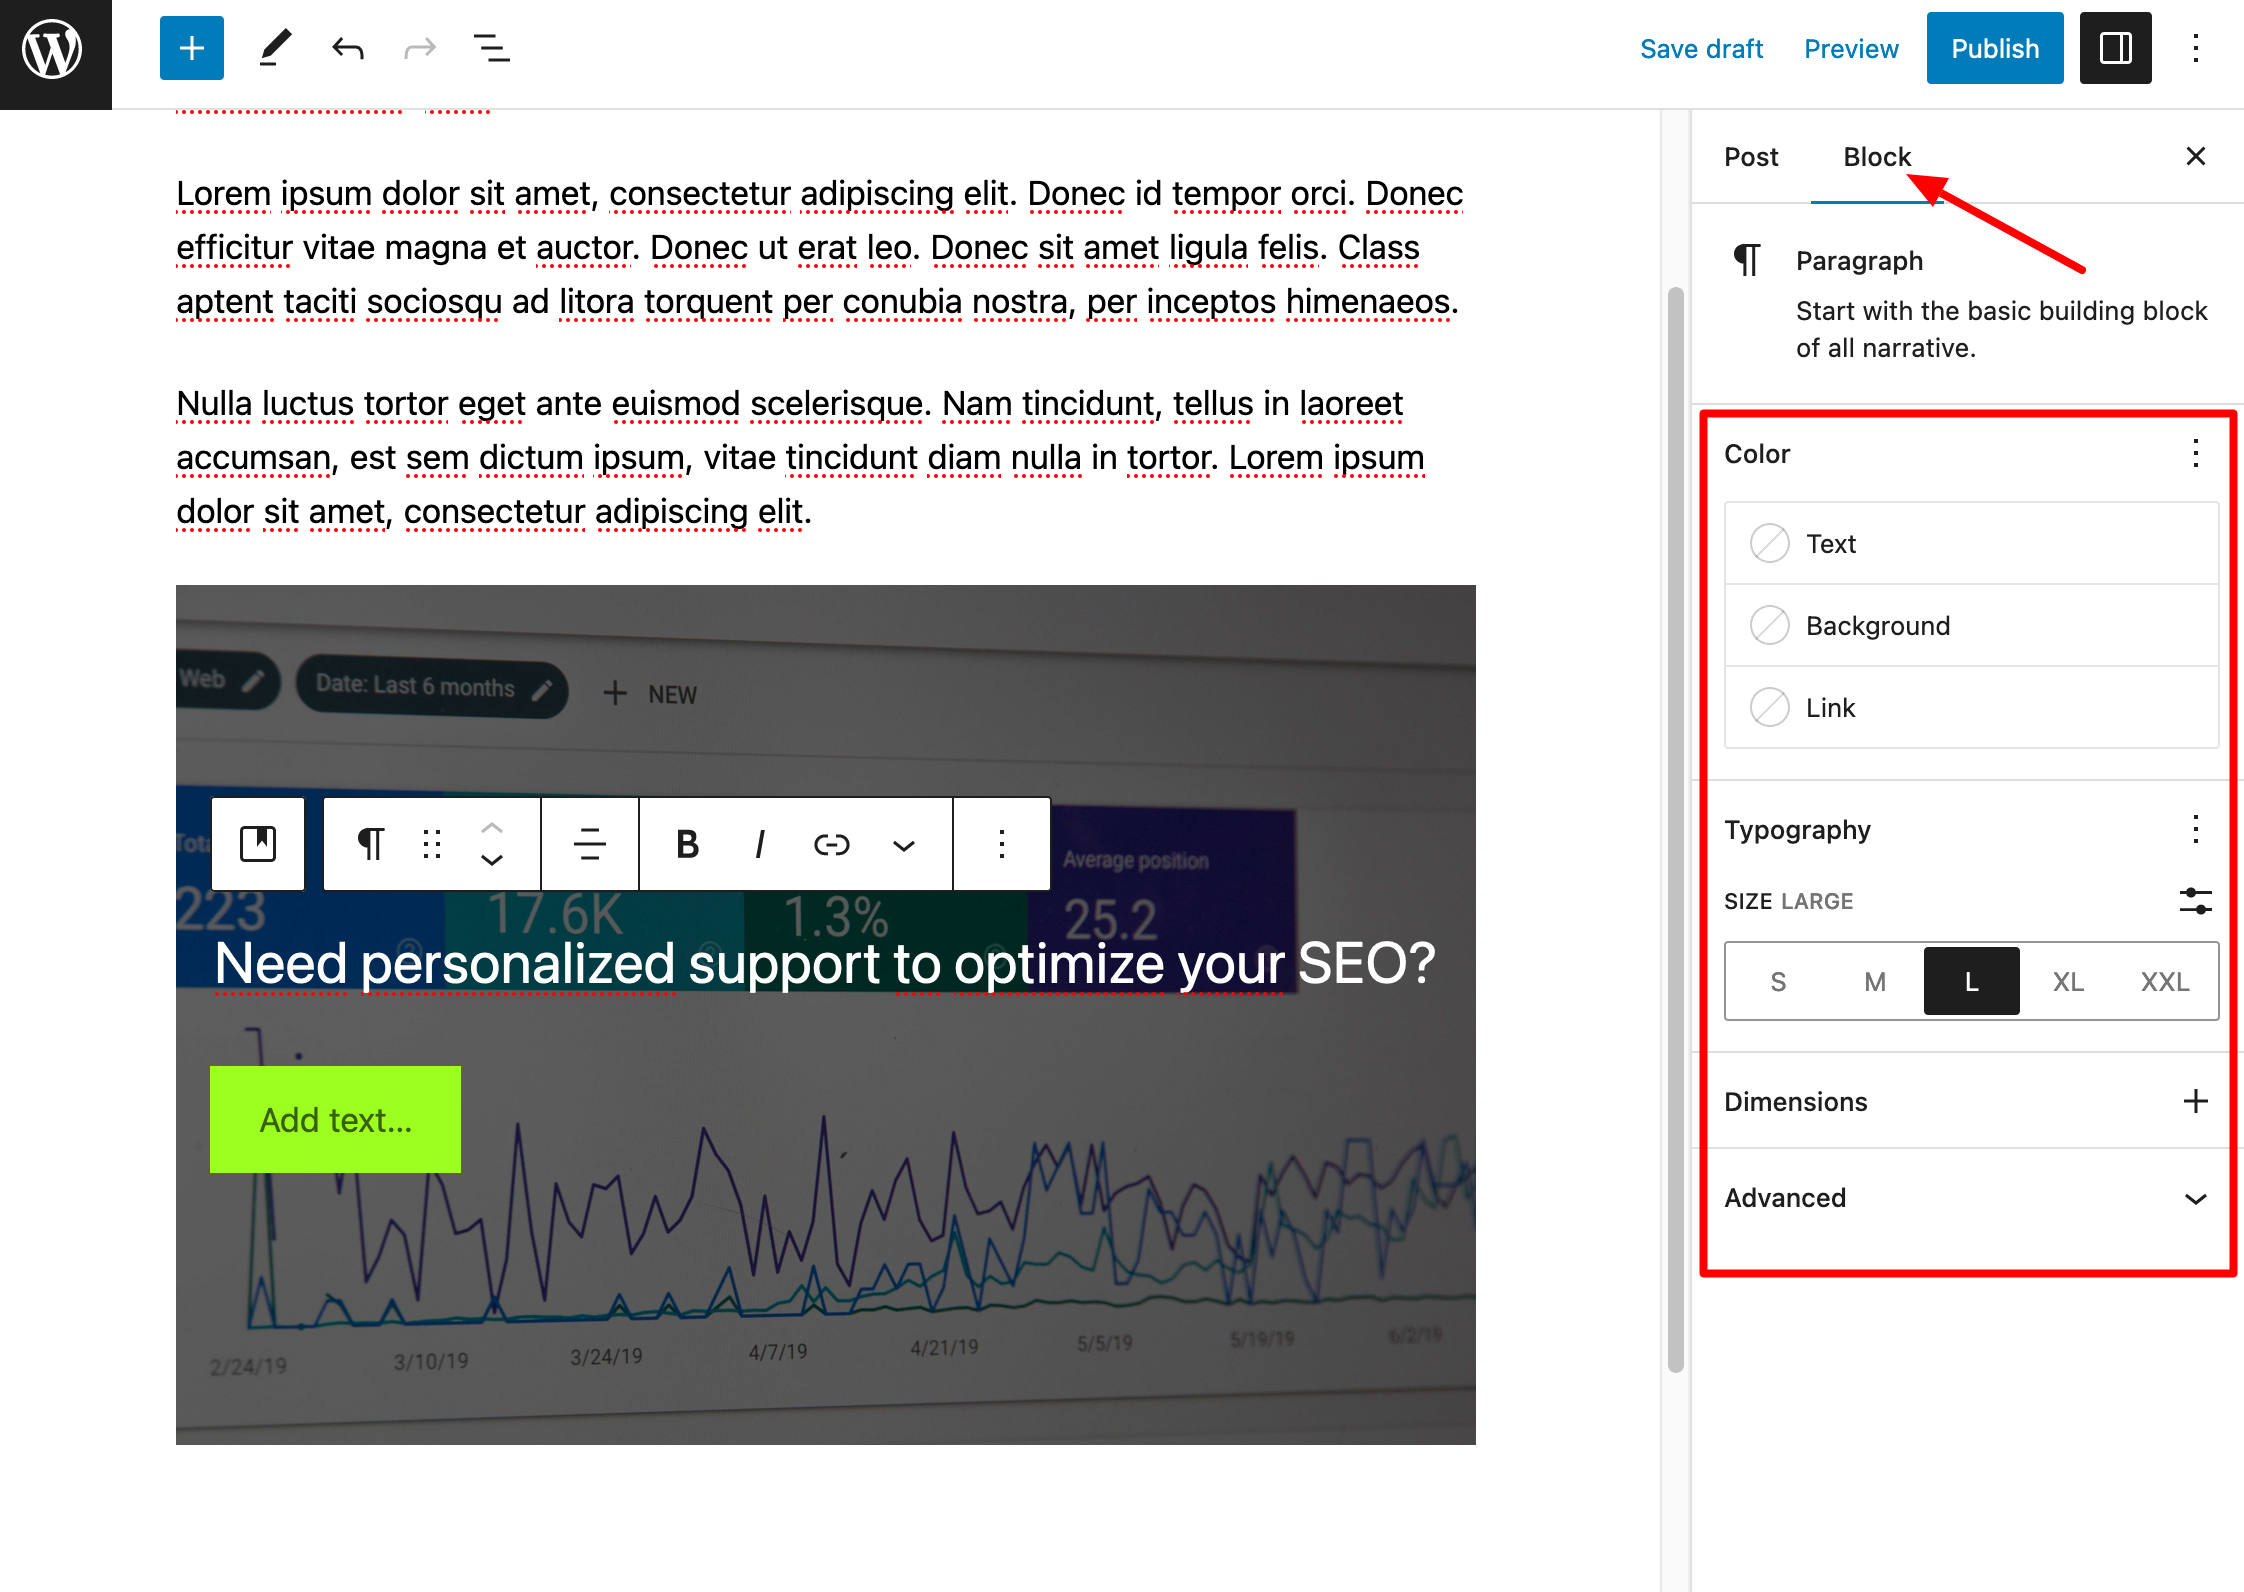
Now you simply need to add a “Button” block inside your “Banner” block. To do that, click anywhere inside the “Banner” block to make an inserter appear, and add the “Button” block.
Customize this block just like you customized the title. For example, you can change the size, the background color, margins, borders, etc.
Here’s the final result that you’ll end up with:
You can of course create a block pattern made of just one block. The process is exactly the same for a block pattern composed of multiple blocks, except this time, you add the block you want (ex. “Paragraph” block, “Table” block, “image” block, etc.).
Step 3: Save the block pattern
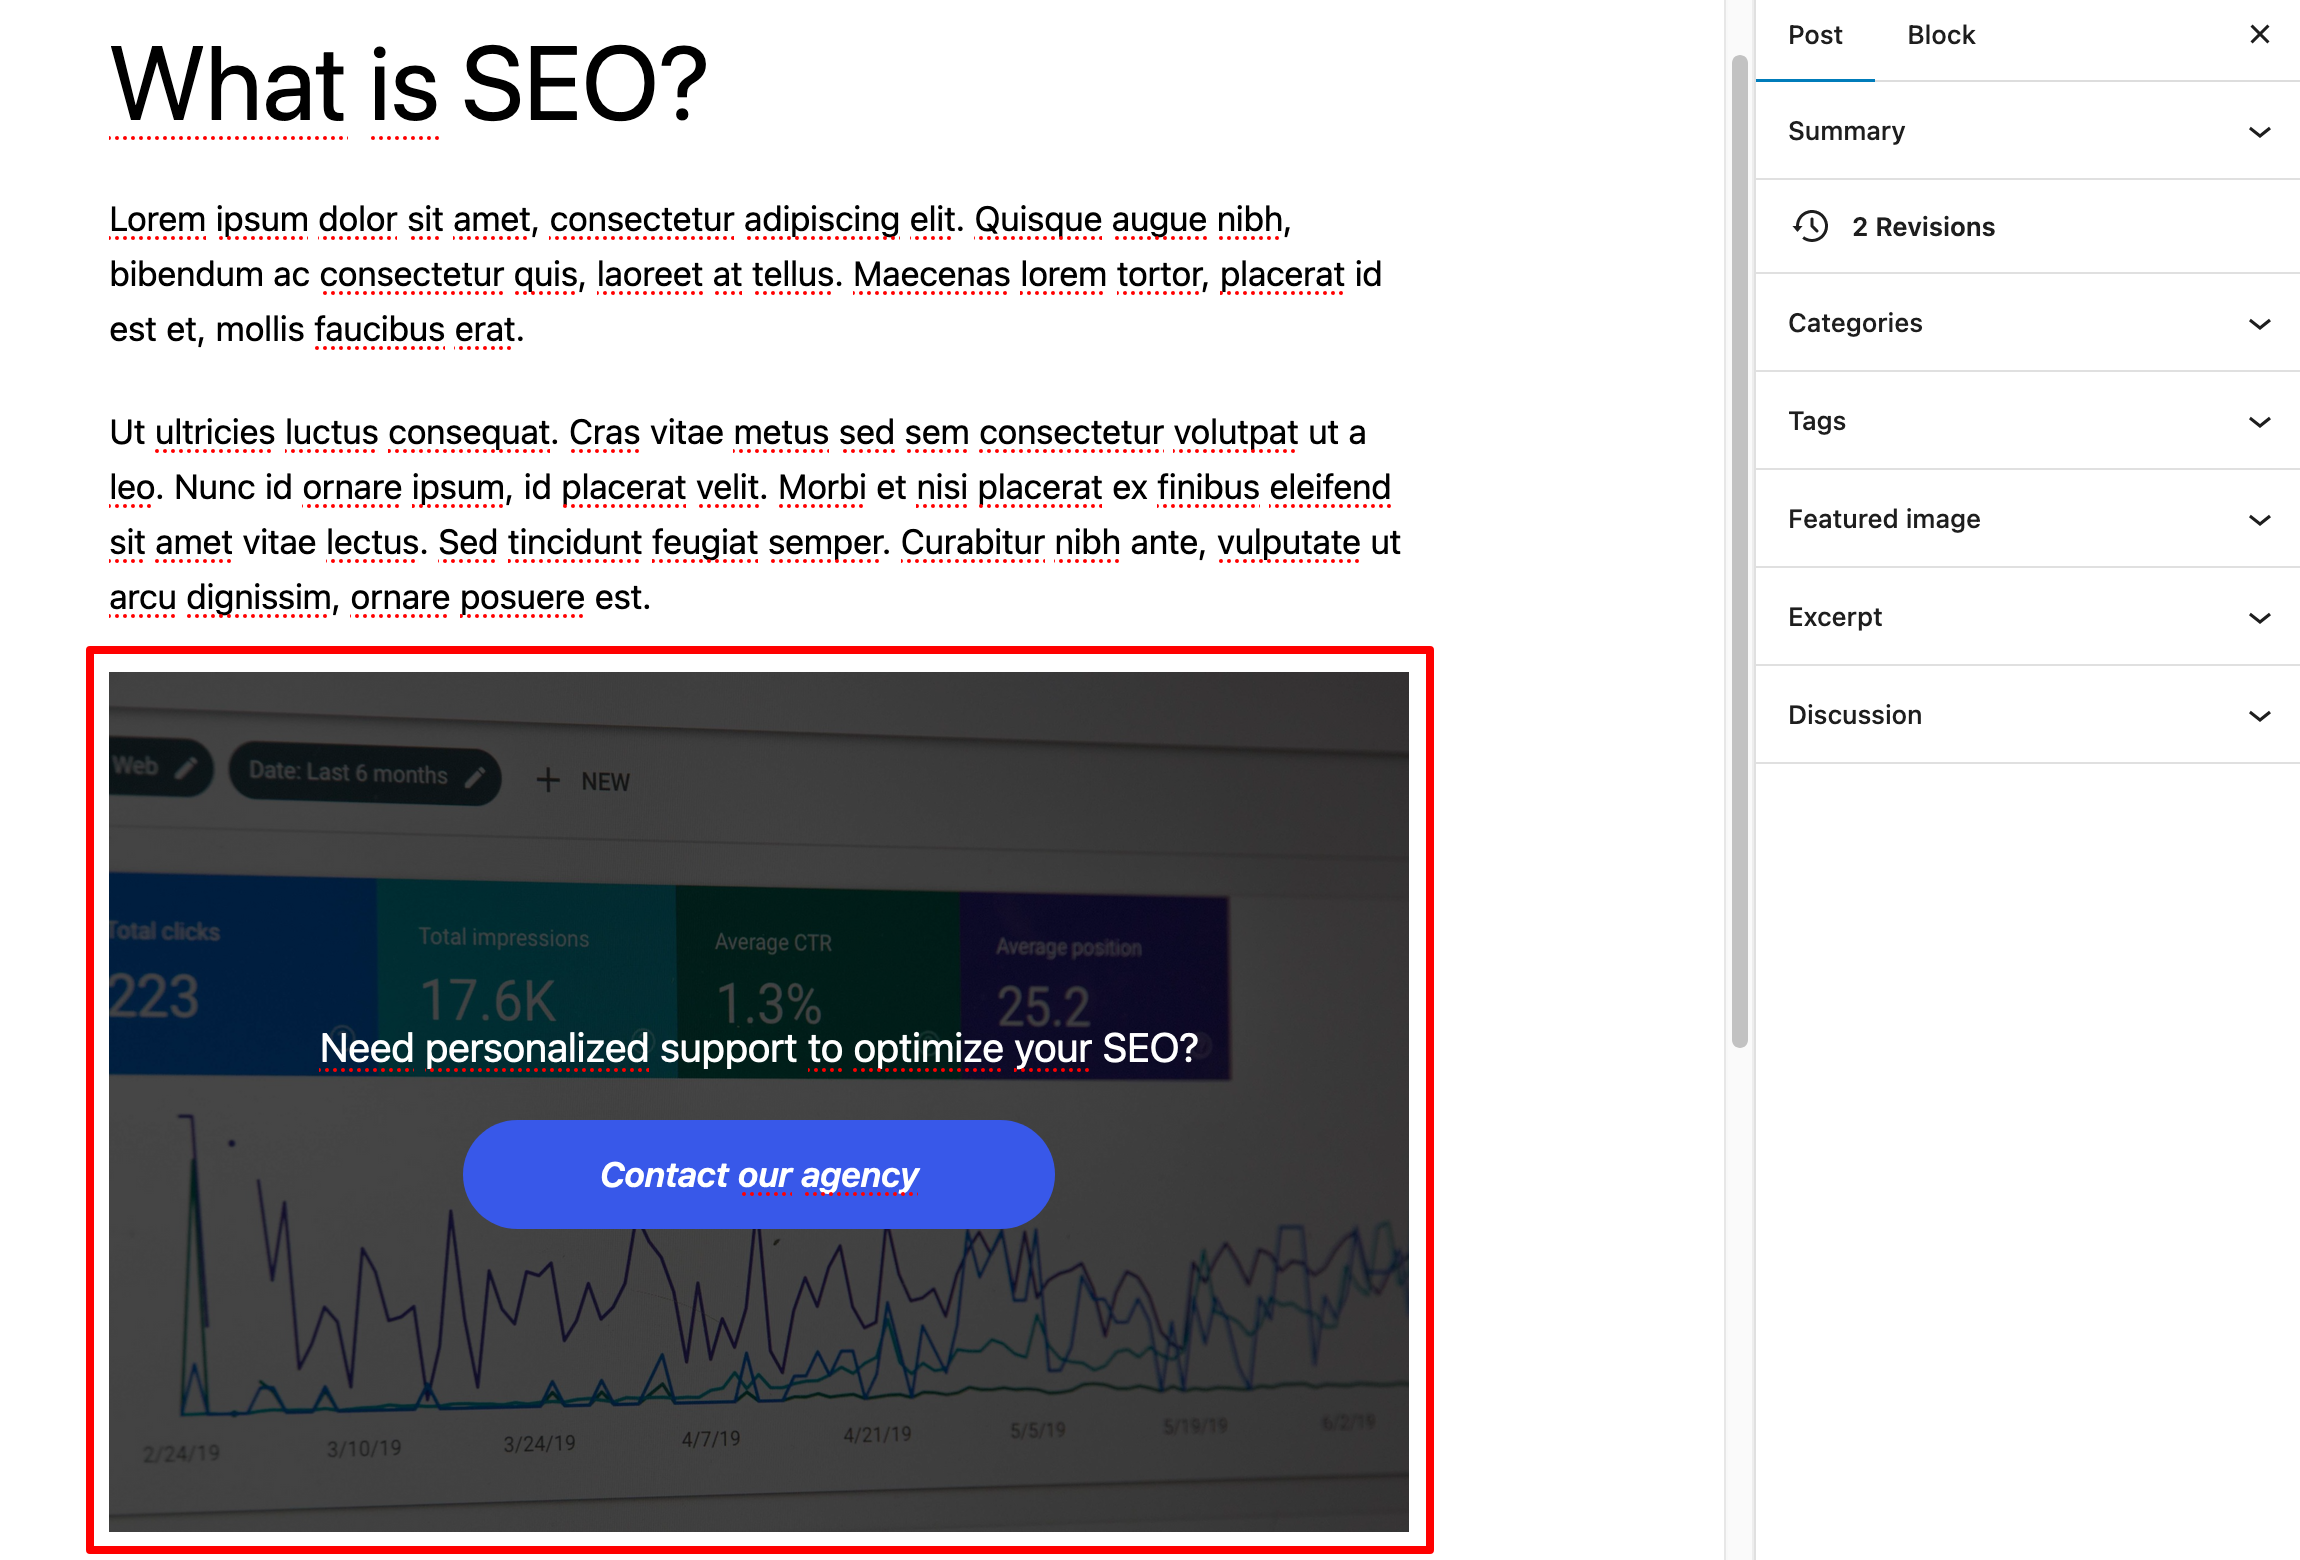
When you’re satisfied with the result, click on the “Banner” block to make the block settings appear (the three little dots).
Click on it and choose the option “Create pattern”. Name the block (ex. “CTA Block”), then click on “Save”:
Bravo, your WordPress block pattern is now saved and ready to be used in the publications of your choice.
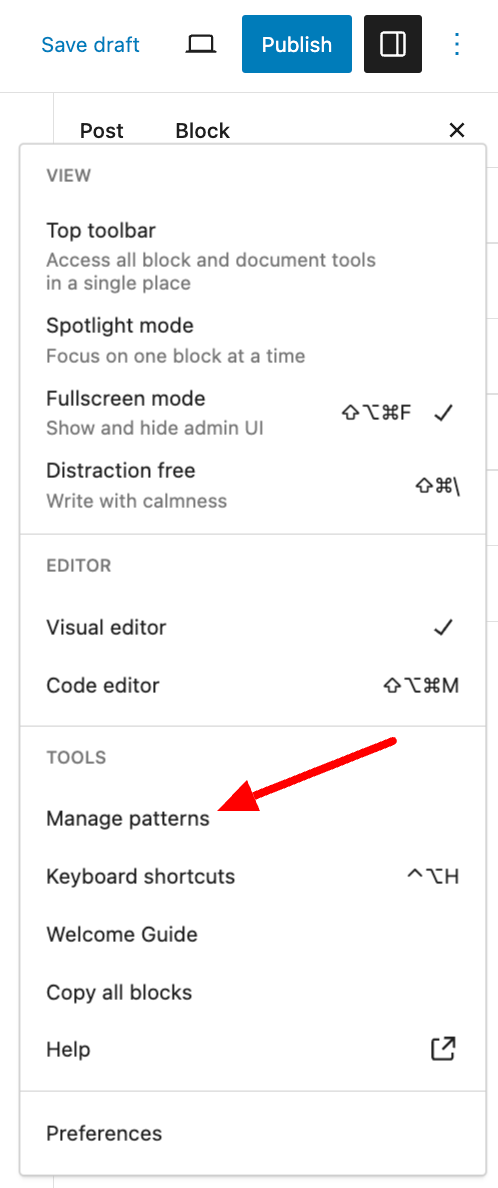
For your information, there is another method to add block patterns to your WordPress site from the content editor. When you edit a post or page, click on the page options (three little dots) in the top right corner. Then, in the “Tools” section, choose “Manage patterns.” In the interface that opens, create your pattern by clicking the button “Create pattern”:
Step 4: Add a block pattern to a publication
Now, imagine that you want to add your block pattern to the end of your new blog post.
Create a new post (you already know what to do). Choose the place where you’d like to add your block pattern. You could easily drop it in at the end of your publication, or even in the middle of the content.
Then, go to the block inserter. In the tab representing two overlaid diamonds (number 2 on the screenshot below), you’ll find your synced patterns (initially called reusable blocks), while the “Patterns” tab (number 1) displays the rest of the available patterns.

This is where you’ll find the (non-synced) patterns you’ve created in the first category: “My patterns”. The following categories contain ready-to-use patterns, divided into different categories: Text, Gallery, Headers and so on.
Simply click on the pattern of your choice to add it to your content. If you like this pattern feature and find it suits your needs, you’ll soon have a list that can be quite substantial.
It will then be useful to manage your block patterns as you go along, to organize them as best you can.
I’ll tell you more in the next section.

How to use block patterns on WordPress
How to manage your block patterns in WordPress administration?
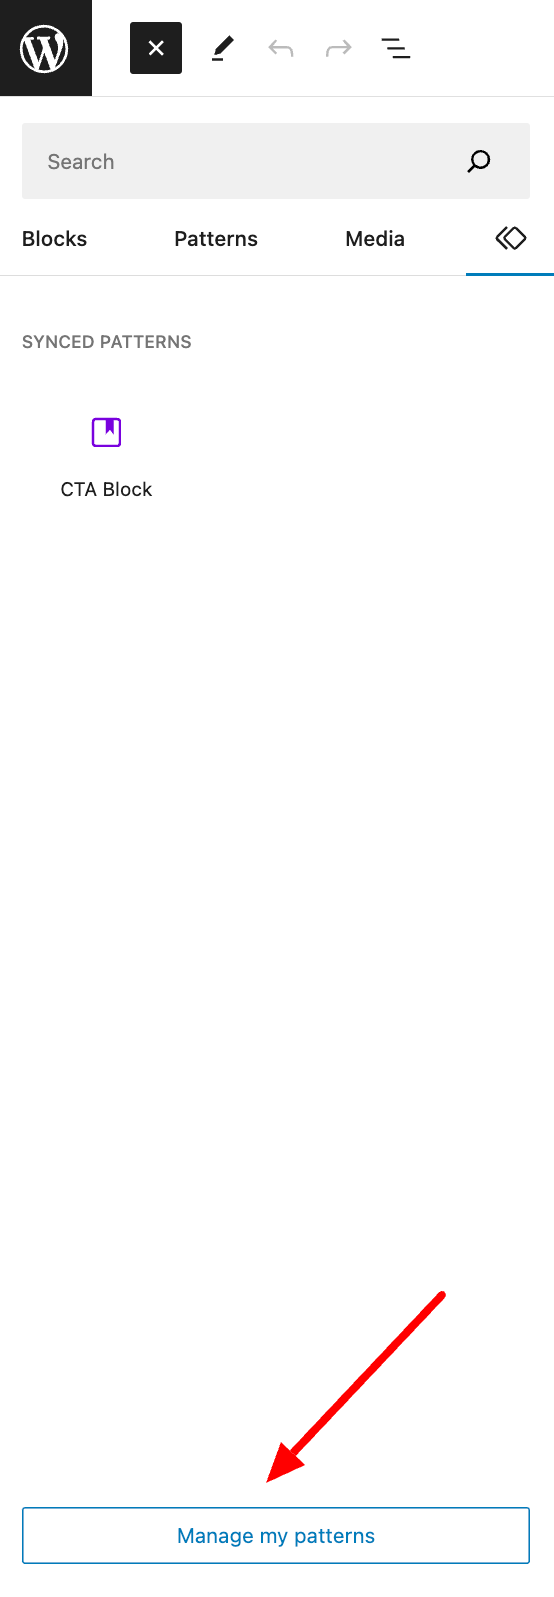
In order to best manage your block patterns, go to the “Patterns” page. To get to this screen, you can go to the content editor, and click on the “Manage my patterns” button, in the “Synced patterns” tab (initially called “Reusable blocks”) of the block inserter:
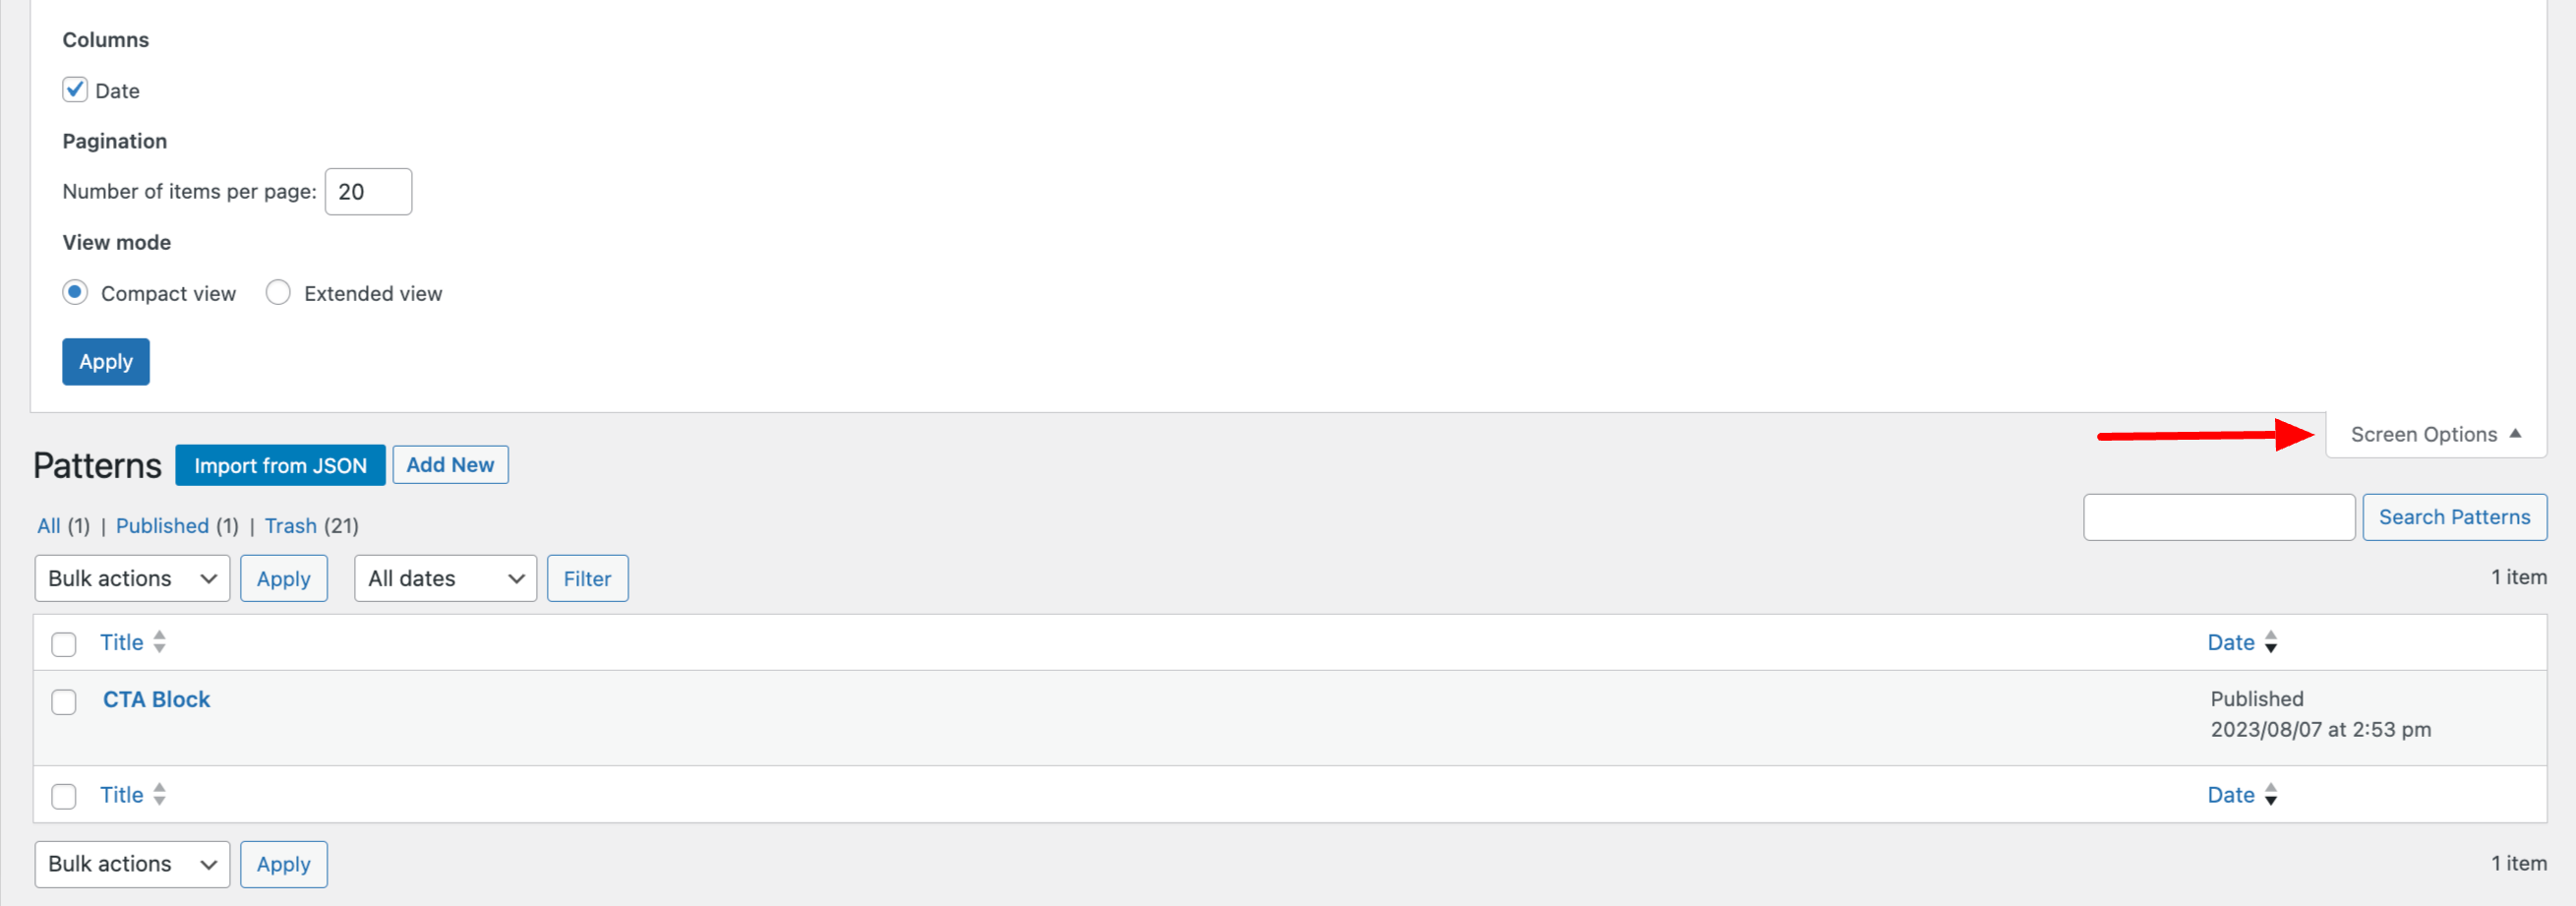
From there you land on a list of all the block patterns that you’ve created. The following elements in particular are listed:
- The name of the block pattern
- The date it was created
Note that you can also choose to show the date or not, as well as choose the number of elements per page, by clicking on “Screen options”:
You can view the actions that can be taken on each pattern by hovering your mouse over the name of the pattern you want to modify. You can:
- Modify the pattern
- Delete it (Trash)
- Export it as a JSON file, in order to import it to another site, for example
Lastly, by selecting multiple block patterns on WordPress, you can take bulk actions. For example, you can delete multiple block patterns at a time, or edit them.
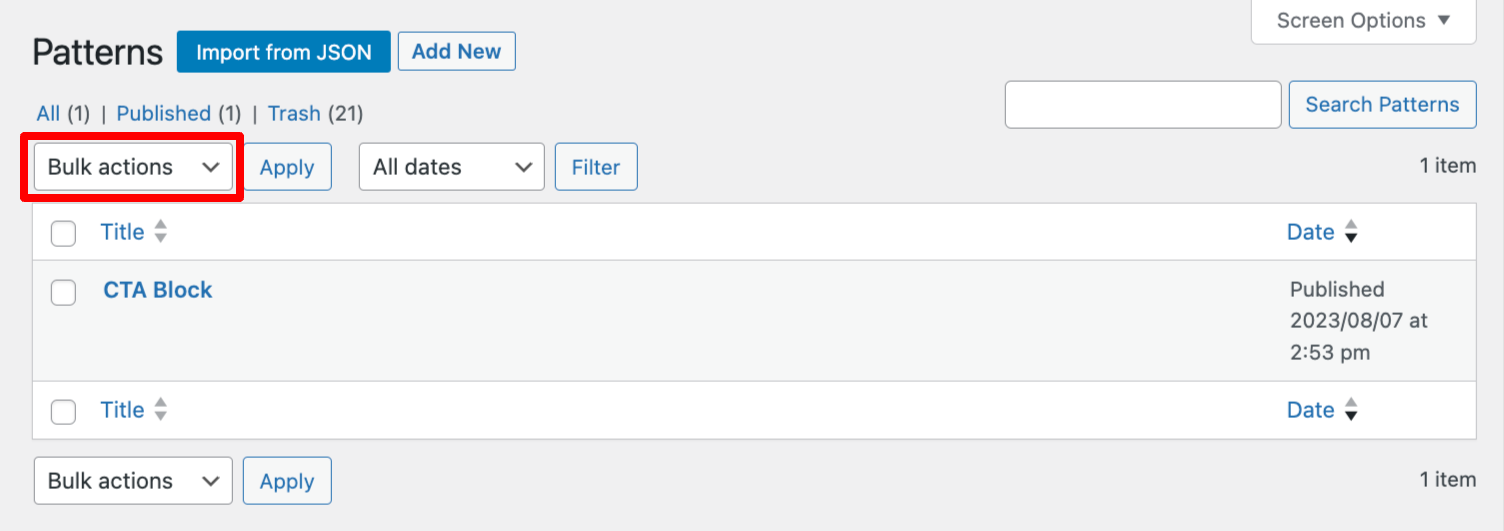
This last action allows you to modify the state of the blocks patterns, for example (public, private, pending review, or draft).
How to manage your block patterns in the Site Editor?
You can also manage all your patterns in the Site Editor (in the Appearance > Editor menu), under “Patterns”.
They are divided into two distinct categories: “Synced” and “Standard”.
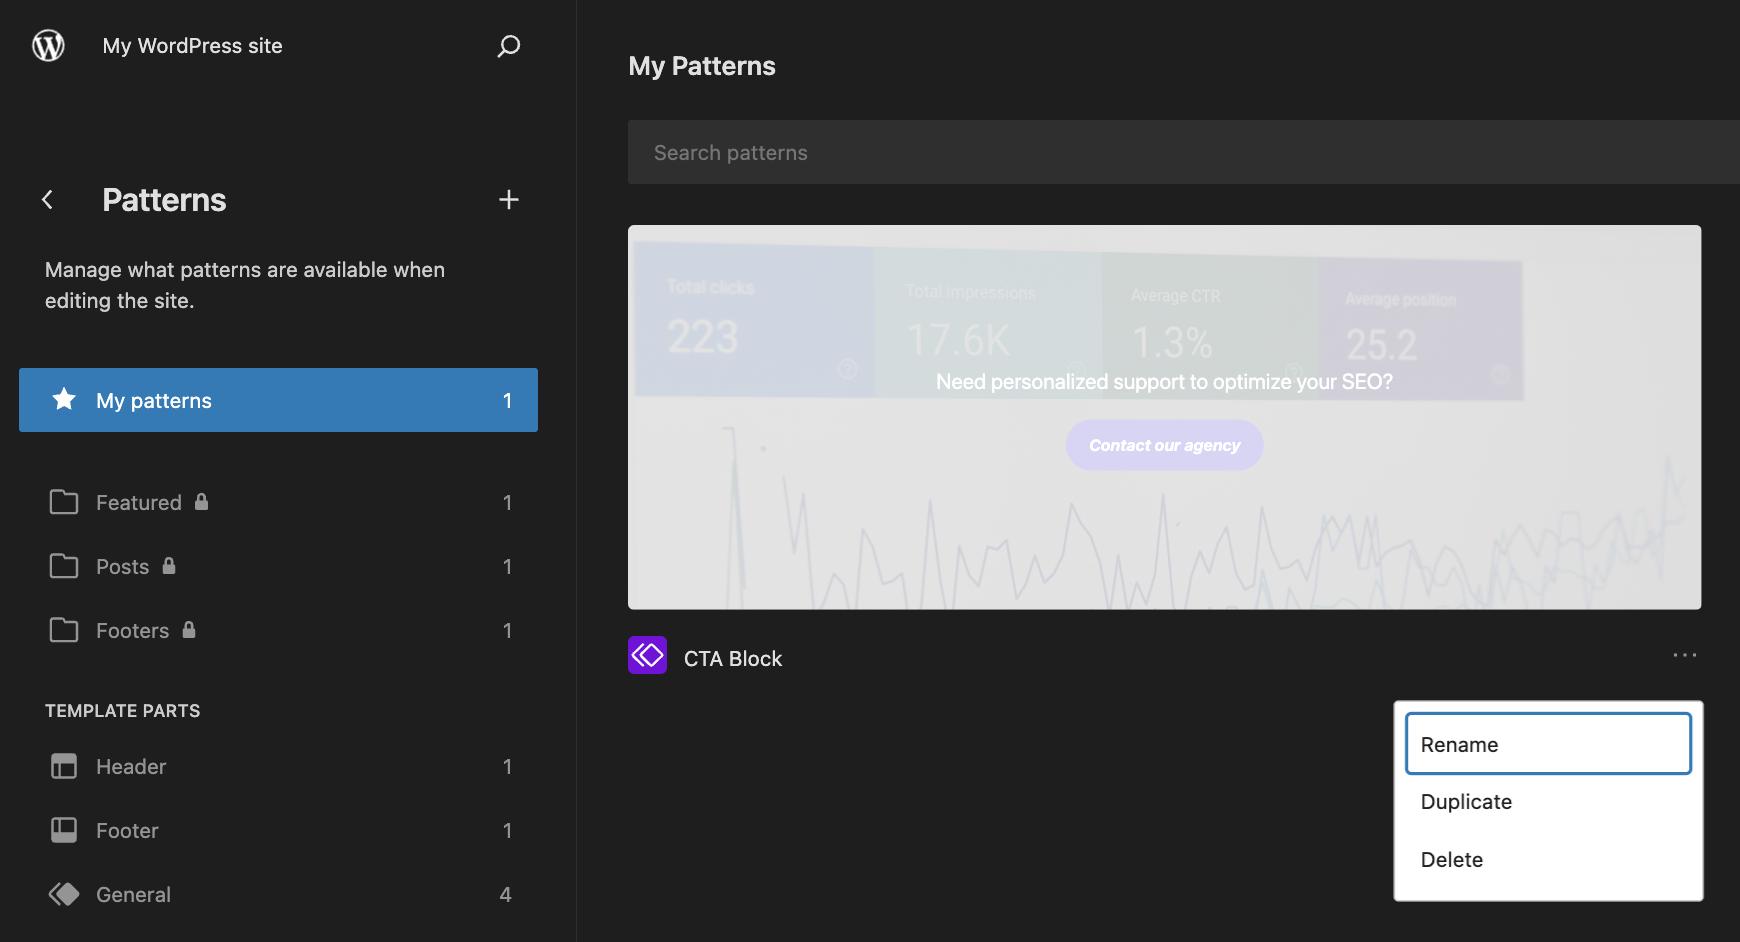
From this interface, you can click on the three little dots below your block pattern to :
- rename it
- duplicate it
- delete it
To modify the content, click on your pattern, and make the necessary adjustments.
Conclusion
In this post, you learned about the WordPress block pattern feature.
You now know how to create and manage block patterns on your site. Put this knowledge to use if you need to create sections of identical content in multiple places on your site.
You will gain precious time, while ensuring uniformity in the visual presentation of your publications.
Do you use block patterns on your WordPress site? Share your feedback and best practices with us by leaving a comment.

Receive the next posts for free and access exclusive resources. More than 20,000 people have done it, why not you?


Continue reading
Articles posted in WordPress TutorialscPanel: Features and how to use this interface for your WordPress site
Need to modify the PHP version of your website? That’s where it happens. Need to create an email address? That’s where it happens too. Need to install an SSL certificate on short notice? Here again. Where? On your WordPress site’s…
How to redesign a WordPress website: the ultimate checklist
Aaah, the redesign of a WordPress website… When you think about the different issues that this mission involves, you usually tend to stress a bit. Who doesn’t dream, in this key moment, of doing a simple Command + Option +…
How to enable two-factor authentication on your WordPress site
A login + a password. Connecting to the WordPress administration interface is very simple, as long as you remember these two elements. From the point of view of the malicious person or robot that wants to access your site, it’s…