Managing a WordPress site from a hosting dashboard can quickly turn into a headache.
Between incomprehensible endless options, a not very intuitive interface, and features that are hard to find at first glance, it’s easy to tear your hair out.
And above all to lose precious time on tasks that should take just a few clicks, at most.

The hPanel from Hostinger was precisely designed to avoid this pitfall. This proprietary interface allows you to easily manage all technical aspects of your site: WordPress installation, domain management, backups, security, and performance.
But how does it really work? And how can you make the most of it in your daily life as a WordPress site creator?
In this complete guide, you’ll discover how to use hPanel step by step to efficiently manage your WP site, even if you are a beginner.
Ready for a full (h)panel overview of this dashboard? Follow us, we’re taking you on a discovery right now.
Transparency point: This page is sponsored. Some links to the Hostinger hosting provider are affiliate links. If you purchase web hosting from them, WPMarmite will receive a commission.
Thanks to the affiliation, WPMarmite is able to remunerate the research and writing work of the blog’s writers. Know that we remain impartial. If a product is not worth it, we say so (or we don’t mention it).
What is Hostinger’s hPanel?
Presentation of Hostinger’s hPanel

hPanel is Hostinger’s proprietary control panel. It is the central interface from which you manage all your hosting resources: WordPress sites, domain names, email addresses, backups, databases, Hostinger services, etc.
Unlike other hosts that use third-party solutions like cPanel or Plesk, Hostinger chose to develop its own in-house tool since 2011.
As stated by the host on its Technology page, the stated goal with hPanel is clear: “to offer an intuitive hosting experience for beginners and simple for professionals”.
Visually, hPanel stands out with a clean interface organized around major feature categories.
The focus is on clarity: each section is accessible within a few clicks, without getting lost in complex menus.
Also note that hPanel is available in 17 languages.
What is Hostinger?

Founded in 2004 in Lithuania, Hostinger is today one of the most popular web hosts worldwide, with over 5 million customers spread across more than 150 countries.
More broadly, it can be seen as a complete platform for creating and managing websites, whether with the WordPress CMS or otherwise.
Hostinger offers 4 main types of services:
- Web hosting (managed WordPress, WooCommerce, shared, VPS servers, cloud)
- Website creation (showcase, e-commerce) and web applications with AI
- Purchase of domain names. Hostinger is an accredited registrar (domain name registration office)
- Email marketing
Ranked in the FT 1000 of the fastest-growing European companies for several years, Hostinger has built its reputation on several pillars:
- Very competitive entry-level prices, starting at $1.99 excl. VAT/month
- Hosting that makes no compromise on performance and security, with 24/7 support availability
- An interface accessible to all technical levels, from beginners to advanced technicians
For WordPress users, Hostinger offers the advantage of specifically optimized plans for the CMS, with dedicated features integrated directly into hPanel.
What are the differences between hPanel and cPanel?
After getting to know hPanel and its “parent”, Hostinger, let’s take stock of what sets this proprietary interface apart from a giant in the field: the famous cPanel.
You have to say that if you have already used another host, there is a good chance you have encountered cPanel, one of the most widely used server admin interfaces (alongside Plesk) by hosting providers.

On this subject, a legitimate question often arises: how is Hostinger’s hPanel different from cPanel?
Several major aspects differentiate the two solutions:
- Origin and ownership: cPanel is third-party software used by many hosts, whereas hPanel is a 100% solution developed and maintained by Hostinger itself
- User interface: richer in options, cPanel also displays a denser interface, which can be perceived as complex by beginners, with some technical options not always easy to understand. hPanel bets on simplified navigation, with a more modern design and superior intuitiveness
- Integration with WordPress: hPanel includes WordPress-specific features (staging, automatic updates, plugin management) directly in the interface, without the need for additional plugins
- Learning curve: Hostinger offers an hPanel that is quicker to grasp for a beginner, with simplified navigation and well-organized categories. cPanel often requires a longer adaptation time
- Compatibility: cPanel is available with many different hosts. hPanel is exclusive to Hostinger, tailored to its ecosystem. This means if you change your WordPress hosting, you will have to adapt to a new interface
- Continuous evolution. Hostinger regularly updates its hPanel
In practice, neither is objectively superior: it depends on your habits, your technical level, and your needs.
That said, for a beginner WordPress user, hPanel offers a smoother and less intimidating experience.
We’ve finished with the theory. It’s time to roll up your sleeves, if you please.
In the next section, it’s time for practical use.
How to log in to Hostinger’s hPanel?
To access Hostinger’s hPanel, there is one prerequisite: subscribe to a hosting plan for your WordPress site.
For information,the Business + AI plan is the most affordable at the time of publishing this content, with starting offers from $1.99 excl. VAT/month.
Once you have made your choice, you will have a Hostinger customer account with an email and a password.
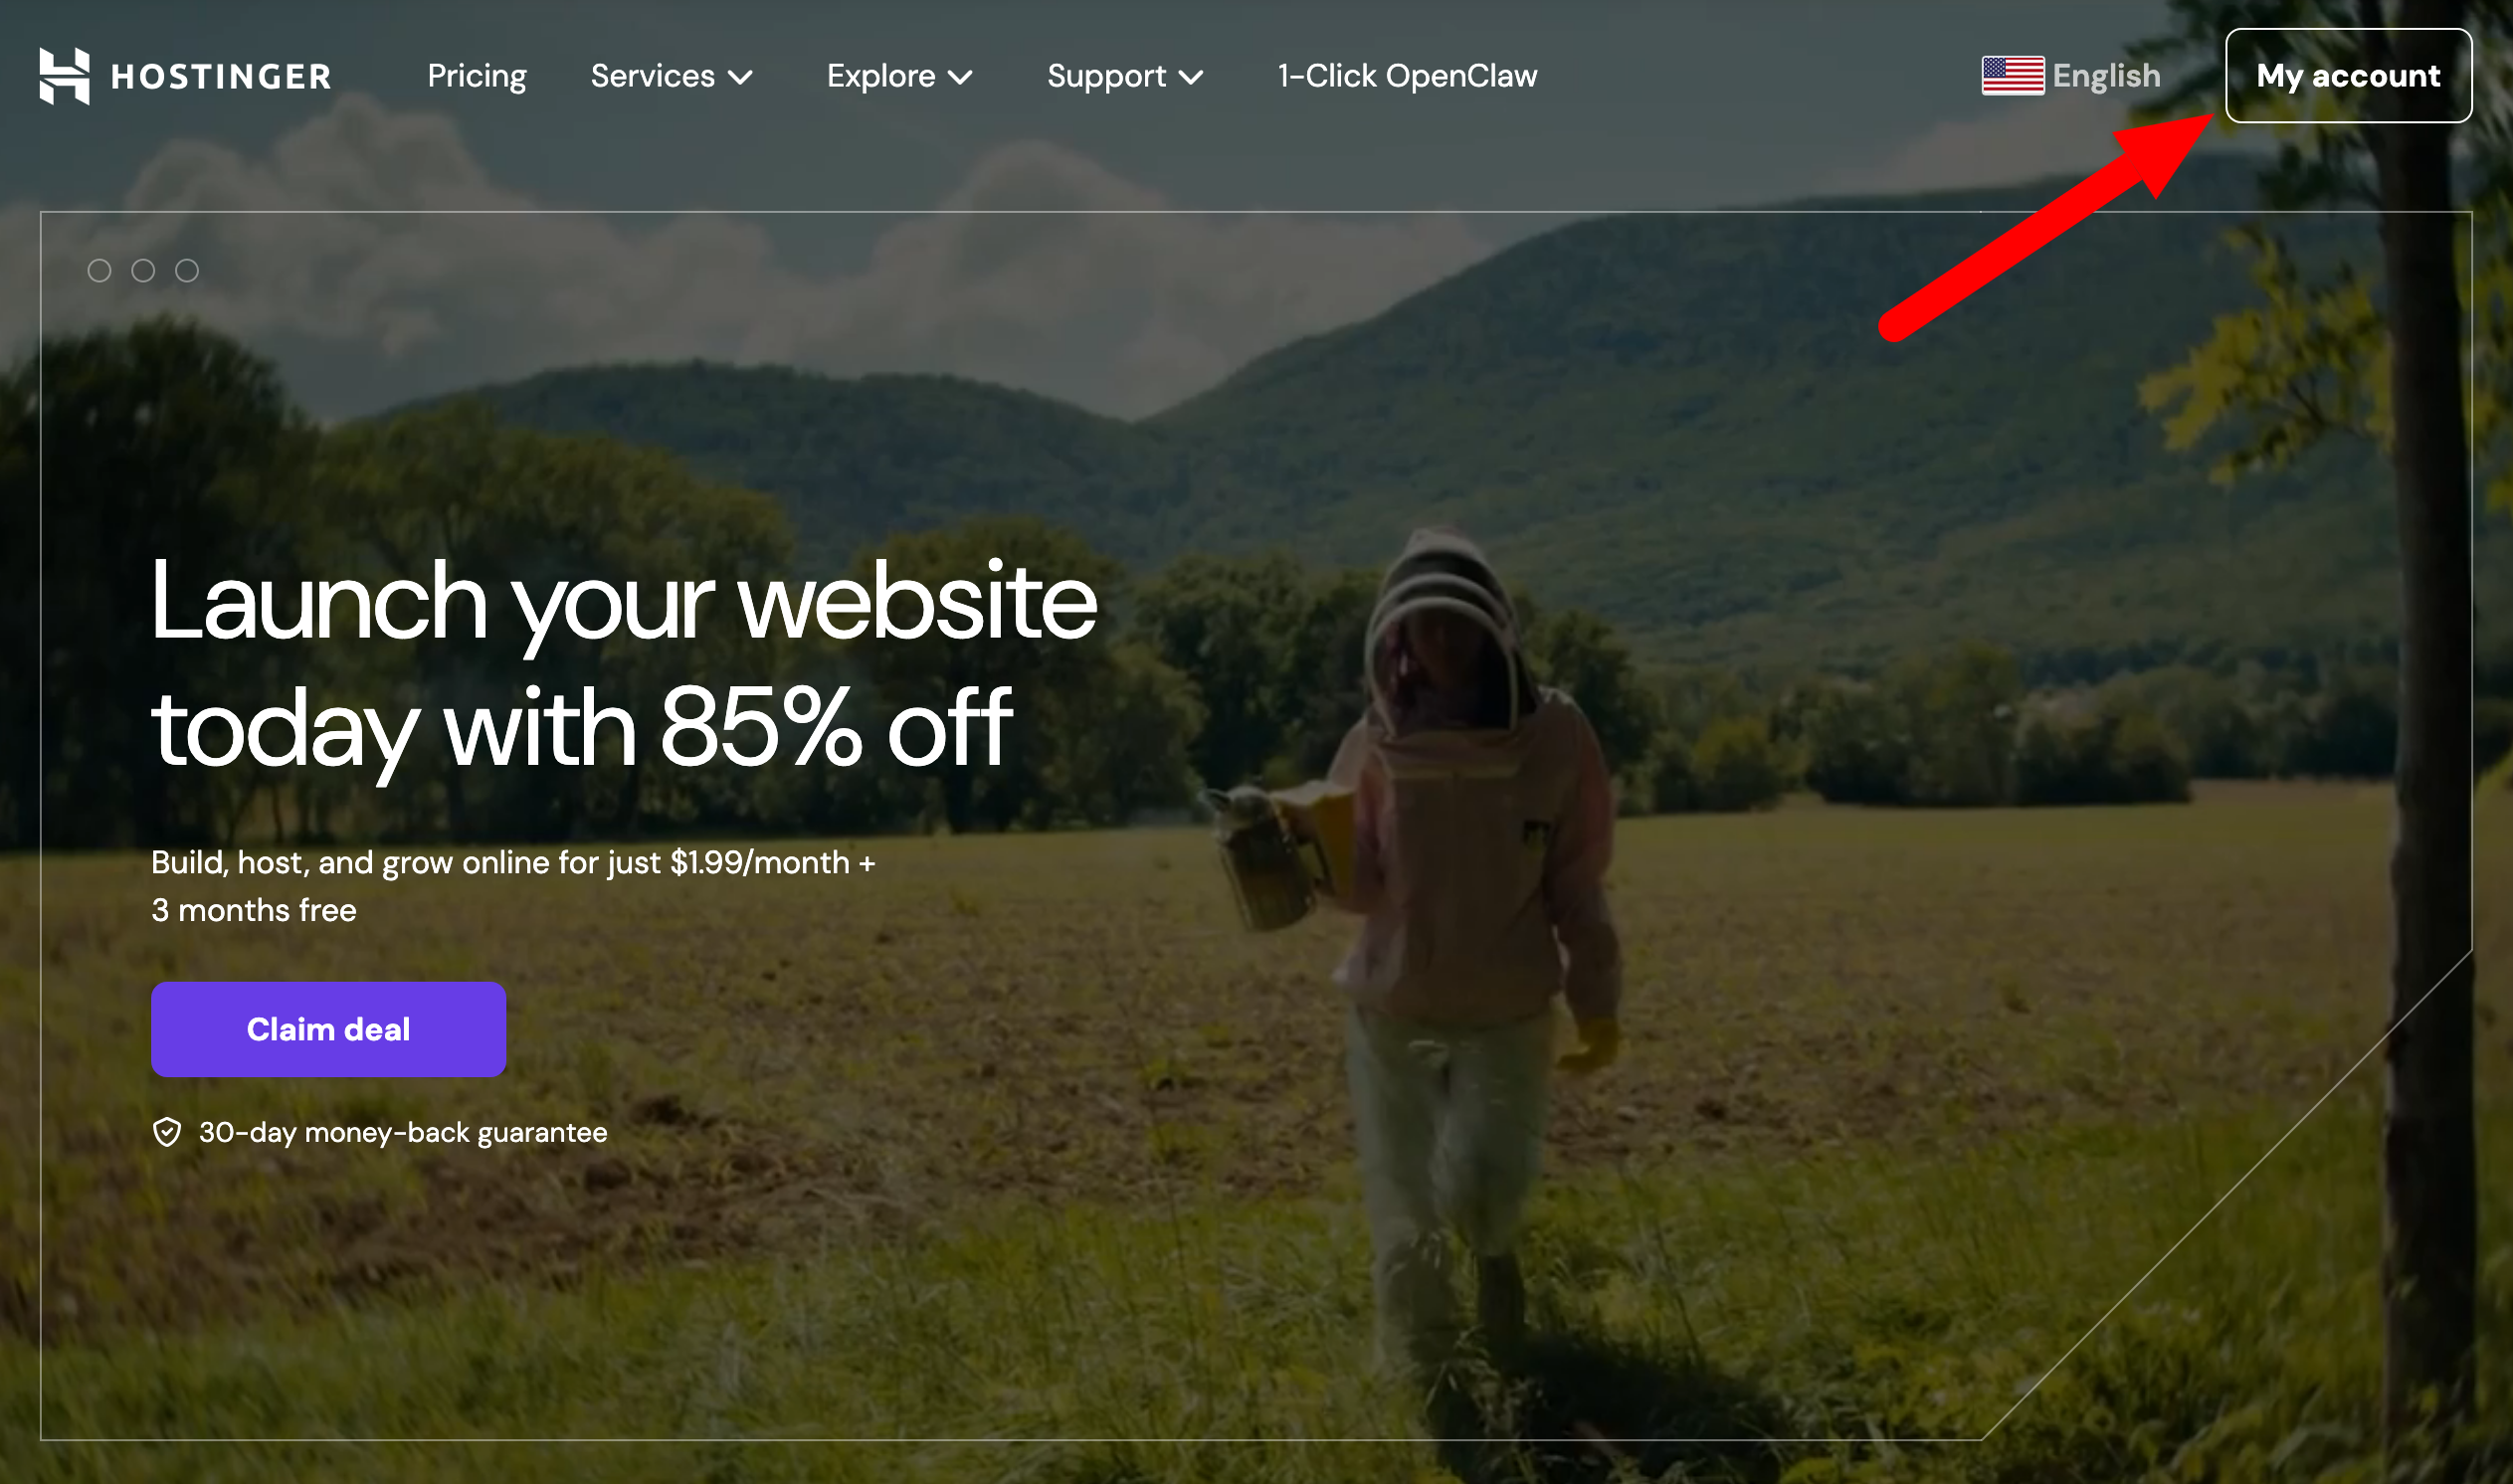
Continue by going to the official Hostinger website. In the top right corner of the screen, click the “My Account” button:
Another option for even faster access: follow this link.
Also enter your credentials (email address and password) used when creating your Hostinger account, when you purchased your hosting plan.
And that’s it. You are now on the “Home” section, which serves as a dashboard and summarizes the main information related to your account:

Getting started and user experience with hPanel
On the home screen, the first impression is positive: the interface is clean, spacious, and logically organized.
Unlike some control panels that feel like being in an airplane cockpit with options everywhere, Hostinger’s hPanel goes minimalistic.
The main menu, accessible on your left, offers quick access to the most used features:
- Websites
- Domain names
- Horizons (to create applications with the help of artificial intelligence)
- Emails
- Reach (for creating personalized email campaigns with AI),
- VPS
- Billing
- More services
Each category expands to reveal its subsections.

At the top of the interface, a search bar allows you to quickly find a feature without manually navigating through menus.
This is a nice detail when you are starting out and don’t yet know the exact location of each tool.
You can also rely on Kodee, Hostinger’s intelligent virtual assistant, if you want help getting started and have questions.
To do this, just click on the “Ask AI” button, located at the top right of your hPanel.

To go specifically to the interface for creating, managing, and optimizing your WordPress site, go to the menu Websites > Websites list.
At your chosen site level, click on the “Dashboard” button to be redirected to a dedicated interface:

Your hPanel dashboard centralizes all the tools and settings you need to manage all actions related to your CMS:
- installation
- updates
- management of plugins and WordPress themes
- site security
- performance-related options (loading speed), etc.
Performance indicators and quick action links are visible directly from the hPanel home page: bandwidth usage, databases, site overview, WordPress backup settings, file manager, WP-admin access, etc.:

Overall, the hPanel user experience is designed to minimize friction.
Even if you have never administered web hosting before, you should be able to carry out the majority of common tasks without consulting Hostinger’s documentation.
And precisely, to make your life even easier, we show you in the next part how to use the main features of hPanel step by step.
How to use Hostinger’s hPanel features to manage your WordPress site?
One-click WordPress site creation
One of the first actions you will carry out in hPanel is installing WordPress and WooCommerce (if needed).
Hostinger offers an automatic installer that reduces this operation to just a few clicks.
To take advantage of it, go to the menu Website > Auto installer. In the “WordPress” box, click the “Select” button.
Continue by entering your username and password, with also the option to install WordPress on a subdomain in the “Advanced” section:

Finish by setting various options such as:
- the WordPress version
- the installation language
- the PHP version
- the WordPress updates
You can leave the default settings, which are relevant. When you’re ready, click the “Install” button to install WordPress.
In a few minutes, your WordPress site is up and running online.
It is also possible to migrate an existing WordPress site from another host thanks to the integrated migration tool, still in the menu Website > Migrate website.
Hostinger then automatically (and for free) takes care of the migration for you. You just have to click on the “Migrate website” button to benefit from it (estimated duration: about 30 minutes).

In hPanel, you can also install WordPress by creating a site through a setup wizard and AI tools to create content, after answering a few questions about your site. To learn how it works, watch the explanatory video below.
Domain name and SSL certificate management
Let’s move on to an important point for every webmaster: domain name management. In hPanel, it is centralized in a dedicated section on the left sidebar.
From there, you can notably:
- buy a new available domain name
- transfer an existing domain to Hostinger
- manage your DNS zones
You also have the possibility to configure 301 redirects on your site’s dashboard, in the menu Domains > Redirects:

Moreover, know that Hostinger automatically installs a Let’s Encrypt SSL certificate upon purchase of any hosting plan.
This allows you to enable HTTPS on your WordPress site without any manual action on your part. The certificate renews itself and is available free for life.
If you ever want to install a new SSL certificate manually (or disable one), go to the menu Security > SSL certificate.
Backups and restorations
WordPress backups are the lifeline of any website. In case of a problem (bug, hacking, accidental error), you have a copy of your site (files + database) so you can restore it.
Hostinger’s hPanel offers an automatic backup system with frequency depending on your hosting plan:
- weekly for the “Premium” plan
- daily and on-demand for “Business + AI” and “Cloud Startup + AI” plans
Access to this option can be done from the “General Access” menu of your dashboard, or via the menu Files > Backups.

Once in this menu, you can:
- view recent backups
- create a manual backup on demand
- restore and download the backup of your choice with one click (files or database AND files + database)
We recommend not relying solely on the backups provided by your host. Whenever possible, supplement them with an external backup solution, such as the UpdraftPlus plugin, which lets you store backups on a third-party cloud service (Google Drive, Dropbox, Amazon S3, etc.). Or even more complete: the WP Umbrella management and maintenance tool.
Management of plugins and themes
The security and stability of a WordPress site largely depends on the regular update of its Core, themes, and plugins.
Hostinger’s hPanel offers a update management feature directly from the dashboard, without having to go through the WordPress admin interface.
You can see at a glance which components need updating, and apply them individually or in bulk.
This centralization is especially useful if you manage multiple sites from the same Hostinger account.
To use it, go to the menu WordPress > Security. You will have a view of the update log, as well as the themes and plugins installed on your site.
As soon as an update is available, an “Update” button appears next to the concerned plugin or theme. Click it to start the update.
You can also perform bulk updates by selecting multiple plugins or themes at once (and even delete those you want if needed):

Always back up your site before applying updates, especially for plugins you rely on for critical features (contact forms, e-commerce, SEO, etc.).
Finally, concerning security, note that Hostinger also automatically deploys a malware scanner. In case of detected problems, you will see the results in the menu Security > Malware Scanner.
Creating staging environments
If you are a slightly more advanced user, the feature that follows will surely interest you.
On hPanel, you can create a staging environment in a few clicks, to have a copy of your production site (except for “Premium” plan users).
You probably know this already: it is simply essential to test changes without risking damage to your live site. If something goes wrong, your production site remains intact.
Staging is done in the menu WordPress > Staging. To use it, just enter a name for your staging site, and let the tool create your pre-production (about 15 minutes).
Once your changes are made on the staging site, you can push them to production automatically if needed.
It is also possible to do the reverse: retrieve the production site state back to staging.
Performance optimization
Without transition, let’s now discuss Hostinger’s hPanel options related to performance optimization.
The loading speed of your WordPress site is a key factor, both for your visitors’ experience and for your SEO.
Among the available options in hPanel, you’ll find notably:
- cache options. Hostinger uses the LiteSpeed web server, whose caching system is known for its high performance. It is also possible to enable/disable an object cache in the Performance > Object Cache menu
- a tool to test the loading speed of your pages on desktop and mobile (Performance > Page Speed menu)
- selecting the PHP version used by your site, which directly impacts performance and compatibility with your WordPress plugins (Advanced > PHP Configuration menu)
- an AI tool to automatically identify and fix your site’s performance issues with one click (WordPress > AI Bug Fixer menu)

Another important point: hPanel also allows you to configure a content delivery network (CDN) to distribute your static files from servers geographically close to your visitors, which reduces latency and improves the global user experience.
File management and database access
Managing your files and databases is the webmaster’s daily task. That’s why Hostinger offers on hPanel a complete file manager, accessible without needing an external FTP client like FileZilla, Cyberduck, or Transmit.
From this interface (menu Files > File Manager), you can navigate your file tree, download, delete, edit them directly in your browser, or even change permissions.

You also naturally have classic FTP and SFTP access, with the possibility to create secondary FTP accounts to delegate access to certain folders to collaborators or developers (Files > FTP Accounts menu).
For the WordPress database, hPanel gives you access to phpMyAdmin, the most popular MySQL database management tool.
You can create databases, import/export them, or run SQL queries manually (Databases > phpMyAdmin menu).
If needed, you can create a new MySQL database and user without opening phpMyAdmin via the menu Databases > Management:

User access and site management
If you are a WordPress freelancer or agency, you will need to manage sites on behalf of your clients.
hPanel offers a multi-user management feature that allows you to invite collaborators to access your hosting space with defined rights.
You can, for example, grant limited access to a developer so they can work on a specific site, without giving them control over your entire account. This granularity in access control is a real plus for web agencies and freelancers.
To take advantage, click the “Account sharing” menu in the left sidebar of the hPanel interface:

Then click on the “Grant Access” button in the tab of the same name, then select the roles and permissions for the person you want to grant access:

Also, if you manage multiple sites hosted by Hostinger, the dashboard gives you a clear overview of all your projects, with quick access to each one.
Creation of professional email addresses
Having a custom email address for your domain (for example hello@your-site.com) boosts your professional credibility.
hPanel allows you to create and manage your email addresses directly from the “Emails” section.
You can set the address name, choose a secure password, adjust mailbox storage capacity, or configure forwards or autoresponders.
Hostinger also offers an integrated webmail (accessible via hPanel) if you want to check your emails from a browser.
To set up your emails on an external mail client like Outlook, Thunderbird, or Apple Mail, hPanel provides the necessary IMAP/POP3 and SMTP settings.
Advanced tools
Finally, know that hPanel is not limited to basic functions only. For users with a more technical profile, it also offers a set of advanced tools mostly accessible in the “Advanced” menu:
- Cron jobs: to automate recurring actions on your server.
- SSH access: to connect to your server via terminal and execute command line instructions. This is particularly useful if you use WP-CLI, the command-line interface for WordPress.
- Git integration: to connect a Git repository to your hosting to deploy your changes in a controlled and traceable way.
- Activity log: a history of the actions performed on your account.
- Password-protected directories: to restrict access to certain hosting folders by protecting them with a username and password.
These advanced tools make hPanel a complete control panel, able to meet the needs of the most demanding users while remaining accessible for less technical profiles for everyday functions.

We have just finished presenting the major features of Hostinger’s hPanel.
To conclude, we just have to discuss the price of hPanel and give you our opinion on this management interface.
How much does hPanel cost?
Let’s start with hPanel pricing, and this will go fast because it’s straightforward: hPanel is included for free in all Hostinger hosting plans.
There are no extra fees to access the control panel: it is a component integrated into every hosting offer, whether it’s managed WordPress hosting, Cloud hosting, or VPS hosting.
What varies from plan to plan are the resources allocated and the features available within hPanel.
For example, the staging feature is only available on “Business + AI” and “Cloud Startup + AI” plans.
To give you an idea, the managed WordPress offers come in three plans, with starting prices ranging from $1.99 excl. VAT/month to $9.99 excl. VAT/month depending on the plan and commitment duration.
For a 12-month commitment, you can choose:
- The “Business + AI” plan at $2.99 excl. VAT/month (then $18.99/month on renewal).
- The “Premium” plan at $1.99 excl. VAT/month (then $12.99/month on renewal).
- The “Cloud Startup + AI” plan at $6.99 excl. VAT/month (then $27.99/month).

Directly check Hostinger’s official website for details of each plan’s features and current pricing, which may evolve after this content is published.
Our final opinion on Hostinger’s hPanel
After reviewing all its features, our verdict on Hostinger’s hPanel is very positive, especially for beginner and intermediate WordPress users.
What we like about Hostinger’s hPanel
- A clear, intuitive, and well-organized interface that makes it easy to get started, even without prior web admin experience.
- Dedicated WordPress features that centralize the management of your CMS from one place.
- An integrated staging tool that lets you safely test before going live (starting with the “Business + AI” plan).
- Advanced tools available (SSH, Git, CRON, WP-CLI) that also satisfy technical profiles.
- Comprehensive documentation to support users.
Points to watch
- hPanel is exclusive to Hostinger. If you are used to cPanel and plan to change hosts someday, you will have to adapt to new environments.
- Some advanced features are only available on higher-tier plans. It is thus important to choose your hosting plan carefully according to your real needs.
- The number of hosted sites is limited on entry-level plans, which may constrain users managing multiple projects.
In summary, hPanel is a modern, performant, and well-thought-out control panel that is a real selling point for Hostinger among WordPress users.
Its learning curve is very quick, its features cover the essentials of everyday needs, and its advanced tools allow it to meet the demands of more technical profiles.
So, ready to take action? Discover Hostinger’s hosting offers and start exploiting the full potential of hPanel right now: