It’s done: you’ve designed a great WordPress site.
But you realize that the offer you’re making is hardly visible to your visitors on your “About” page or in your blog posts.
How can you highlight this great offer, and encourage the conversion of your visitors?

The answer can be very simple: put a floating or “sticky” banner in the sidebar! And why not take the opportunity to make your menu floating too, to facilitate the navigation of your visitors?
In concrete terms, once you’ve made your element sticky, it will remain fixed during navigation. In other words, even when scrolling down a long page, there is no more risk of getting lost: the sticky element remains floating and accessible to the visitor at any time. Saved!
The goal is to attract attention without distracting the user from his reading. Less intrusive than a popup, a floating menu guides the reader towards your conversion goal.
For example, look at how WPMarmite suggests that you subscribe to its newsletter above (I’m just saying… 😉 ).
Overview
Three methods to make an element or menu sticky
Option 1: Use a compatible theme
The fastest solution may be right in front of you. Without knowing it, your theme may offer a feature to make your header sticky. Look at what it says on its presentation page, or go snooping in the settings.
To help you out, here are several solid themes that have the capability to create a fixed menu on scroll:
- Astra, the most famous theme in the official directory. Its Pro version offers a module called “Sticky header.”
- GeneratePress offers the same thing in its paid version, via the “Menu Plus” module.
- Blocksy provides access to this option through its Header Builder, if you use Blocksy Pro.
With these three, you will need a premium license to create a floating menu. If you are already using one of them, good for you.
But if you don’t feel like spending your budget on a premium theme, there are also some great themes that offer a sticky option for free.
For instance, there is the excellent Kadence. Once you’ve activated the theme, head to the WordPress Customization Tool via Appearance > Customize.
Go to the Header > Sticky Header menu. At the “Enable Sticky Header?” drop-down menu, select “Yes – Whole Header.” You can even choose to display a different logo when the header is fixed, and enable/disable the sticky effect on mobile.

Option 2: Use the Sticky Menu & Sticky Header plugin
Do you like your current theme, but it doesn’t have an option to create a floating menu or element?
In that case, turn to solution #2: using a dedicated plugin. Sticky Menu & Sticky Header (formerly Sticky Menu (or Anything!) on Scroll) is one of the most famous of them. It has 100,000+ active installations and an excellent rating of stars. So you can use it with your eyes closed.

You can use this plugin for almost anything: navigation menu, widgets, subscription to your newsletter, sharing button on social networks… You just have to choose the best location for your floating element:
- At the top of the page: the menu or header, or a shopping cart for a store
- In the sidebar: various calls to action in widgets
- Or at the bottom of the screen: social sharing buttons, for instance
Download the Sticky Menu & Sticky Header plugin:
Well, what next?
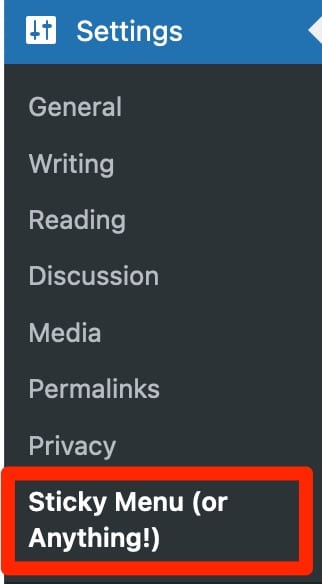
After downloading and activating the plugin, go to its configuration options via Settings > Sticky Menu (or Anything!):
How to make an item floating (sticky)
Now, roll up your sleeves: even if this plugin makes your task much easier, you’ll still need to get your hands a little dirty.
Take heart, I assure you that it won’t be too much trouble. To define the element you want to paste, you first need to find its ID or class.
To examine the source code of your theme and find the CSS class of your future floating element, nothing could be easier: use the code inspector of your browser.
To do this, go to the page of your choice on your WordPress site, then right-click and choose “Inspect.”
Then simply move your mouse over the element in question, and presto! As if by magic, the corresponding lines of code are highlighted:
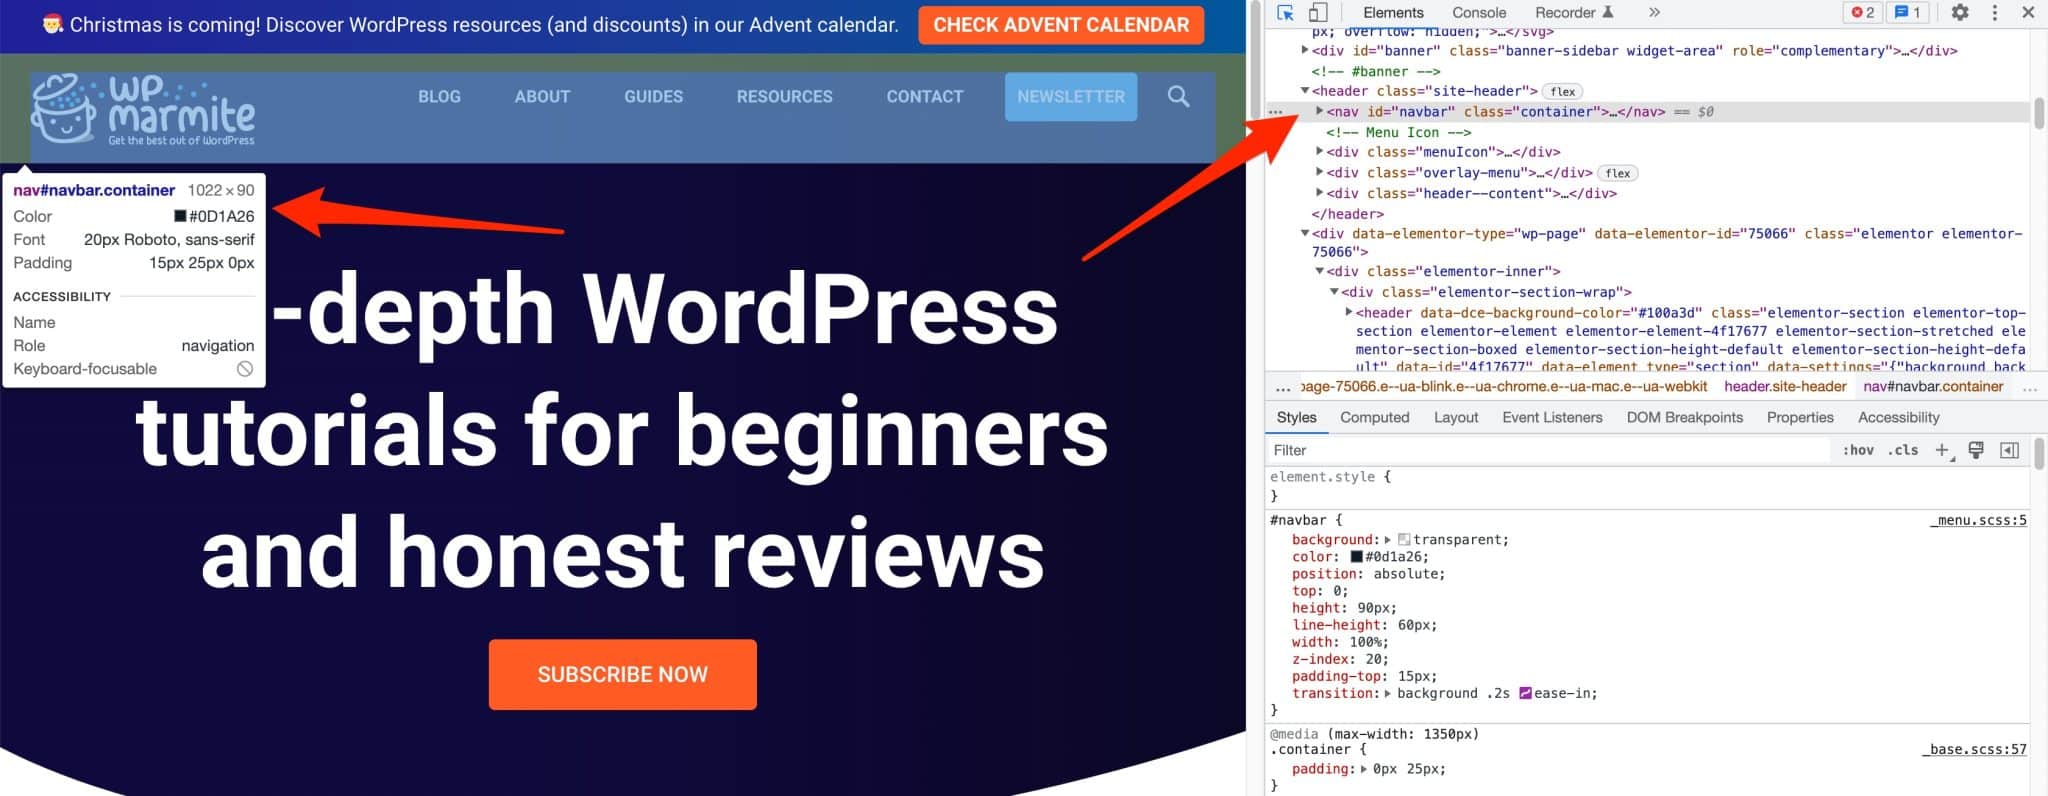
All you have to do is copy the ID that appears. By default, it will look something like this: <nav id="navbar" class="container">.
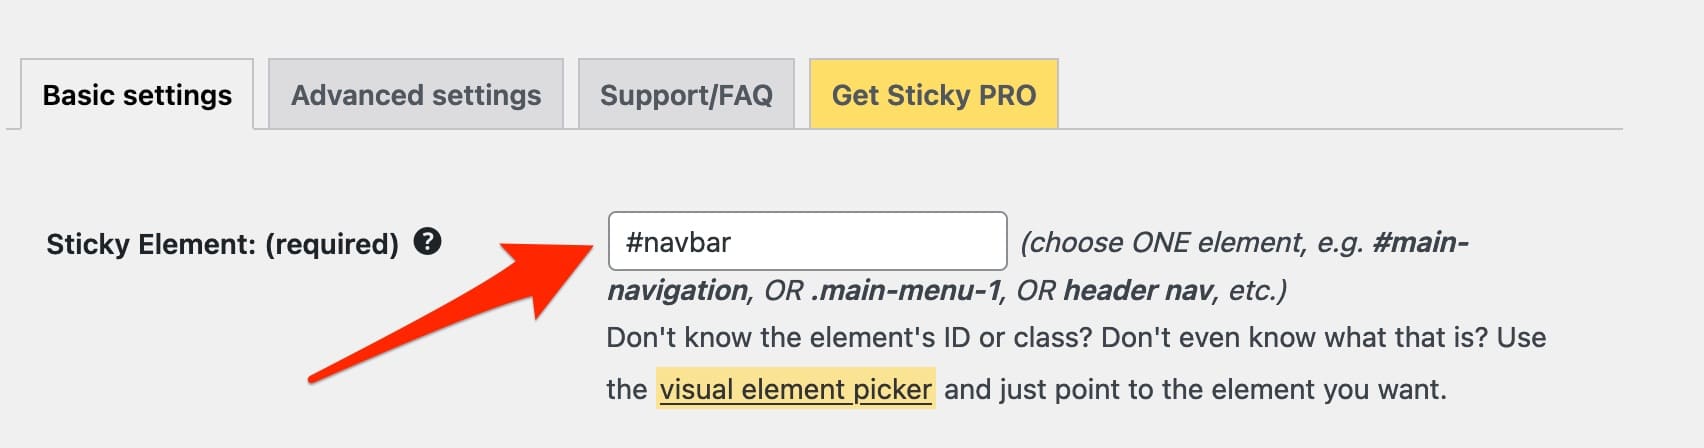
So above, our menu ID is navbar. All you have to do now is paste this ID into the plugin settings, in the “Sticky Element: (required)” box.
Add a hashtag in front of it, as below:
Though finding the right selector is quick and easy, we’ll grant you that this manipulation is for WordPress users who are already a bit experienced and comfortable with CSS.

How to leave a free space at the top of the page
By default, the Sticky Menu plugin sticks the element at the top of the screen. You may prefer to leave some space, or even keep the element floating in the middle of the page: in this case, indicate the desired margin in pixels.

To lower the element only if there is an administration bar (if the user is logged in for example), check this box :

How to manage the responsive display
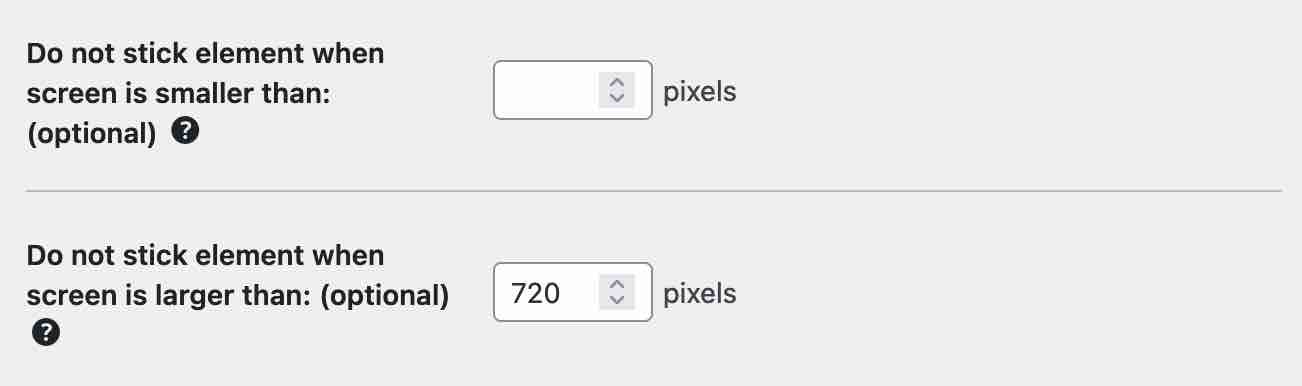
For a better user experience, you can customize the display breakpoints of your element, and choose to remove the floating element:
- On screens smaller than x pixels
- On screens larger than x pixels
Finally, don’t forget to save the settings before leaving the dashboard, at the risk of having to configure everything again. 😉
What are the advanced configuration settings?
For the more fussy and/or resourceful, some advanced settings allow you to go further in the configuration:
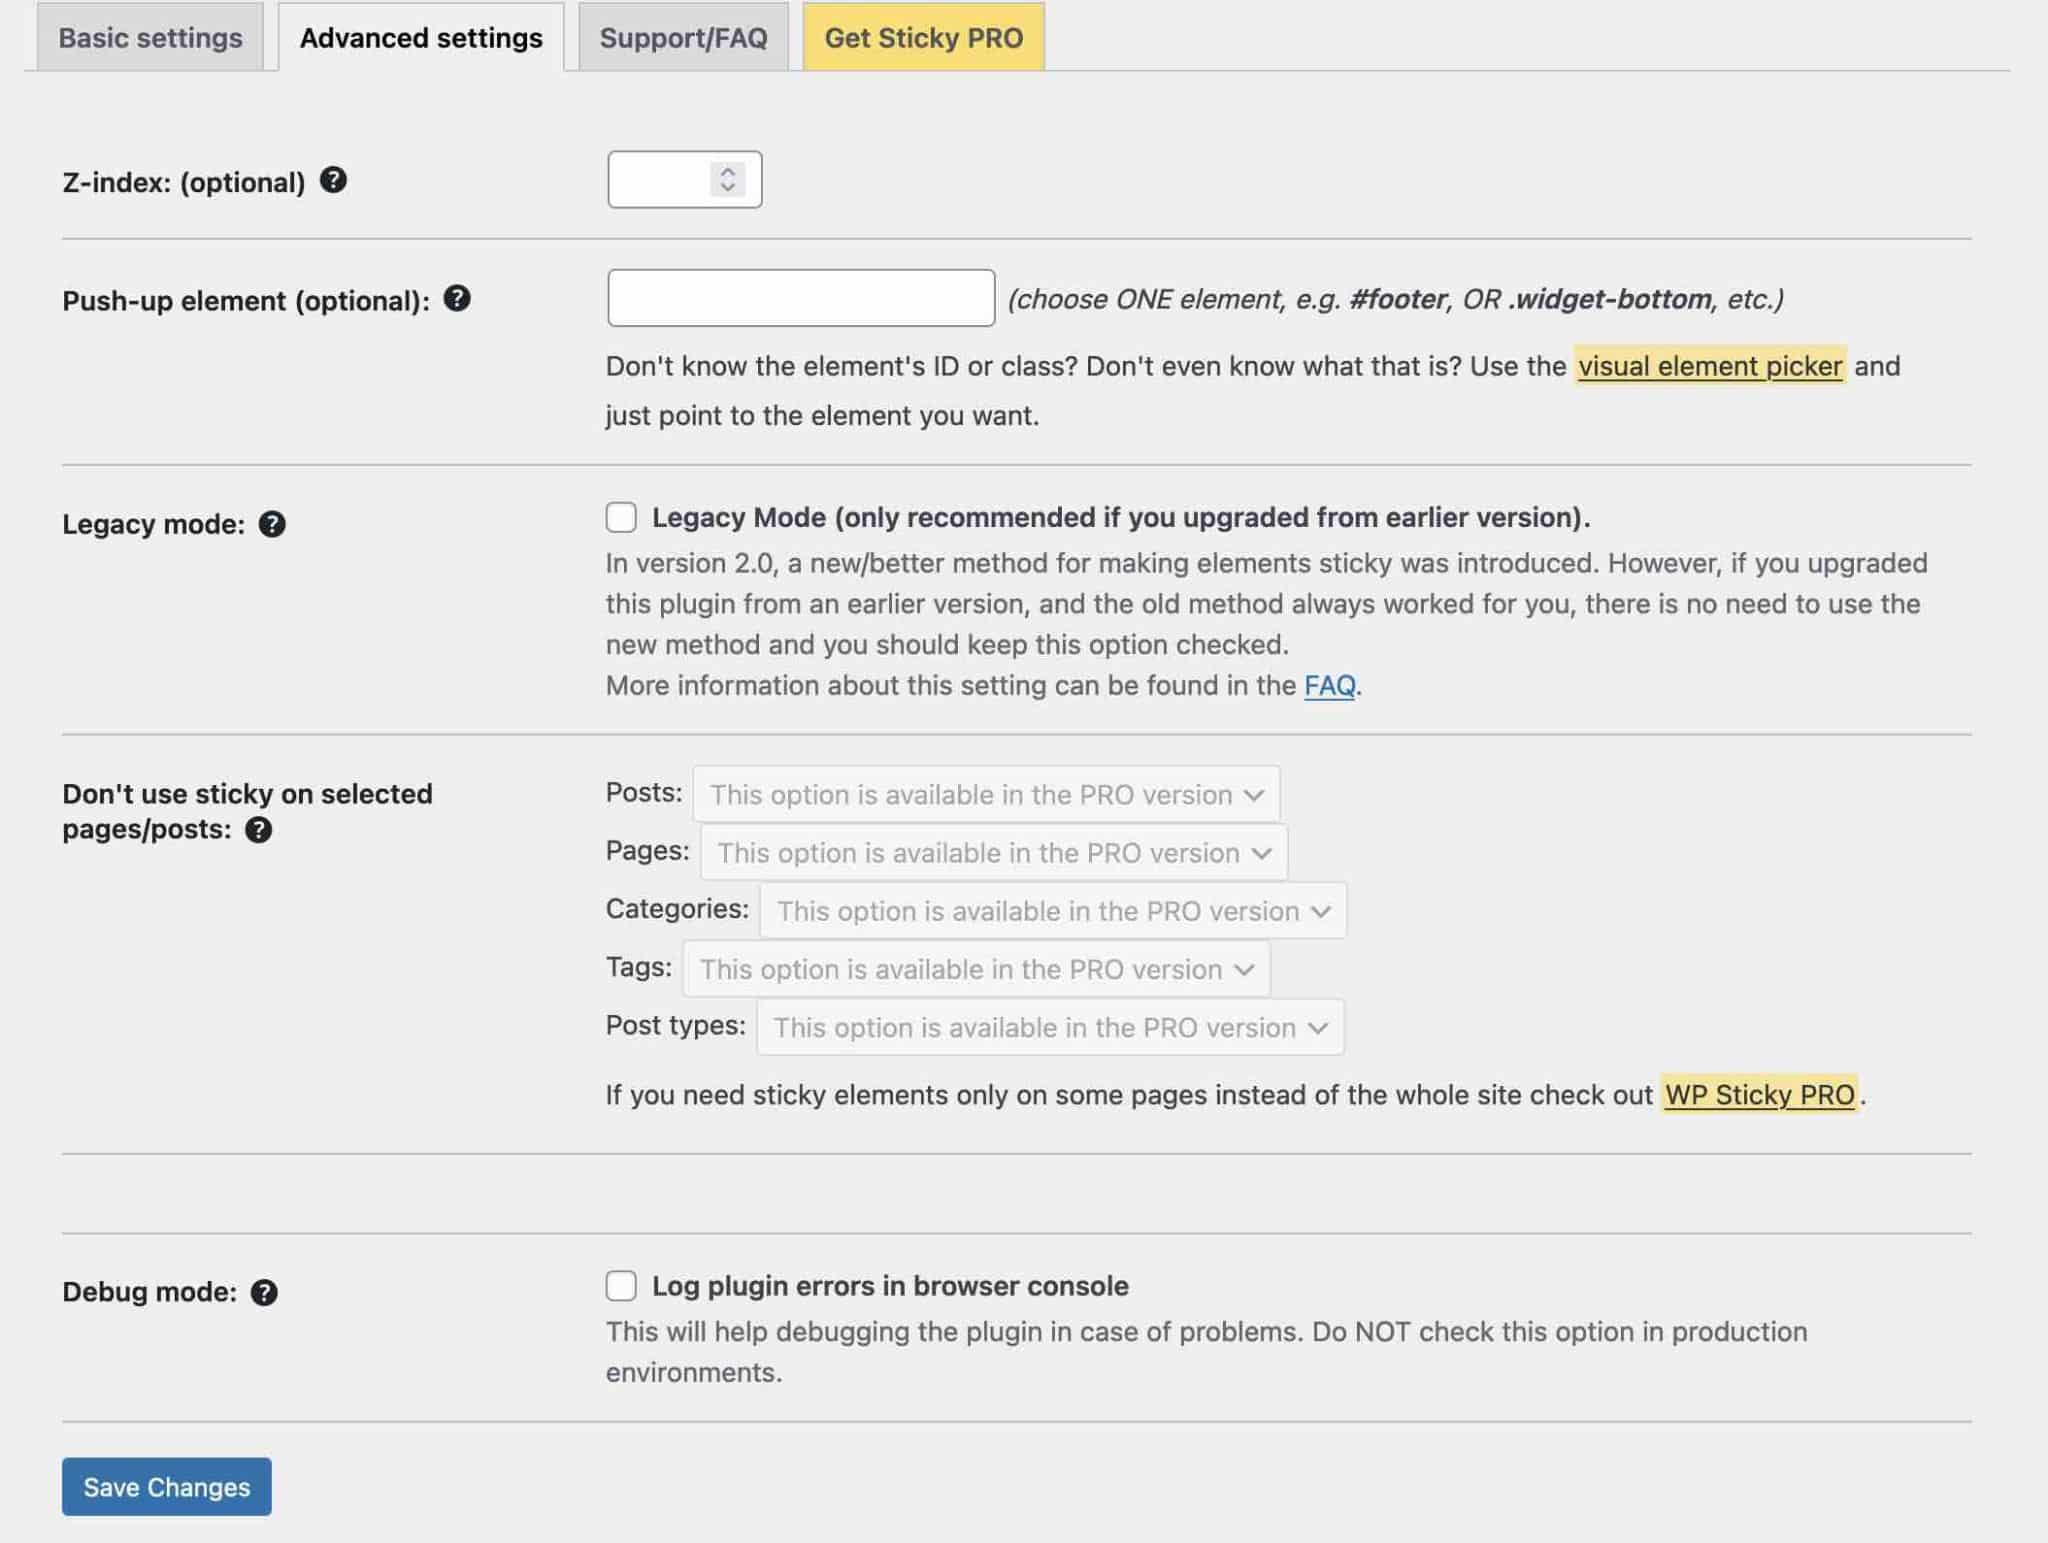
- The “Z-index” option allows you to overlay your floating element on top of your theme elements. Only specify a value (e.g. 100, 1000, or more) if your element appears under another one.
- “Push-up elements“: removes the floating element when it reaches a certain level on the page, usually the footer.
- “Legacy mode“: in case you have to use an old version of the plugin to make it compatible with your theme. So if you have just installed it, don’t touch it.
- “Debug mode“: to solve problems generated by a bad choice of selectors.
If you have any other questions, an FAQ is available directly from the dashboard, via the Support/FAQ tab.
What if the Sticky Menu & Sticky Header plugin doesn’t work for you? Turn to one of its most serious competitors: myStickymenu. And for those of you who use the WordPress content editor (Gutenberg), you should also know that the Sticky Block for Gutenberg Editor plugin allows you to make any block floating. For the record, this last plugin was designed by the developer Mark Senff, who had already developed… Sticky Menu & Sticky Header (the plugin is now owned by the company WebFactory Ltd.)!
Option 3: Opt for a page builder
Let’s move on to the third option for adding a floating element or menu: using a page builder.
This type of tool allows you to create rich and complex layouts for your content without touching a single line of code, through the use of ready-made templates.
Editing is often done through drag and drop and in real time.
Among their many features, page builders offer an option to create a sticky menu. Elementor Pro (affiliate link) is the most famous example. This page builder also allows you to make other elements sticky.
To learn more about how to use Elementor, check out our guide.
Three examples of well-designed floating elements
Now you’re ready to make any element on your site sticky, but maybe you’re wondering where to start? Here are some examples you can use as inspiration.
A floating opt-in widget
On Neil Patel’s blog, a sidebar widget with a simple opt-in form to subscribe to his newsletter remains floating as you scroll through the post.
Clever, isn’t it?
A sticky header
On WPMarmite, we have also chosen to integrate a sticky header, which includes:
- A dynamic reading progress bar to situate you within the article
- A newsletter subscription button so you don’t miss any of our fabulous WordPress tips 😉
- A search bar to help you easily find the content of your choice

We even doubled our use of this option by adding a fixed sidebar insert to promote the web hosting provider bluehost (affiliate link).
Social sharing and tracking buttons
To encourage readers to share articles with one click, the WPExplorer blog chose to add floating follow and share buttons on the top:
After testing many plugins, Social Warfare appeared to be the most efficient option for making sharing buttons sticky. If this isn’t possible with the solution you’re using, Sticky Menu & Sticky Header will also be very useful.
Our final opinion
Creating a sticky menu or element can be done in three different ways (if you exclude getting your hands dirty):
- With your theme
- With a page builder
- With a dedicated plugin
Let’s finish by debriefing the Sticky Menu & Sticky Header test. To tell you the truth, I have to admit that my opinion is still a bit mixed.
Positive points of Sticky Header & Sticky Menu
In terms of the advantages of the plugin, we have:
- A plugin that allows you to make any element of your site floating
- A free and proven plugin
- A quick tool to learn
- … and instructive: sticking only one element avoids overloading your pages unnecessarily
Negative points
- The plugin requires some CSS knowledge to inspect the code and find the right sticky element selector.
- No customization is possible without adding CSS to your style sheet: for example, if your header is transparent on a dark visual, it will not necessarily be visible on a white page.
Go further
With Sticky Menu & Sticky Header, we still don’t have the miracle solution to add floating elements to our WordPress site.
But don’t worry, we won’t leave you hanging!
If you want to fix a widget on your page, the Fixed Widget and Sticky Elements for WordPress plugin is an alternative worth exploring.
This time you can make the widget floating without having to go into the code to locate its CSS class, which can have some advantage depending on your projects.
How can you add a sticky menu or element on #WordPress? WPMarmite explains it all in this article. 😉
For a better rendering, we would also have liked some additional customization options: playing with the contrast or colors, offering an appearance at a certain level of the page, or simply being able to integrate several different floating elements.
To improve your WordPress menus by adding additional features, have a look at our selection of dedicated plugins.
What about you, what do you think about using floating elements on a WordPress site? After reading this article, do you want to try this plugin?

Receive the next posts for free and access exclusive resources. More than 20,000 people have done it, why not you?

Continue reading
Articles posted in WordPress TipsWhat type of website should you build for your project? The guide to making the right choice
You want to create a website, but you’re not quite sure where to start? Don’t worry, that’s completely normal. When starting a web project, most people don’t realize just how many different types of websites exist, each designed to achieve…
How much does a WordPress site cost in 2026? A guide to setting your budget
$1,000 on your left. $4,300 on your right. And do you remember that one day you came across an offer to create a site for $7,500 not including tax?! With all these widely differing prices presented online, it’s very difficult…
The Best WordPress Plugins — the Top 25 you can’t do without
. This figure represents the number of WordPress plugins available on the official directory. And I’m not even talking about those on dedicated platforms, such as Code Canyon or independent shops. Do you have a specific need? I’m convinced that…