WordPress is a fantastic tool, praised for its many assets. For example, it’s intuitive, flexible, scalable, and easy to use (after a minimum of training).
However, whatever your level of expertise, there are always technical questions that remain unanswered.

You might be wondering how to do this or that on your site. Here’s just one example: how do I customize a WordPress theme?
A common question, but one with multiple answers, as there are so many possibilities open to you. Do you know them all and how to apply them?
That’s what I invite you to find out in this article. After reading it, you’ll know 5 methods for taking action (one of which you shouldn’t use, so pay close attention!).
But you’ll also learn a host of tips and best practices for doing things the right way, without risking breaking your site.
Overview
What is a WordPress theme?
A WordPress theme is a set of files that define your website’s visual appearance and layout.
As the WordPress documentation explains, a theme produces “a graphical interface with an underlying unified design” for your site. In other words, the theme is responsible for the design of your website.
To give you “control over the visual presentation of content and other data on your WordPress site,” a theme often relies on the following elements, again according to the WordPress documentation:
- Template files, like the famous
index.php(for classic themes) orindex.html(for block-based themes) - Image files (
.jpg,.png,.gif, etc.) - Style sheets (
.css) - Custom page templates, which can be applied to a specific page or group of pages
- Other source files required for its operation (
.php)
Native themes and theme types
As soon as you install WordPress, it comes with its last three native themes by default.
A native theme is a theme installed by default by WordPress. Its name begins with “Twenty.” At the time of writing, the default native theme was Twenty Twenty-Three.

The Core of WordPress refers to all the native files and directories necessary for the proper functioning of the CMS (Content management system).
Of course, you don’t have to use a native theme. There are thousands of others available on the official WordPress directory, as well as on specialized theme stores and marketplaces (like Themeforest, for example).
It’s important to distinguish between two types of theme:
- “Classic” themes, which can often be customized using the WordPress Customizer. This is the case with many well-known themes such as Astra.
- Block-based themes designed to work with the WordPress Site Editor. The latter allows you to create and edit all parts of your site (header, footer, 404 page, post archives, widget zones, etc.) using blocks (containers offered by the WordPress Gutenberg editor).
- Jadro, for example, is a block-based theme. If this type of theme is active on your site, you can customize it via the Appearance > Editor menu.
Check out our must-have resource on WordPress themes. You’ll find a selection of free and premium themes, where to choose your theme, and which one to choose for your project.
Why would you customize your WordPress theme?
Design and plugins
After this initial overview of WordPress themes and how they work, let’s start with an important clarification.
By customizing a WordPress theme, we mean customizing its design and visual appearance.
If you’re looking to customize your site by adding functionality, you’re better off using dedicated plugins.
For example, the WP Rocket plugin will offer you options to speed up your site’s loading speed. The Yoast SEO plugin will help you optimize your site’s SEO.
Is this clearer for you?
7 reasons to customize a WordPress theme
Well, then, let’s continue with a list of reasons why you might want to customize your WordPress theme. After all, it’s not something to be done lightly and on the spur of the moment!
There are several possible reasons:
- To have a unique website that sets you apart from the competition. If you’re using a theme from the official directory or a premium store, remember to customize it according to your style guide. You can unify your site’s color palette, typography, logos, and visual elements with your brand identity, reinforcing your company’s recognition.
- To enhance the user experience. You can design a user-friendly interface that matches the expectations of your target audience, which can improve visitor satisfaction and increase conversion rates.
- To improve readability and accessibility. Customizing a WordPress theme allows you to choose fonts, colors, and a layout that improve the readability of your content, which is essential for holding visitors’ attention.
- To enhance the responsive aspect, so that your site is readable on any type of screen (computer, smartphone, or tablet).
- To update your graphics, for example by redesigning your site. Web technologies and usage evolve very quickly. After a few months/years, your site will be outdated, hence the importance of customizing your theme to bring it up to date. Customization allows you to evolve your WordPress site according to your needs, without having to completely change your theme, while maintaining a modern and attractive design.
- To create a customized design. If you’re comfortable with code, in particular, you can create a custom design that matches exactly what you have in mind, rather than settling for the limited options of a preconceived theme.
- To adapt your site’s appearance to a specific event. For example, WPMarmite’s site is adorned with a Christmas or Halloween logo for these two events. For your part, you may well choose to modify certain aspects of your site’s design (buttons, personalized page, etc.) for the launch of a promotion, a new product, etc.

On the other side of the screen: do you have a different reason to customize your WordPress theme?
Before you get started, make sure you’ve got your back by applying the two best practices below.
What are the preliminary steps before customizing your WP theme?
Save your site
Customizing your WordPress theme, especially if it’s a major facelift, involves modifying various files, whether you go through the code or not (we’ll come back to this later).
Whatever the extent of the changes you wish to make, I recommend that you save your site beforehand.
And if possible, back up both your files AND your database. In the event of a problem (bug, technical incident, PHP or CSS error, etc.), you’ll have peace of mind and will be able to restore your site peacefully.
To back up your site, you have several options, including:
- Using a dedicated plugin. We present several of them in this test, notably UpdraftPlus. UpdraftPlus allows you to back up your site automatically, while sending your backups to a remote storage space, which is a good practice. The free version will suffice in most cases.
- A site management tool with one-click backup and restore functionality. This is the case of WP Umbrella, which we present in this article.

Work on a test environment
Once your site is backed up and safe, I recommend that you customize your WordPress theme on a test environment.
The main advantage of this option is that, in the event of a problem, you won’t impact the smooth running of your production (online) site.
You can customize and solve any problems without stress. And when the job’s done, all you have to do is switch the site online.
But first, what are your options for working in a test environment?
One of the main ways is to work locally, i.e. on your own machine. One of the most famous and effective tools for working locally is called… Local.

To install it, consult our guide on the subject. To copy your production site to your future local site, use a migration plugin such as All-in-One WP Migration, Duplicator, or Migrate Guru.
The free versions of these plugins impose limitations on the size of files you can migrate. Check out their official directory description, and use our article on the subject to find out more about their options (and those of other competitors).
Note that if you want to do the reverse (transfer your site from the local server to the online server), these plugins will work for that, too.
Finally, you can also work in a test environment by creating a staging site. Most hosting providers offer options for this, but you can also rely on a dedicated plugin like WP Staging.
Without further ado, it’s time to look at 5 ways to customize your WordPress theme.
5 ways to customize a WordPress theme
Method 1: The Theme Customization Tool
Is the tool available?
Let’s start with a classic way to customize your WordPress theme, right from the WordPress back office. I’m referring to the Theme Customizer.
It’s accessible from the Appearance > Customize menu. Alert. In front of your screen, you rub your eyes. You refresh your page. You click on all the menus in your sidebar. But nothing happens.
You can’t access this Customization Tool. Don’t panic, this is normal in some cases. Let me explain.
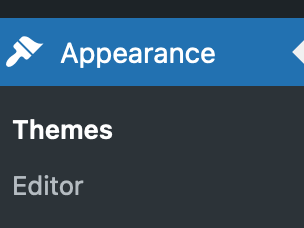
If you’re using a version higher than WordPress 5.9 — which I encourage you to do, not least for security reasons — and a block-based theme (e.g. Twenty Twenty-Three), your site’s “Appearance” menu will be limited to two submenus:
- Themes
- Editor
The WordPress Site Editor lets you customize an entire site. Of course, the Customization Tool no longer makes sense since the appearance of the Site Editor in the WordPress Core with the release of WP 5.9.
However, you’ll have access to the Customization Tool if your site is running on a version lower than 5.9 (not good), or if it’s running on a version higher than 5.9 WITH a classic theme (which isn’t block-based).
Does that all make sense? As an example, you can benefit from the Customization Tool if you activate the Astra theme on WordPress 6.3. In that case, the “Appearance” menu will contain additional submenus:
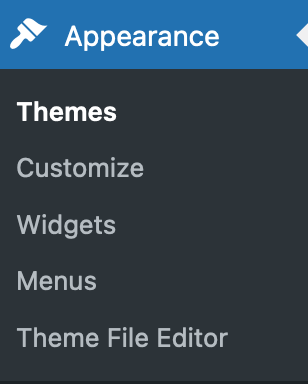
What are the specifics of the WordPress Theme Customization Tool and how do I use it?
That’s all very well, but how does it work? First of all, you should know that the Customization Tool will only be available if your active theme supports the customization feature.
What’s more, depending on the theme you activate, you’ll have more or fewer customization options. Astra, for example, offers more options than a native theme like Twenty Twenty-One.
Generally speaking, here’s what you can usually do with the Customizer:
- Modify your theme’s typography (font type, size, and weight) and colors
- Add a logo and favicon
- Choose the layout of your blog
- Create a navigation menu
- Set the home page to display either the latest posts or a static page
- Customize the footer
- Add additional CSS code
After that, the degree of customization depends on each theme. With Astra, for example, you can change the footer copyright.

Any changes you make will be visible in real time, on the right-hand side of the page. What’s more, they’ll be saved every time you update your theme and WordPress, which is a big plus.
Click on the blue pencil icon to select an item for editing and open the corresponding menu in the left-hand sidebar.

Don’t forget to click on the “Publish” button at the top of your page to save all your changes.
Method 2: WordPress Site Editor
How do you use the Site Editor to customize your WordPress theme?
Now back to your WordPress dashboard. Let’s take a look at Method #2 for customizing your WordPress theme: using the Site Editor.
Now, let me reiterate just to be clear. To take advantage of this tool, you need to:
- Have a WordPress version greater than or equal to 5.9
- Activate a block-based theme
In this example, we’re going to activate the free Neve FSE theme, from the Themeisle store. To do this, go to Appearance > Themes.
Click on the “Add” button. Then click on the “Block-based themes” tab and choose “Neve FSE” (or search for it in the search bar):

Install it, then activate it. If all goes well, your “Appearance” menu will have shrunk a little and will be less busy than with a classic theme:

To customize your theme, go to Appearance > Editor. Before going into detail about what you can do, please read the warning below:
The Site Editor is a tool that is still being developed and improved. If you want to successfully create professional layouts, it requires solid technical knowledge in both templating and web design. That’s why we don’t recommend it for WordPress beginners. If your aim is to create pages and an entire site without coding, turn to a page builder instead.
What options are available?
From here, you can modify ALL parts of your site (header, footer, 404 page, article archives, widget zones, etc.) using blocks.
In detail, here’s what you can do:
- Customize your navigation menu
- Configure global styles, i.e. the color palette applied to your entire WordPress theme
- Modify all the pages on your site
- Edit the page templates included in your theme, or the image on your home page, blog posts, or 404 page. You can also create your own custom templates.
- Manage your block patterns and add new ones

In terms of customization, we’re very close to a page builder. All changes are made in real time, in front of you, directly on your screen.
For example, you can change the text of a button by deleting it and rewriting it. You can replace a background image by clicking on it, etc.

To fully understand the differences between a page builder and WordPress’ Gutenberg editor, read our comparison.
And since the Site Editor’s mode of operation is block-based, you can add the blocks of your choice to your page by clicking on the block insertion tool.
Each block can then be modified by opening the “Settings” menu, exactly as you do when writing a post with the WordPress content editor.
Method 3: A page builder
If you’ve read the previous section carefully, you may have spotted the following term: page builder.
This is the third method of customizing a WordPress theme.
To be perfectly precise, we’re cheating a little here. 🙂 In fact, a page builder doesn’t allow you to customize a theme, but rather the appearance of your site. Technically speaking, a page builder only operates on the content area (as well as the header and footer, depending on the version of the page builder you’re using). Header and footer templates, on the other hand, are no longer used.
Before going into detail, let’s take a brief look at the definition.
A page builder is a plugin that lets you create rich, complex page layouts for your content, without touching a single line of code.
It stands out in particular for its drag-and-drop, real-time editing model, as well as for the multiple ready-to-use page templates it offers the user.
Among the best-known page builders on the market are:
- Elementor (affiliate link)
- Divi Builder (affiliate link)
- Beaver Builder
- Brizy
- Thrive Architect
Want to find out more about page builders and our review of ten of them? Go to our guide on the subject.
How to customize a theme with a page builder like Elementor
To benefit from the power of a page builder, you first need to make sure it’s compatible with your theme.
The vast majority of them are, so you shouldn’t have any problems there.
Once you’ve activated the theme of your choice on your site, create a page and start editing it. For this example, I’m going to use Elementor, the most popular page builder in the official WordPress directory (10M+ active installations).
If you’d like to get started configuring it and learning all about it, take a look at the ultimate guide we’ve dedicated to Elementor.
Here’s a brief summary of what you can do:
- Define a structure for the different sections of your page, i.e. a container with columns
- Add content elements inside, called “widgets” in Elementor. You’ll find them in the side panel, on the left of the screen. You can incorporate them simply by dragging and dropping.
- Customize each element visually and drag and drop it anywhere on the page
- Customize the style and appearance of each widget to an advanced degree
- Activate a page template and/or even an entire site using ready-to-use templates

Compared to the WordPress Site Editor, a good page builder offers several customization options and page templates. On paper, therefore, it’s a more suitable tool for beginners, but be careful not to generalize.
While a page builder is primarily aimed at people who don’t know how to code or don’t want to do so, it still requires a very good knowledge of web design, interface, and user experience (UX) if you want to produce aesthetically pleasing, coherent sites.
What’s more, you’ll need a fairly long learning curve to understand how your page builder of choice works, so you don’t end up drowning in its myriad functionalities.

Method 4: The theme file editor
Let’s move on to Method 4: customization using the theme file editor.
This is an important method to mention, because it’s so tempting to use it, given its presence on your administration interface. It’s right there, at your fingertips.
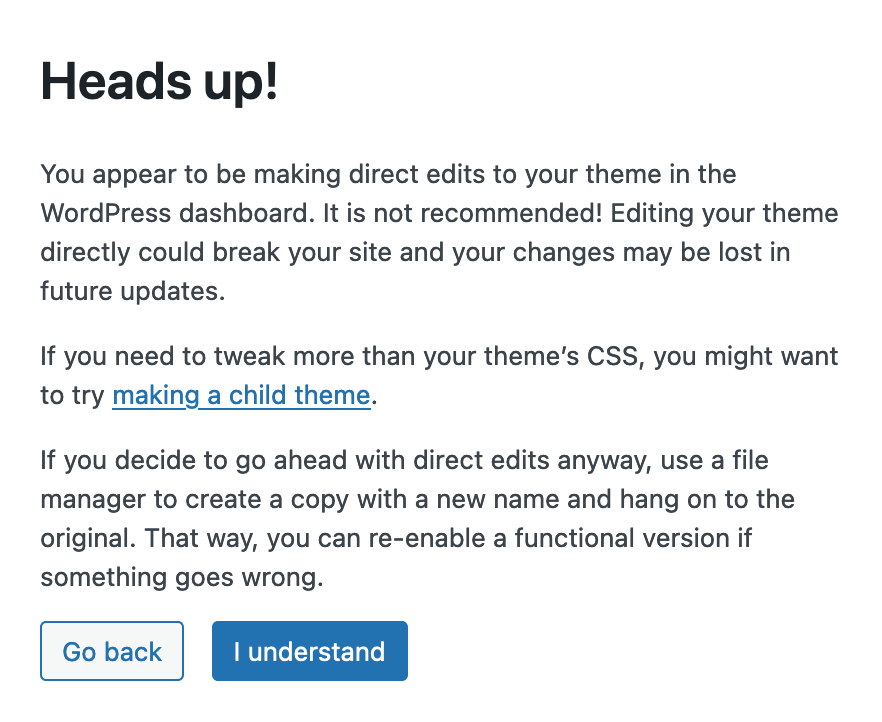
But don’t use it! Using the file editor (i.e. the WordPress code editor or theme editor) is a very bad practice.
In fact, WordPress itself warns you when you access its file editor. A pop-up window appears to tell you that this method is not recommended:
If you go through this code editor, all your changes will be erased as soon as your theme is updated (unless you edit your child theme). What’s more, a simple error in the code or the omission of a semicolon (for example) will result in your site crashing.
Again, forget this method and don’t use it. Just for the record: if your WordPress theme editor seems to have disappeared, it’s because you’re using a block-based theme.
With a classic theme, you can access it in Appearance > Theme File Editor.
But let me stress this one last time: don’t use this editor. Better safe than sorry!
Method 5: Customization through code
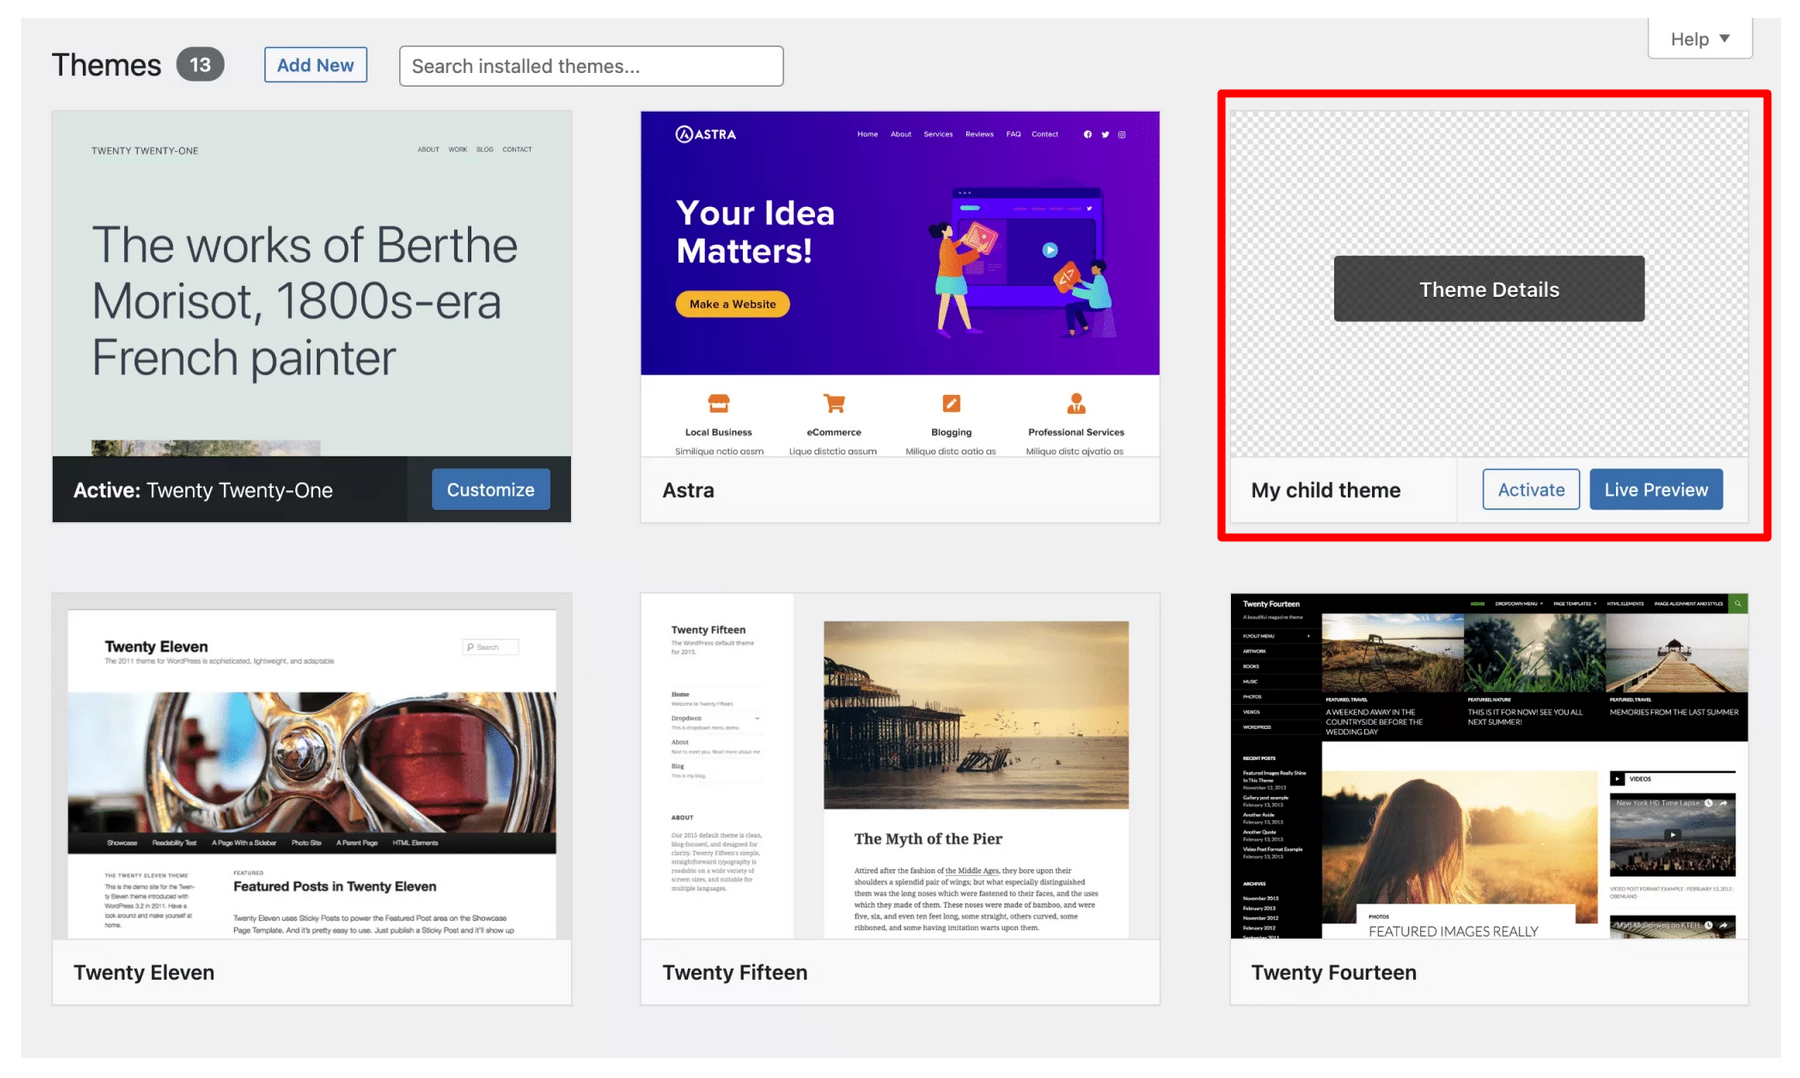
The case of the child theme
If you wish to customize your WordPress theme with code (in the case of a theme purchased or downloaded from the official directory), the recommended method is to use a child theme.
A child theme is a theme that will inherit the functionality, design, and layout of a theme installed on a site (which becomes the parent theme) and allow for in-depth customization.
Using a child theme is a good practice, because if you update the parent theme, you’re sure to keep your modifications.
However, creating a child theme isn’t always the best method, especially if you’re just starting out. You need to have a minimum knowledge of code to avoid breaking everything.
What’s more, other alternatives are possible, as we explain in this article (where we also show you how to create a child theme).
For example, if you’re using a theme compatible with the Site Editor, you can customize your entire WordPress theme from your administration interface, without having to go through the code contained in a child theme.
If you feel it’s necessary to create a child theme, all you have to do is modify the files of your choice, which you’ll have first placed in your child theme’s directory (by copying and pasting the file from the parent theme). This may involve, for example:
style.cssfunctions.php- the
index.php file - Etc.
The case of a custom theme
While we’re on the subject of code, let’s take a final look at custom themes.
In this case, you won’t necessarily need a child theme if a developer is in charge of updating the theme. You can then modify the code of the parent theme.
On the other hand, if you want to add code to certain files (e.g.
functions.php) after an update, it’s better to use a child theme to avoid losing all your modifications at the next update.
Conclusion
Well, that’s it. You’ve reached the end of this article detailing how to customize a WordPress theme.
To recap, there are a number of reasons for modifying a theme’s design. It could be to update the graphics, improve the user experience and readability, or to stand out from the competition.
To achieve this, you’ve discovered 5 different personalization methods:
- Theme Customization Tool
- The Site Editor
- A page builder
- The theme file editor (not to be used!)
- The use of “hard” code
Don’t forget to save your site before you start.
Do you have a preferred method, or perhaps one you’d like to adopt in the near future? Tell us all about it in the comments and share your tips with WPMarmite readers.

Receive the next posts for free and access exclusive resources. More than 20,000 people have done it, why not you?

Continue reading
Articles posted in WordPress TutorialsHow to update the PHP version of your WordPress site
What comes to mind when you think of WordPress speed and security? Your favorite plugins, perhaps? You should also think about… PHP! If you’re looking for a site that loads fast, while offering a solid shield against hacker attacks, there’s a…
How to create an effective HubSpot conversion funnel on WordPress (complete guide)
In the drawers of a kitchen, there are often two very useful utensils lying around. The first is the colander. And to illustrate, some WordPress sites unfortunately resemble it. Why? Well, because visitors arrive on the site in question… then…
How to fix the ERR_CONNECTION_REFUSED error: A complete guide
Does your browser display the ERR_CONNECTION_REFUSED message when you try to access a website? This error means that the target server – or your own configuration – is actively rejecting the connection request, leaving you at a dead end. But…